


For Customer Use:
Enter below the Model No. and Serial No.
which are located either on the rear, bot-
tom or side of the cabinet. Retain this
information for future reference.
Model No.
Serial No.
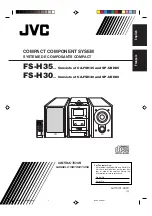
FS-H35
— Consists of CA-FSH35 and SP-UXH35
FS-H30
— Consists of CA-FSH30 and SP-UXH30
COMPACT COMPONENT SYSEM
SYSTEME DE COMPOSANTS COMPACT
INSTRUCTIONS
MANUEL D’INSTRUCTIONS
GVT0101-002C
[C]
COMPACT COMPONENT SYSTEM
English
Français
COVER_FS-H30[C]fff.pm6
03.3.3, 2:26 PM
1


