Notes:
z
When shooting using flash, although the flash fires twice but the actual shoot is at the second flash. The first fire is to
determine whether flash is required. The second flash will not be fired if it is not required.
z
The red-eye reduction function may have little effect if the subject is not directly facing the pre flash or main flash, or
when the distance between the camera and the subject is too far.
z
Flash cannot be used during Macro function. It automatically becomes Flash Off.
Note:
z
When capturing images using the Self-Timer, do stabilize your camera with eg. a camera stand.
(4) Setting the Image Resolution and Quality
Users can choose from four image resolution & quality setting, namely:
To set the Image quality and resolution, press the [RESOLUTION] & Quality/Left button until the desired setting is
indicated.
Auto Flash
The flash fires automatically according to the photography conditions. It is suitable for general
photography.
Red-Eye
Reduction (RER)
Use this mode to avoid the red-eye effect when photographing people or animals in low light
conditions.
Flash Off
Used where the use of flash is prohibited or when utilizing the night view/indoor lighting for shooting.
The flash mode can also be turned off when the distance to the subject is too far away for the flash to
have any effect.
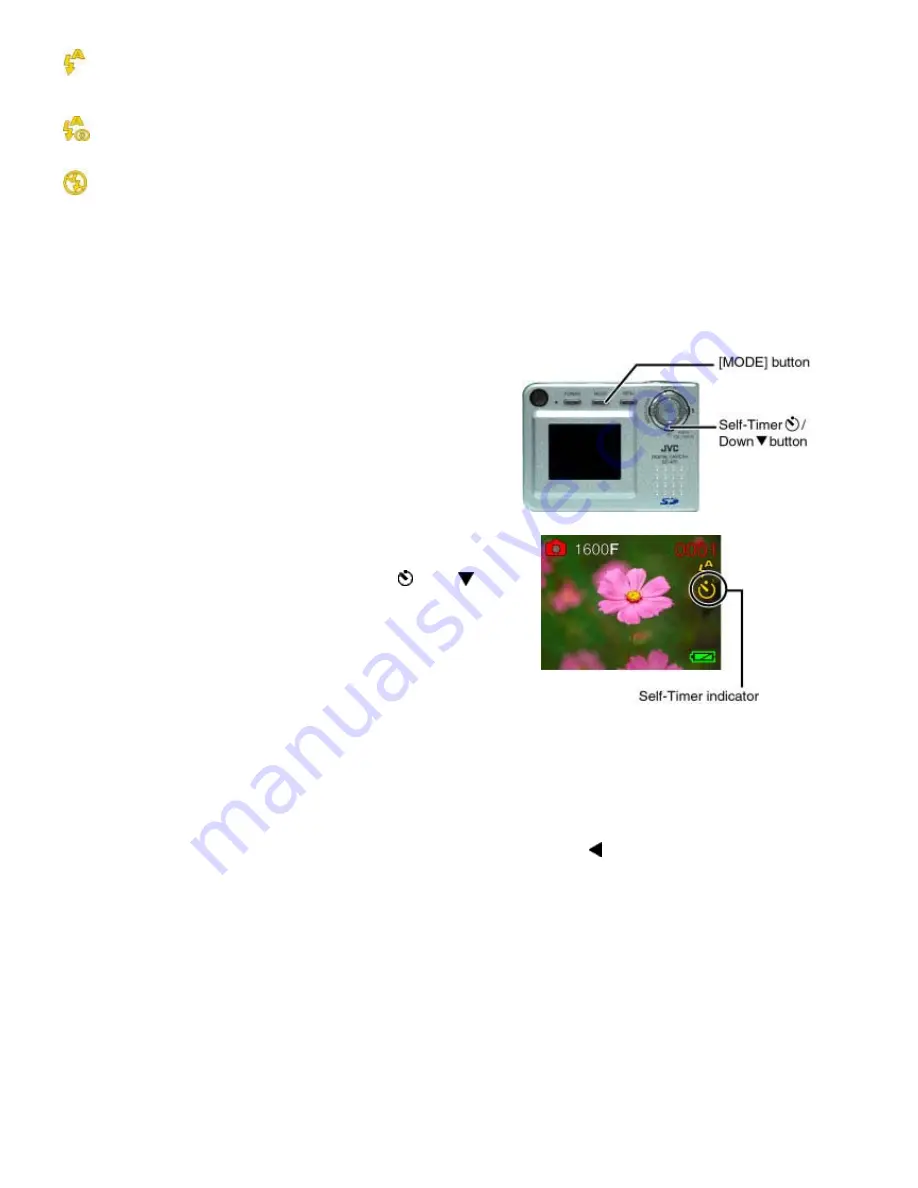
(3) Using Self-Timer
This unit includes 2 seconds and 10 seconds Self-Timer function.
With the 10 seconds Self-Timer function, the photographer too, can
get into the frame when taking group pictures.
Moreover, when you take pictures in dark locations, the shutter
speed may become slow, setting the 2 seconds Self-Timer will
prevent the picture from blurring due to shaking of the camera while
pressing the shutter button.
Procedures:
1. Ensure that the camera is turned on.
2. Select the Camera mode with the [MODE] button.
3. To activate the Self-Timer, press the Self-Timer
/Down
button.
The 10 seconds Self-Timer indicator will appear on the LCD monitor
as shown on the right. Pressing it again will change to 2 seconds
Self-Timer.
4. Frame your subject and press the shutter button. The Self-Timer
lamp will start blinking for 10 seconds (slowly in the first 7 seconds
and rapidly in the remaining 3) or 2 seconds (rapidly blinking only).
At the end of the 10 seconds or 2 seconds, the shutter will be
released.
Summary of Contents for GC-A70
Page 33: ......


