EN
31
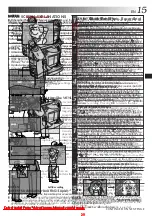
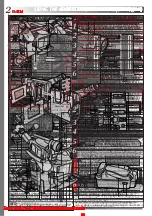
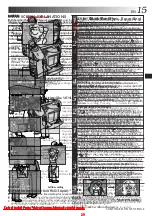
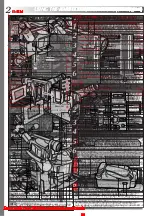
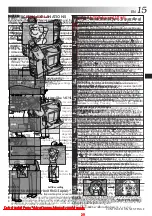
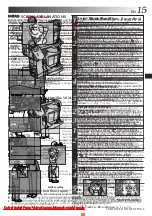
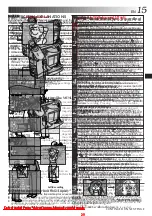
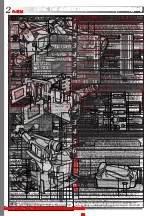
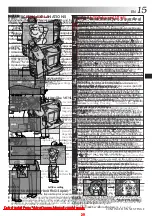
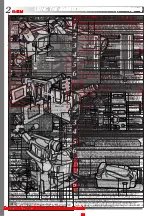
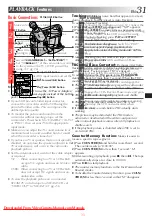
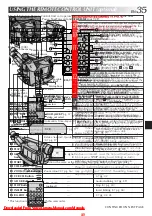
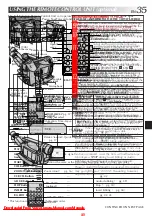
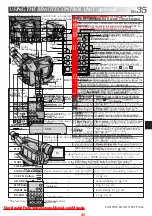
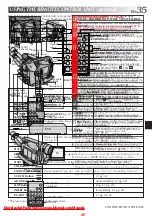
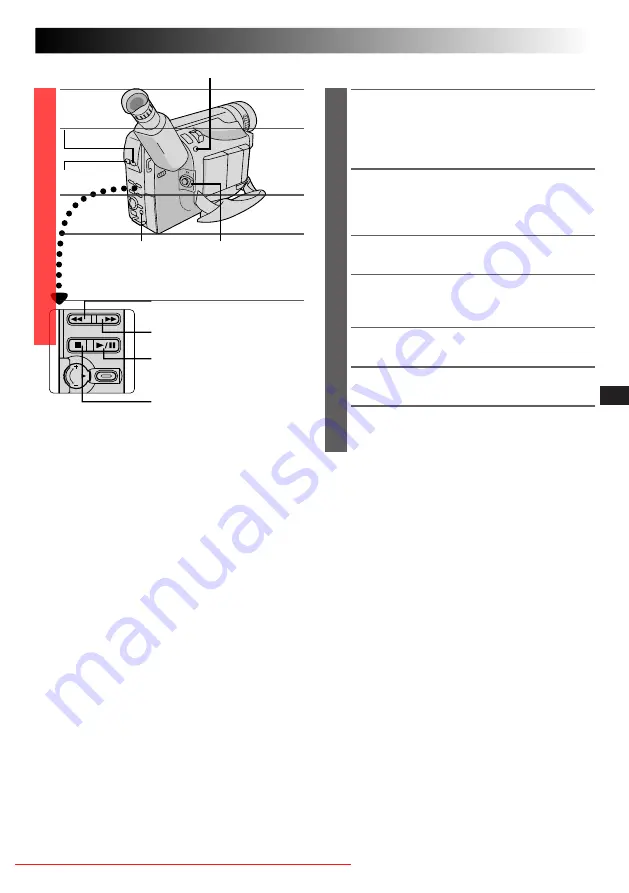
Set to “PLAY”.
P.AE Button
EFFECT Button
P.STABILIZER Button
PLAYBACK
Features
COUNTER R/M
Button
Rewind (
2
) Button
Fast-Forward (
3
) Button
Play/Pause (
4
/
6
) Button
Stop (
5
) Button
Tracking:
Eliminates noise bars that appear on-screen
during playback. Factory-preset is Auto Tracking.
To activate Manual Tracking:
1) Press P.AE and EFFECT simultaneously. “MT” appears.
2) Press P.AE or EFFECT as many times as necessary until
the noise bars disappear.
●
To return to Auto Tracking, press P.AE and EFFECT
simultaneously. “AT” blinks. When Auto Tracking
finishes, the indication disappears.
●
When noise bars appear during playback, the
camcorder enters the Auto Tracking mode and “AT” is
displayed.
●
Manual Tracking may not work with tapes recorded on
other VCRs or camcorders.
TBC (Time Base Corrector):
Removes jitter from
fluctuating video signals to deliver a stable picture even
with old tapes. Factory-preset: TBC is engaged.
To activate/release the TBC mode, press P.STABILIZER
during playback for more than 1 second. When the TBC
mode is activated, “TBC” is displayed.
●
The “TBC” indicator turns green (grey with a camcorder
equipped with a black/white viewfinder) while TBC is
working.
●
TBC does not work during still playback and shuttle
search.
●
The “TBC” indicator turns white while TBC is not
operative.
●
It may take a few seconds before TBC actually starts
working.
●
The picture may be distorted if the TBC mode is
activated or deactivated at the edit-in/-out points or
when normal playback resumes after still playback or
shuttle search.
●
If the playback picture is distorted when TBC is set to
on, turn off TBC.
Counter Memory Function:
Makes it easier to
locate a specific tape segment.
1) Press COUNTER R/M and hold for more than 1 second.
The counter resets to “0:00:00”.
2) Press COUNTER R/M for less than 1 second. “M”
appears.
3) After recording or playback, press
5
, then
2
. The tape
automatically stops at or close to 0:00:00.
4) Press
4
/
6
to start playback.
●
The counter memory functions in the Fast-Forward and
Rewind modes.
●
To disable the Counter Memory Function, press COUN-
TER R/M for less than 1 second so that “M” disappears.
Downloaded From VideoCamera-Manual.com Manuals
33
Basic Connections
1
Make sure all units are turned off.
2
Connect the camcorder to a TV or VCR as
shown in the illustration (
Z
pg. 32).
If using a VCR . . . go to step 3.
If not . . . go to step 4.
3
Connect the VCR output to the TV input,
referring to your VCR’s instruction manual.
4
Turn on the camcorder, the VCR and the TV.
•Set “VIDEO OUT” of the camcorder according
to the system of the TV or VCR you will be
using. (
Z
pg. 24)
5
Set the VCR to its AUX input mode, and set the
TV to its VIDEO mode.
NOTES:
●
It is recommended to use the AC Power Adapter/
Charger as the power supply instead of the battery
pack (
Z
pg. 7).
●
If your VCR has an S-Video input connector,
connect the camcorder and the VCR using the
provided S-Video cable. This can improve the
dubbed picture quality.
●
To monitor the picture and sound from the
camcorder without inserting a tape, set the
camcorder’s Power Switch to “CAMERA” (“AUTO”
or “PRO.”), then set your TV to the appropriate
input mode.
●
Make sure you adjust the TV sound volume to its
minimum level to avoid a sudden burst of sound
when the camcorder is turned on.
●
If you have a TV or speakers that are not specially
shielded, do not place the speakers adjacent to the
TV as interference will occur in the camcorder
playback picture.
●
Set the video out select switch of the cable adapter
as required:
Y/C : When connecting to a TV or VCR which
accepts Y/C signals and uses an S-Video
cable.
CVBS: When connecting to a TV or VCR which
does not accept Y/C signals and uses an
audio/video cable.
●
To view the playback picture on a connected
SECAM TV or dub a tape to a SECAM VCR, set
“VIDEO OUT” to “SECAM” (
Z
pg. 24).
Tape Dubbing
1
Following the illustration on pg. 32, connect the
camcorder and the VCR.
•Set “VIDEO OUT” of the camcorder according
to the system of the VCR you will be using.
(
Z
pg. 24)
2
Set the camcorder’s Power Switch to “PLAY”,
turn on the VCR’s power, and insert the
appropriate cassettes in the camcorder and the
VCR.
3
Engage the VCR’s AUX and Record-Pause
modes.
4
Engage the camcorder’s Play mode to find a
spot just before the edit-in point. Once it is
reached, press
4
/
6
on the camcorder.
5
Press
4
/
6
on the camcorder and engage the
VCR’s Record mode.
6
Engage the VCR’s Record-Pause mode and press
4
/
6
on the camcorder.
7
Repeat steps 4 through 6 for additional editing,
then stop the VCR and camcorder when
finished.

