— 7 —
Follow the procedure described below to
install the software. Quit any other software
you are using. (Check that there are no
other application icons on the status bar.)
Digital Photo Navigator 1.5
This application is used to organize still
images and convert them into a variety of
formats.
1
Load the provided CD-ROM into
the PC.
2
Follow the on screen
instructions to complete the
installation.
Following steps are the example of
Digital Photo Navigator on
Windows
®
Me.
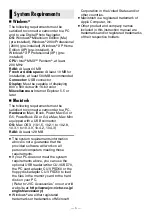
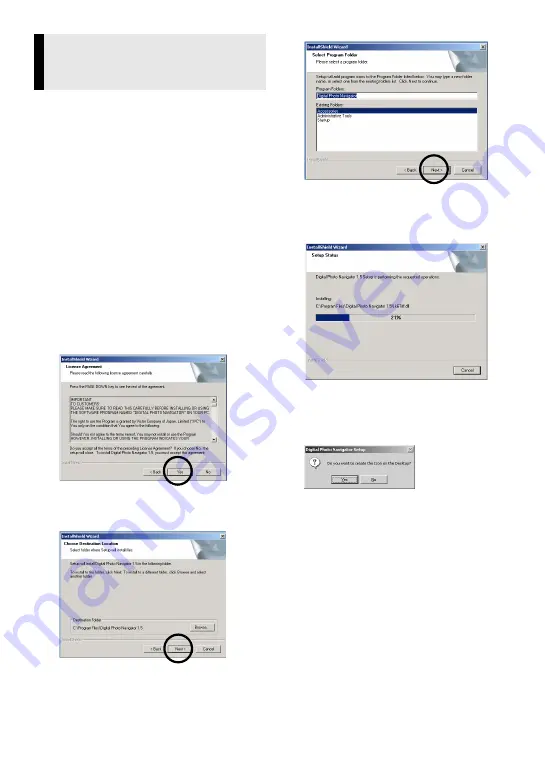
[License Agreement] screen appears.
Click [Yes].
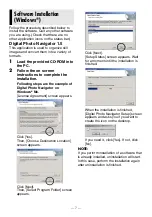
Then, [Choose Destination Location]
screen appears.
Click [Next].
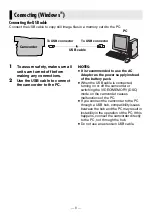
Then, [Select Program Folder] screen
appears.
Click [Next].
[Setup Status] screen appears. Wait
for a moment until the installation is
finished.
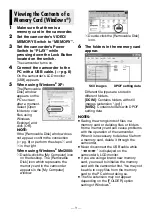
When the installation is finished,
[Digital Photo Navigator Setup] screen
appears and asks you if you want to
create the icon on the desktop.
If you need it, click [Yes]. If not, click
[No].
NOTE:
If you perform installation of a software that
is already installed, uninstallation will start.
In this case, perform the installation again
after uninstallation is finished.
Software Installation
(Windows
®
)


