64
EN
VIDEO PRINTER OPERATION (GV-PT2U)
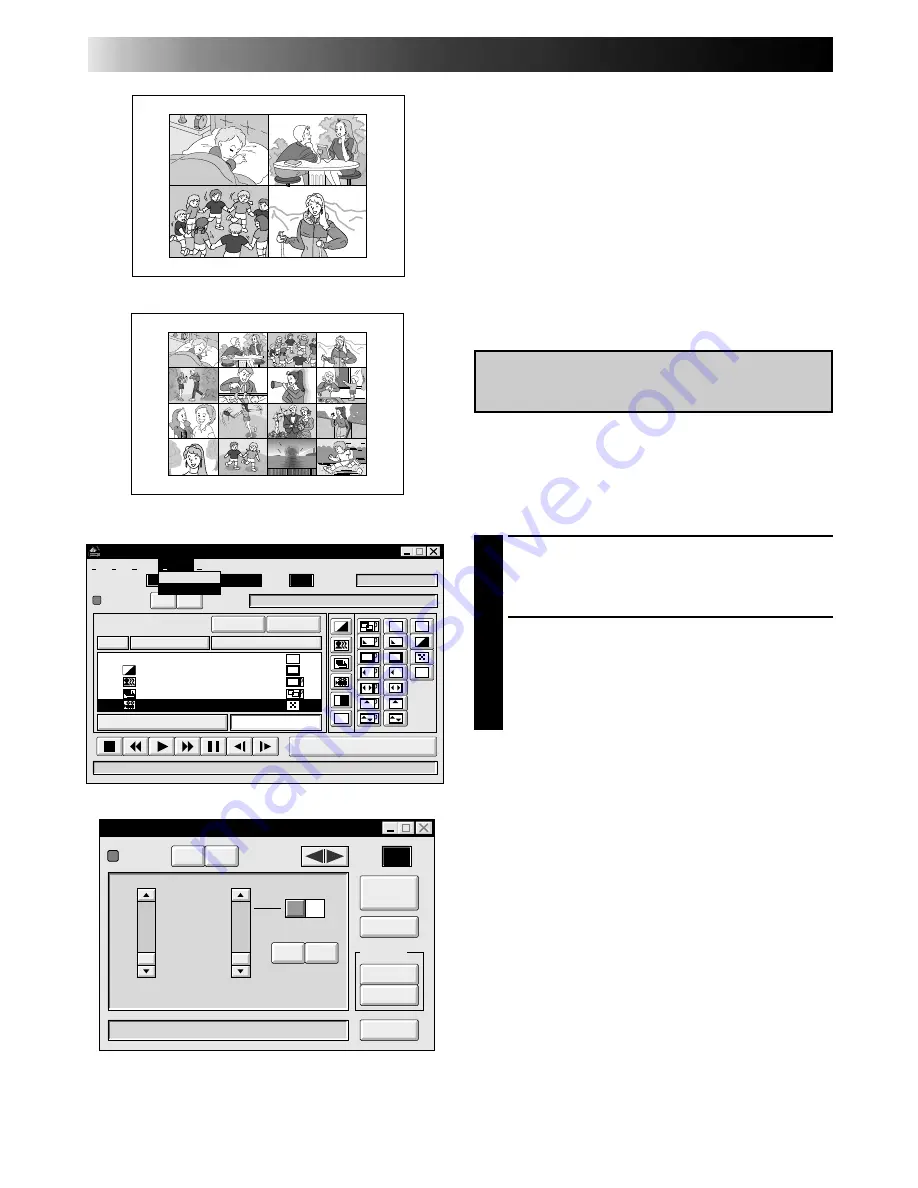
1
Select “Window” — “Video Printer” in
the JLIP VIDEO PRODUCER window.
•Video Printer window appears.
2
Select the number of scenes (OFF/4/16)
and select “SAME” or “SELECTED” for
the content.
•Select this by clicking the buttons
(
/
Ä
).
Preparation
• Load the tape into VCR.
• Convert the captured data to JLIP Video
Producer software data and store it
(
Z
pg. 39).
• Select file name (
Z
pg. 56).
• Prepare for printing (refer to the GV-PT2U
instruction manual).
• Select desired layout using the remote
control unit provided with the GV-PT2U.
To Print Captured Video Data with
Video Printer
Captured video data can be automatically
scanned and printed.
You can print OFF, 4 or 16 images on one
sheet.
Auto Capture
JLIP VIDEO PRODUCER
FILE
POWER
PROGRAM PLAYBACK
COUNTER
Drop
MEMO
ID
SCENE
CUT IN
CUT OUT
SCENE
IN/OUT
OFF
ON
travel
06
File
Set-up
Help
Window
Edit
START
VCR Control
Video Printer
Window
B
W
EC
TC
BF
WF
B
W
ELAPSED TIME
00:04:57:17F
01
02
03
04
00:05:00:25
00:06:10:26
00:07:33:29
00:08:51:05
00:06:04:16
00:07:30:15
00:08:45:15
00:10:13:26
BF
Video Printer
POWER
SELECT
PIX STABILIZER
OFF
ON
POSITION
ID
20
STORE
SOURCE
MEMORY
CLOSE
STROBE SPEED
HIGH
LOW
@
@
À
À
@@
@@
ÀÀ
ÀÀ
16
4
OFF
STROBE
SELECTED
SAME
MULTI-PIX
CONTENT
Aperture Off ! !
OFF
ON
Summary of Contents for GV-DS2
Page 44: ...44EN MEMO ...
Page 74: ......


