(No.82933)1-33
(3) Set the VCR to the EVR mode by transmitting the code (F1)
from the Jig RCU.
(4) Set the EVR address to (F2) by transmitting the code (F3)
from the Jig RCU.
(5) Transmit the code (F4) from the Jig RCU to adjust so that
the Y level of the Y OUT waveform becomes the specified
value (G).
(6) Release the EVR mode of the VCR by transmitting the
code (F5) from the Jig RCU again. (When the EVR mode
is released, the adjusted data is memorized.)
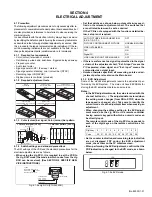
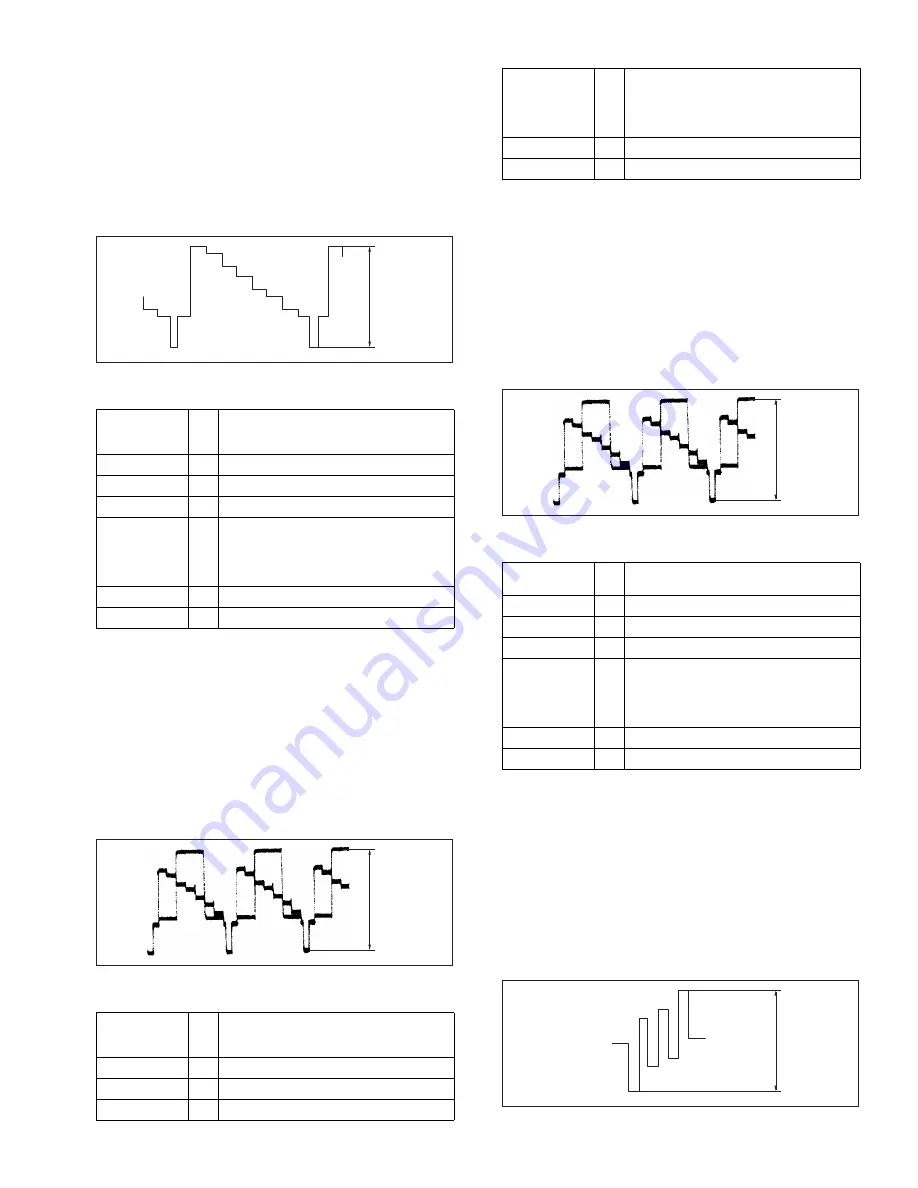
Fig.4-3-1a
4.3.2 EE Y (S-VHS) level
(1) Insert the cassette tape (A3) to enter the mode (B).
(2) Observe the Y OUT waveform at the measuring point (D).
(3) Set the VCR to the EVR mode by transmitting the code (F1)
from the Jig RCU.
(4) Set the EVR address to (F2) by transmitting the code (F3)
from the Jig RCU.
(5) Transmit the code (F4) from the Jig RCU to adjust so that
the Y level of the Y OUT waveform becomes the specified
value (G).
(6) Release the EVR mode of the VCR by transmitting the
code (F5) from the Jig RCU again. (When the EVR mode
is released, the adjusted data is memorized.)
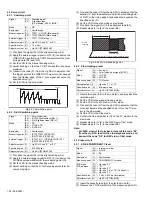
Fig.4-3-2a
4.3.3 EE Y (VHS) level
(1) Insert the cassette tape (A3) to enter the mode (B).
(2) Observe the Y OUT waveform at the measuring point (D).
(3) Set the VCR to the EVR mode by transmitting the code (F1)
from the Jig RCU.
(4) Set the EVR address to (F2) by transmitting the code (F3)
from the Jig RCU.
(5) Transmit the code (F4) from the Jig RCU to adjust so that
the Y level of the Y OUT waveform becomes the specified
value (G).
(6) Release the EVR mode of the VCR by transmitting the
code (F5) from the Jig RCU again. (When the EVR mode
is released, the adjusted data is memorized.)
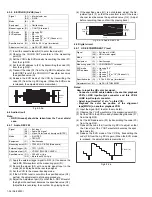
Fig.4-3-3a
4.3.4 SD EE COMPONENT CB level
(1) Insert the cassette tape (A2) to enter the mode (B).
(2) Observe the CB OUT waveform at the measuring point (D).
(3) Set the VCR to the EVR mode by transmitting the code (F1)
from the Jig RCU.
(4) Set the EVR address to (F2) by transmitting the code (F3)
from the Jig RCU.
(5) Transmit the code (F4) from the Jig RCU to adjust so that
the CB level of the CB OUT waveform becomes the speci-
fied value (G).
(6) Release the EVR mode of the VCR by transmitting the
code (F5) from the Jig RCU again. (When the EVR mode
is released, the adjusted data is memorized.)
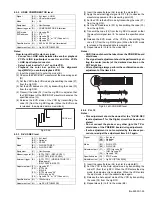
Fig.4-3-4a
Signal
(A1)
(A2)
(A3)
• Ext. input
• Color (colour) bar signal [NTSC]
• S-VHS
Mode
(B)
• EE
Equipment
(C)
• Oscilloscope
Measuring point (D)
• Y OUT (S terminal)
EVR mode
EVR address
(F1)
(F2)
(F3)
(F4)
(F5)
• Jig code “95”
• "02 : **"
• Jig code “22”
• Jig code “18” or “19” (C/-)
• Jig code “3C”
Specified value (G)
• 1.00 ± 0.02 Vp-p (terminated)
Adjustment tool (H)
• Jig RCU [PTU94023B]
Signal
(A1)
(A2)
(A3)
• Ext. input
• Color (colour) bar signal [NTSC]
• VHS
Mode
(B)
• EE
Equipment
(C)
• Oscilloscope
Measuring point (D)
• TP501 (Y TO SE) [Main board]
Y level
H. rate
Y level
EVR mode
EVR address
(F1)
(F2)
(F3)
(F4)
(F5)
• Jig code “95”
• "03 : **"
• Jig code “23”
• Jig code “18” or “19” (C/-)
• Jig code “3C”
Specified value (G)
• 0.40 ± 0.02 Vp-p
Adjustment tool (H)
• Jig RCU [PTU94023B]
Signal
(A1)
(A2)
• Internal color bar
• S-VHS
Mode
(B)
• EE
Equipment
(C)
• Oscilloscope
Measuring point (D)
• COMPONENT PB/CB terminal
EVR mode
EVR address
(F1)
(F2)
(F3)
(F4)
(F5)
• Jig code “95”
• "06 : **"
• Jig code “26”
• Jig code “18” or “19” (C/-)
• Jig code “3C”
Specified value (G)
• 0.70 ± 20 Vp-p (terminated)
Adjustment tool (H)
• Jig RCU [PTU94023B]
H. rate
Y level
PB/CB level


