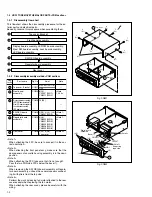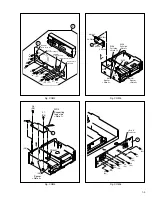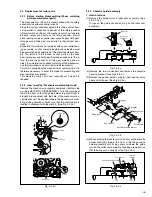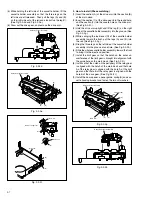
1-8
(1)
Top cover,
COM1
9
2 + 1
0
—
Brackets
(1-3)
(No.1-9) (L1, L2)
(2)
Front panel
COM2
0
8 (L3)
2(CN7507, —
assembly
(1-3)
CN3011)
(3)
Hard disk drive
H1
4
0
2 (CN8001, —
assembly
(1-6) (No.1-4)
CN5326)
(4)
Digital board
H3
4
0
0
—
assembly
(No.9-12)
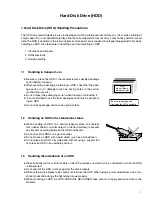
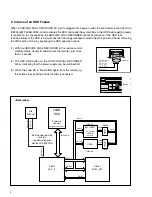
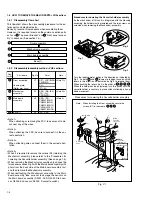
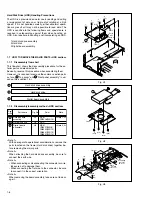
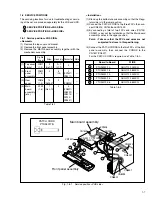
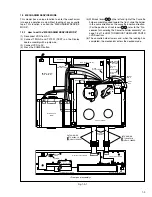
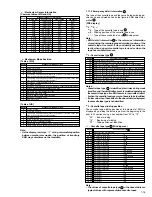
1.8.2 Service position <HDD SIDE>
(1) Remove the exterior parts (Top cover and front panel as-
sembly).
(2) Remove the hard disk drive(HDD) together with the frame.
(3) Remove the digital board assembly together with the wires
attached to it, and place the assembly upside down on
an insulated mat that is placed on the mechanism (VHS)
assembly.
(4) Mount the HDD that was removed in (2) to its original
position on the bottom chassis assembly, and connect
the wires to the connector CN8001 on the digital board
assembly and to the connector CN5326 on the regulator
board assembly.
Table 1-8-3
SYMBOL
CONNECTOR (WIRE) CONNECTIONS
PIN No
PATCH CORD
I
/
II
1
MAIN CN7507
—
JACK CN7002
10
A
I
/
II
2
MAIN CN3011
—
DISPLAY CN7001
18
B
I
3
TERMINAL CN703
—
DIGITAL CN8601
6
—
I
4
MAIN CN7508
—
REGULATOR CN5322
13
C
I
5
MAIN CN7509
—
REGULATOR CN5321
15
D
I
6
MAIN CN2601
—
DIGITAL CN8801
8
—
I
/
II
7
MAIN CN3014
—
DIGITAL CN8002
6
E
II
8
DIGITAL CN8001
—
HARD DISK DRIVE
40
—
II
9
REGULATOR CN5326
—
HARD DISK DRIVE
4
—
II
10
REGULATOR CN5323
—
DIGITAL CN8901
9
—
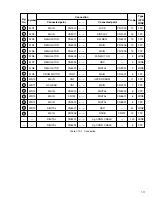
Table 1-8-4 Connection of Connectors
Fig. 1-8-2 Service position <HDD side>
Insulation sheet
Hard disk drive
assembly
Front panel assembly
PATCH CORD
PTU94017B
B
A
2
1
10
3
7
8
6
9
Digital board
assembly
CN7507
CN8601
CN8002
CN8801
CN8901
CN8001
CN3011
Fig. No.
(Page)
Screw
(No.)
Hooks,
etc. (No.)
Connectors Note
Note :
•
The symbol numbers in the following table are special numbers indicating the service positions. They do not coin-
cide with the symbol numbers used in Fig. 1-10-1 (1-10) or Table 1-10-1 (1-11).


