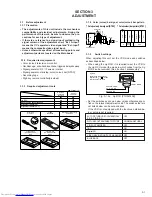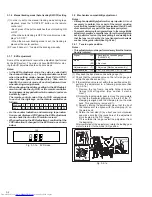
3-5
Signal
(A1)
•
Ext. input
(A2)
•
Color (colour) bar signal [NTSC]
Mode
(B1)
•
EE
(B2)
•
S-VHS SP
(B3)
•
VHS SP
Equipment
(C)
•
Oscilloscope
Measuring point
(D)
•
Y OUT terminal (75
Ø
terminated)
EVR mode
(F1)
•
Jig code “57”
EVR address
(F2)
•
A : 11
(F3)
•
Jig code “21” twice
(F4)
•
Jig code “18” or “19” (C/-)
Specified value
(G)
•
1.00 ± 0.05 Vp-p
Adjustment tool
(H)
•
Jig RCU [PTU94023B]
(1) Set the VCR to the mode (B1)
(2) Observe the Y OUT waveform at the measuring point (D).
(3) Set the VCR to the EVR mode by transmitting the code
(F1) from the Jig RCU.
(4) Set the EVR address to (F2) by transmitting the code (F3)
from the Jig RCU.
(5) Transmit the code (F4) from the Jig RCU to adjust so that
the Y level of the Y OUT waveform becomes the speci-
fied value (G).
(6) Release the EVR mode of the VCR by transmitting the
code (F1) from the Jig RCU again. (When the EVR mode
is released, the adjusted data is memorized.)
(7) Record the signal (A2) in the mode (B2), and play back
the recorded signal.
(8) Set the VCR to the manual tracking mode.
(9) Repeat steps (1) to (5) in the mode (B2).
(10)Record the signal (A2) in the mode (B3), and play back
the recorded signal.
(11) Set the VCR to the manual tracking mode.
(12) Repeat steps (1) to (5) in the mode (B3).
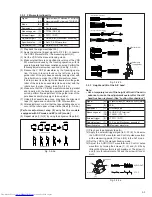
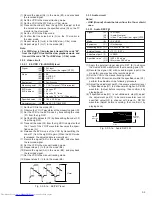
Fig. 3-3-2-1a EE/PB Y level
H. rate
Y level
3.3.2 Video circuit
3.3.2.1 EE Y/PB Y (S-VHS/VHS) level
3.3.3 Audio circuit
Notes:
• GND (Ground) should be taken from the Tuner shield
case.
Signal
(A1)
•
Ext. input
(A2)
•
Audio: No signal
(A3)
•
Video: Color (colour) bar signal [NTSC]
Mode
(B)
•
S-VHS EP
Equipment
(C)
•
Oscilloscope
Measuring point
(D)
•
TP2253 (A. PB. FM)
External trigger
(E)
•
TP111 (D.FF)
Adjustment part
(F)
•
VR2251
Specified value
(G1)
•
350 ± 50 mVp-p
(G2)
•
More than 200 mVp-p
(1) Apply the external trigger signal to D.FF (E) to observe
the Audio PB FM waveform at the measuring point (D).
(2) Record the signal (A3) with no audio signal input in the
mode (B), and play back the recorded signal.
(3) Set the VCR to the manual tracking mode.
(4) If the A.PB FM level is not within the specified value (G1),
perform the adjustment in a following procedure.
(5) Adjust the adjustment part(F) to become waveform level
of specified value(G1) in a channel with higher A. PB FM
waveform. (Adjust before recording, then confirm it by
playing back.)
(6) If specified value(G1) is not obtained in step(5), adjust
the adjustment part(F) to become waveform level of
specified value(G2) in channel with lower A. PB FM
waveform.(Adjust before recording, then confirm it by
playing back.)
3.3.3.1 Audio REC FM
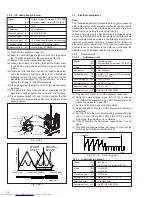
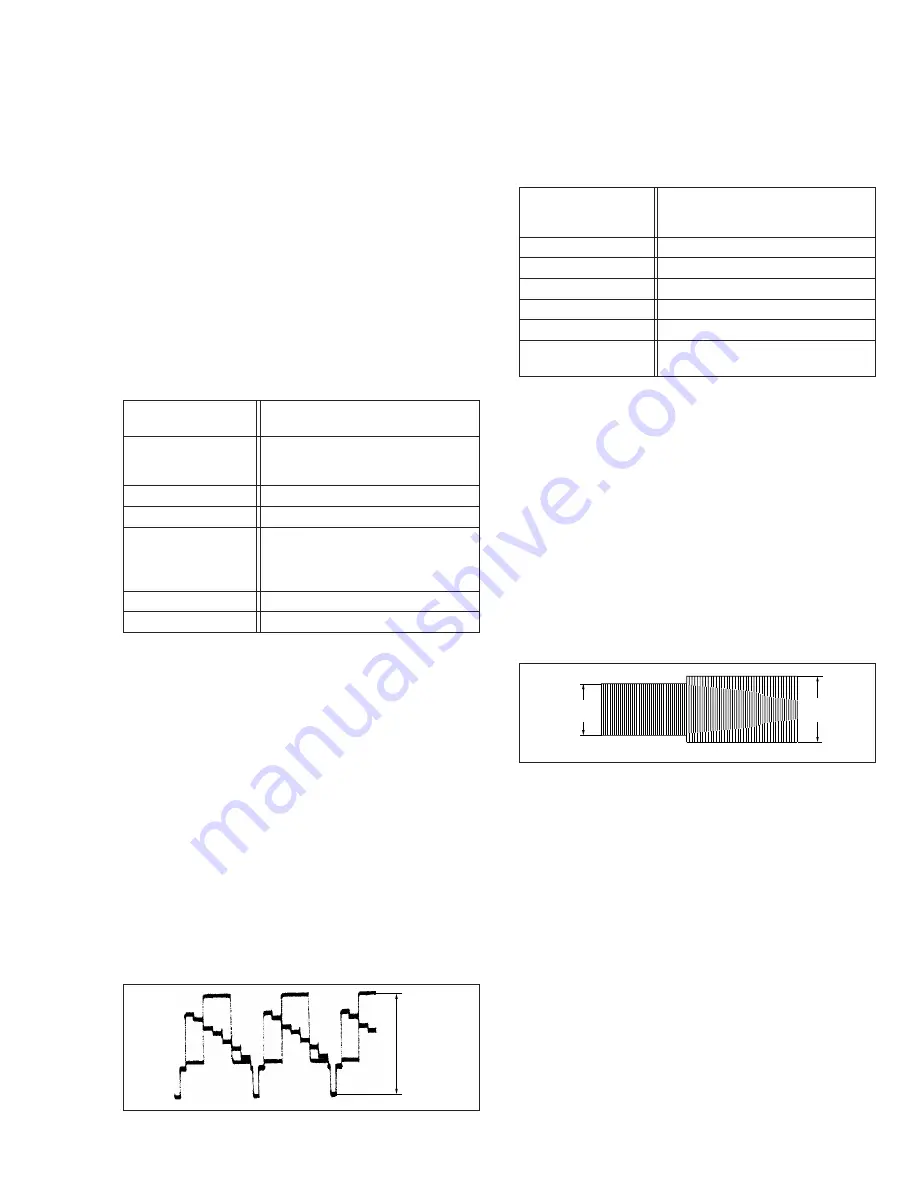
Fig. 3-3-3-1a Audio REC FM
V. rate
Specified
value (G1)
Specified
value (G2)
(1) Record the signal (A2) in the mode (B1), and play back
the recorded signal.
(2) Set the VCR to the manual tracking mode.
(3) Set the VCR to the FWD slow (+1/6x) mode.
(4) Transmit the code (F) from the Jig RCU to adjust so that
the noise bar becomes the specified value (G) on the TV
monitor in the slow mode.
(5) Set the VCR to the Stop mode.
(6) Confirm that the noise bar is (G) on the TV monitor in
the slow mode.
(7) Repeat steps (3) to (6) in the REV slow (–1/6x) mode.
(8) Repeat steps (1) to (7) in the mode (B2).
Note:
• For FWD slow (+1/6x) playback, transmit the code “08”
from the Jig RCU to enter the slow playback mode, and
transmit the code “D0” for REV slow (–1/6x) mode.

