background image

February 14, 2003 1:46 pm

Page 9

— 9 —

Master Page: Right

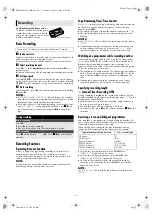
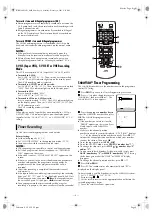
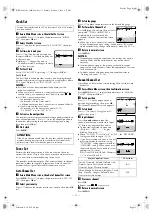
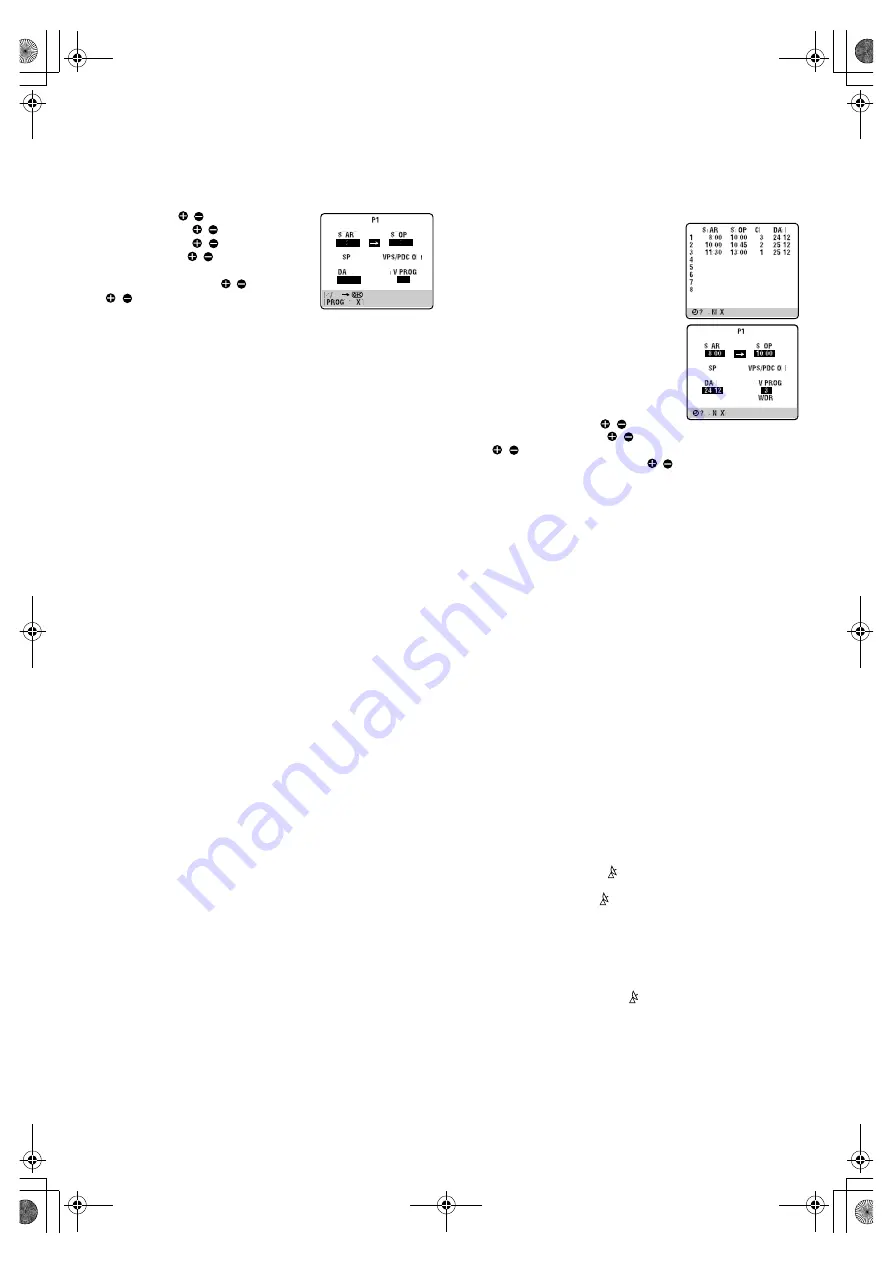
Express Timer Programming

A

Press 

PROG

 to access the Timer Programming Set screen.

B

Press 

rt

 to place the pointer (highlighted bar) next to 

“EXPRESS PROGRAMMING”, then press 

OK

 or 

e

. The program 

screen appears.

C

Press

 START  /

 (

number keys “1” 

and/or “4”

), 

STOP /

 (

number keys “2” 

and/or “5”

), 

DATE /

 (

number keys “3” 

and/or “6”

) or 

PR /

 repeatedly to enter 

the start time, stop time, date or channel.

Press and hold 

START /

 or 

STOP 

/

 to increase the time in 30-minute 

intervals.

To set the tape speed, press 

SP/LP

 (

p

).

To set the VPS/PDC mode, press 

VPS/PDC

 (

number key “7”

).

To timer-record daily (Monday–Friday) or weekly serials, press 

DAILY

 (

number key “8”

) or 

WEEKLY

 (

number key “9”

). Pressing 

the button again makes the “DAILY” or “WEEKLY” display 
disappear.

D

Press 

OK

 or 

PROG

.

E

Press 

#

. The recorder turns off automatically and “

#

” is 

displayed on the display panel.

To timer-record a satellite broadcast using Express Timer 
Programming:

A

Set “L-2 SELECT” to “A/V” (

10).

B

Perform steps

1

1

1

1

5

5

5

5

.

C

Set the satellite receiver to the appropriate channel before the 

selected programme begins.

D

Leave the satellite receiver’s power on.

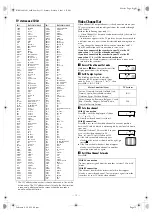
VPS/PDC Recording

Now available from some TV stations, PDC (Programme Delivery 
Control) and VPS (Video Programme System) are service designed 
to assure safe, accurate timer recording. With this system, your 
recorder will start and stop recording when the preset TV 
programmes actually start and end — even if the broadcast time of 
a preset TV programme is changed.

NOTE:

When you use Express Timer Programming, set the start time (VPS 
or PDC time) exactly as advertised in the TV listing.

How to check if the station being received transmits a VPS/PDC 
signal (Excepting in Central and Eastern Europe)

A

Press 

– –:– –

 until the channel position appears on the display 

panel.

B

Hold down 

9

 on the remote control for about 5 seconds. 

“VPS/PDC” appears blinking on the screen.
If a VPS/PDC signal is detected from the station, “VPS/PDC” will 
stop blinking.
If no VPS/PDC signal is detected from the station, “VPS/PDC” will 
blink at a slower rate.

C

Press 

– –:– –

 or 

9

 on the remote control again to return to 

normal screen.

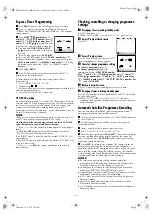
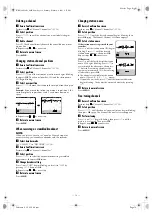
Checking, cancelling or changing programme 
settings

A

Disengage timer recording standby mode

Press 

#

, then press 

1

.

When “AUTO TIMER” is set to “ON” (

12), press only 

1

.

B

Access Program Check screen

Press 

"

.

C

Access Program screen

Press 

"

 again. Each time you press 

"

the next programme’s screen appears.

D

Cancel or change programme setting

To cancel a programme,

 press 

&

.

To change a programme,

 press the 

appropriate button:

START /

 (

number 

keys “1” and/or “4”

), 

STOP /

 (

number keys “2” and/or “5”

), 

DATE /

 (

number keys “3” and/or “6”

), 

DAILY 

(

number key 

“8”

), 

WEEKLY

 (

number key “9”

), 

PR /

VPS/PDC

 (

number key 

“7”

) and/or 

SP/LP

 (

p

).

E

Return to normal screen

Press 

"

 repeatedly until no Program screen is shown.

F

Re-engage timer recording standby mode

Press 

#

. The recorder turns off automatically and “

#

” is displayed 

on the display panel.

When “AUTO TIMER” is set to “ON” (

12), the timer 

recording standby mode automatically resumes when you turn 
off the recorder.

Automatic Satellite Programme Recording

You can automatically record a satellite programme which is 
timer-programmed on your satellite receiver.

A

Connect a satellite receiver to the L-2 IN/DECODER connector 

on the rear panel.

B

Set timer programme on satellite receiver referring to its 

instruction manual.

C

Load a cassette with the record safety tab intact.

D

Set “L-2 SELECT” to “A/V” or “SAT”. (

10)

E

To set the tape speed, press 

SP/LP

 (

p

). The current setting for 

the tape speed appears on the display panel or the screen for 
about 5 seconds. Press 

SP/LP

 (

p

) again to change the setting 

while tape speed is displayed.

F

Press 

SAT

#

 for more than 2 seconds. The recorder turns off 

automatically and enter the Automatic Satellite Programme 
Recording mode (the 

#

 and   indicators light up). When signals 

come into the recorder from the satellite receiver, the recorder 
starts recording (the 

#

 and   indicators blink). The recorder stops 

recording and turns off when signals stop coming in.

NOTES:

Be sure not to turn on the satellite receiver before the 
programme starts broadcasting; otherwise, the recorder starts 
recording when the satellite receiver is turned on.

To disengage the Automatic Satellite Programme Recording 
mode, press 

SAT

#

 (the 

#

 and 


indicators go off).

Depending on the type of satellite receiver, Automatic Satellite 
Programme Recording may not be compatible.

B.E.S.T. does not work in the Automatic Satellite Programme 
Recording mode.

Power Save mode does not work in the Automatic Satellite 
Programme Recording mode.

Just Clock does not work in the Automatic Satellite Programme 
Recording mode.

HR-S5960.5961_001EN.fm Page 9 Friday, February 14, 2003 1:46 PM

Summary of Contents for HR-S5960E

Page 1: ... signals for recording and playback 2 Recordings made of SECAM B television signals produce monochrome pictures if played back on a video recorder of SECAM L standard or do not produce normal colour pictures if played back on a PAL video recorder with SECAM B system incorporated even if the TV set is SECAM compatible 3 SECAM L prerecorded cassettes or recordings made with a SECAM L video recorder ...

Page 2: ... under extremely humid conditions just as water droplets form on the surface of a glass filled with cold liquid Moisture condensation on the head drum will cause damage to the tape In conditions where condensation may occur keep the recorder s power turned on for a few hours to let the moisture dry How to use the remote control Before use insert the lithium battery CR2032 correctly with the plus s...

Page 3: ...rding is not possible in Central and Eastern Europe I Type of broadcast J Current day month year K Clock L Channel and auxiliary input M Cassette loaded mark N S VHS ET indicator Buttons Connectors and Indicators Cassette loading slot Display panel Play indicator Record indicator Timer mode indicator Channel and auxiliary input Clock time Infrared beam receiving window SAT indicator VCR indicator ...

Page 4: ...our country then press OK The language is automatically selected for the on screen display depending on the country you have selected If you have selected BELGIUM or SUISSE the Language Set screen appears Press rt to place the pointer next to the desired language then press OK If you have selected MAGYARORSZÁG CESKÁ REPUBLIKA POLSKA or OTHER EASTERN EUROPE the Clock Set screen appears Press rt unt...

Page 5: ... Do not apply too much pressure when inserting The recorder turns on and the counter is reset automatically If the cassette s record safety tab has been removed playback begins automatically B Start playback Press 4 The S VHS indicator lights up when you play back a tape recorded in S VHS mode or in S VHS ET mode 墌 8 OUTPUT INPUT SET CLOCK SET Playback Turn on the TV and select the video channel o...

Page 6: ...ndex codes away press w or e 2 or 6 repeatedly until the correct number is displayed on the screen only if O S D is set to ON 墌 12 Example To locate the beginning of B from the current position press w twice To locate the beginning of D from the current position press e once Playback begins automatically when the desired recording is located Locating beginning of timer recordings Instant Review Af...

Page 7: ...ar or the display may blink on occasion Watching one programme while recording another If your recorder is connected to the TV via the AV connection 墌 4 press TV VCR The recorder s VCR indicator and the TV broadcast being recorded disappear Once recording is in progress all you need to do is to set the channel controls on the TV for the station you wish to view The programme selected with the TV s...

Page 8: ...e screen If the clock is not set CLOCK MUST BE SET appears on the screen If there is a conflict in the timer schedule and one programme overlaps with another the programme starting earlier or programme with the lower programme number will be recorded After timer recording is completed the recorder turns off automatically If the tape reaches its end during timer recordings the recording stops and 䡬...

Page 9: ...When AUTO TIMER is set to ON 墌 12 press only 1 B Access Program Check screen Press C Access Program screen Press again Each time you press the next programme s screen appears D Cancel or change programme setting To cancel a programme press To change a programme press the appropriate button START number keys 1 and or 4 STOP number keys 2 and or 5 DATE number keys 3 and or 6 DAILY number key 8 WEEKL...

Page 10: ...ECT to the appropritate mode depending on the type of appliance connected to the recorder s L 2 IN DECODER connector Set L 2 INPUT to the appropriate mode depending on the output signals of the connected appliance NOTES If you have a satellite receiver or a decoder connected to the L 2 IN DECODER connector be sure to set L 2 SELECT back to appropriate mode after editing If you are not connecting a...

Page 11: ...o MODE SET then press OK or e B Select mode Press rt to place the pointer next to the item you want to set C Change setting Press OK or e The default setting is bold in the following table Press MENU to return to normal screen 䡵 S VHS ET ON OFF When this function is set to ON you can record on VHS cassettes with S VHS picture quality Tapes recorded using this function can be played back on most S ...

Page 12: ...r Save does not work in the following cases When L 2 SELECT is set to DECODER or SAT or when the recorder is in the timer recording standby mode or in the Automatic Satellite Programme Recording mode or when the recorder s power is turned off after timer recording or ITR Instant Timer Recording 䡵 VIDEO STABILIZER ON OFF When this function is set to ON you can automatically correct vertical vibrati...

Page 13: ...language D Perform Auto Channel Set Press OK twice When Auto Channel Set is completed SCAN COMPLETED is displayed on the screen for about 5 seconds then the Confirmation screen appears When you select a country in Central or Eastern Europe for country setting station names ID are not stored automatically Change station names manually 墌 14 E Return to normal screen Press MENU NOTES Depending on rec...

Page 14: ...der setting Press e until OFF begins blinking and set it to ON by pressing rt Then press OK Repeat steps 3 3 3 3 4 4 4 4 as necessary E Return to normal screen Press MENU Changing station name A Access Confirmation screen Perform step 1 1 1 1 of Manual Channel Set 墌 13 B Select position Press rt w e until the desired channel begins blinking then press OK twice The Manual Channel Set screen appears...

Page 15: ... EUSP FEMM FILM FNET FR2 FR3 FR5 GALA HBO HR3 HSEU INFO ITA1 ITA7 ITV1 JIM JSTV KA2 KAB1 KAN2 KAN5 KBH KIKA LA7 LIB LOCA M6 MBC MCM MDR MOVE MTV MTV1 MTV2 MTV3 NGEO N24 N3 N TV NBC NDR NED1 NED2 NED3 NET5 NEWS TV1000 3SAT 9LIVE AB3 ADULT Animal Planet ANTENA3 ARD ARTE ATV BERLIN1 BBC GROUP BBC1 BBC2 BBCW TV BIO BLOOMBERG BAYERN3 CANAL PLUS PORTUGUSES C9 CANALE5 KETNET CANVAS KANAAL Z CHANNEL4 CHAN...

Page 16: ...type colour signal and CCIR monochrome signal 625 lines 50 fields Recording system DA4 Double Azimuth head helical scan system Signal to noise ratio 45 dB Horizontal resolution VHS 250 lines S VHS 400 lines Frequency range Normal audio 70 Hz to 10 000 Hz Hi Fi audio 20 Hz to 20 000 Hz Input Output 21 pin SCART connectors IN OUT x 1 IN DECODER x 1 RCA connectors AUDIO OUT x 1 TUNER TIMER TV channel...

Reviews: