43
9
3
6
8
2
5
7
1
4
0
+
–
00
00
00
00
00
00
00
00
00
00
0
00
00
00
00
00
00
00
00
00
00
0
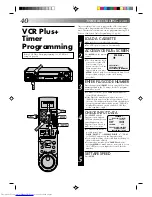
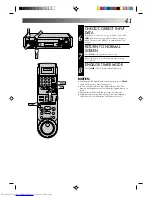
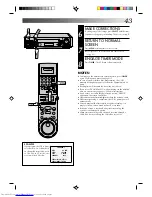
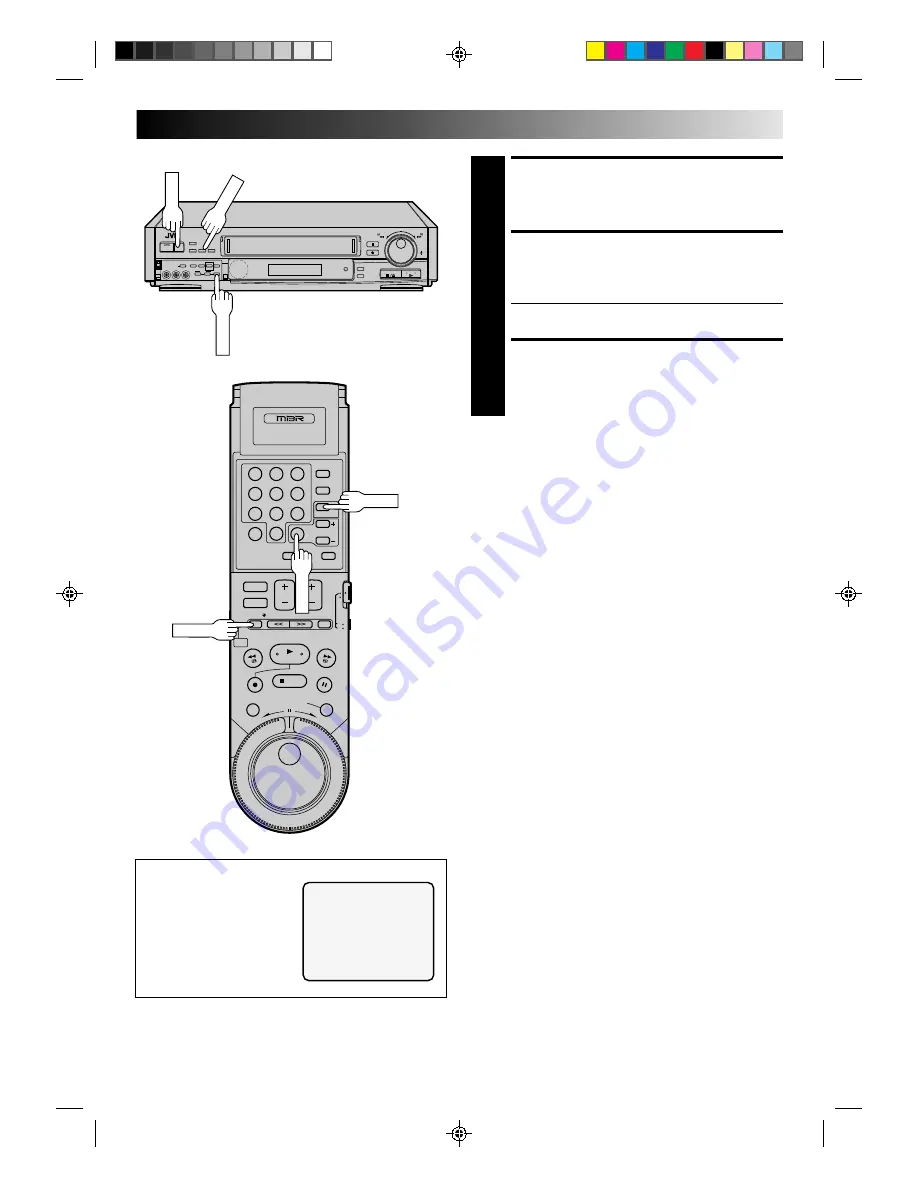
MAKE CORRECTIONS
6
To change any of the settings, press SELECT until the item
you want to change begins blinking. Then set as in step 5.
RETURN TO NORMAL
SCREEN
7
Press MENU as many times as necessary.
●
Press just once to access the Auto Timer screen
(
Z
pg. 45).
ENGAGE TIMER MODE
8
Press TIMER. The VCR turns off automatically.
EXAMPLE
If you program the VCR to timer
record a show on September 6
on channel 40 from 12:00 noon
to 1:00 PM in SP mode, the
screen will look like this:
PROGRAM 1
DATE 9/ 6 SUN
START 12:00 PM
STOP 1:00 PM
CHANNEL 40 SP
PRESS (SELECT, SET+/–)
PRESS (MENU) TO END
SELECT
MENU
TIMER
SELECT
TIMER
MENU
NOTES:
●
To disengage the timer before recording starts, press TIMER
again. Pressing once more re-engages it.
●
In case of a power failure after programming, the VCR’s
memory backup keeps your selections for approximately 20
hours.
●
Backup time will become shorter as the unit is used.
●
If you select "PROGRAM SET" without having set the date and
time, an error message appears. Follow its instructions.
●
If you enter a start time that has already passed, "ERROR"
appears on the screen and flashes.
●
Programs that start after midnight must have the next day’s date.
●
After timer recording is completed, the VCR’s power goes off
automatically.
●
You can program the timer while a regular recording is in
progress; the on-screen menu will not be recorded.
●
If the end of tape is reached during timer recording, the
cassette is automatically ejected.
●
When timer-recording cable channels received through a
Cable Box, be sure to keep the Cable Box set to ON.

