EN
7
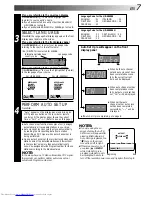
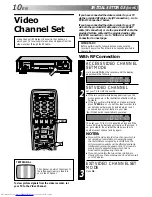
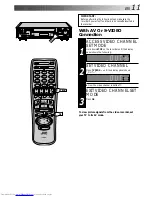
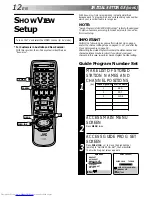
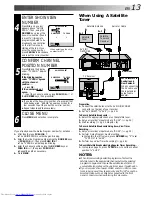
If you are referring to the on-screen display
Press PUSH JOG
%fi
to move the highlight bar
(pointer) to your country's name.
●
If you have selected a country other than BELGIUM
or SUISSE, go to step 4.
●
If you have selected BELGIUM or SUISSE, go to step 3.
SELECT LANGUAGE
3
Press OK. the Language Set display appears on the front
display panel and/or on the screen.
If you are referring to the front display panel
Press PUSH JOG
%fi
to select your language code
referring to the chart in the left column.
If you are referring to the on-screen display
Press PUSH JOG
%fi
to move the highlight bar (pointer)
to the language of your choice.
PERFORM AUTO SET UP
4
Press OK.
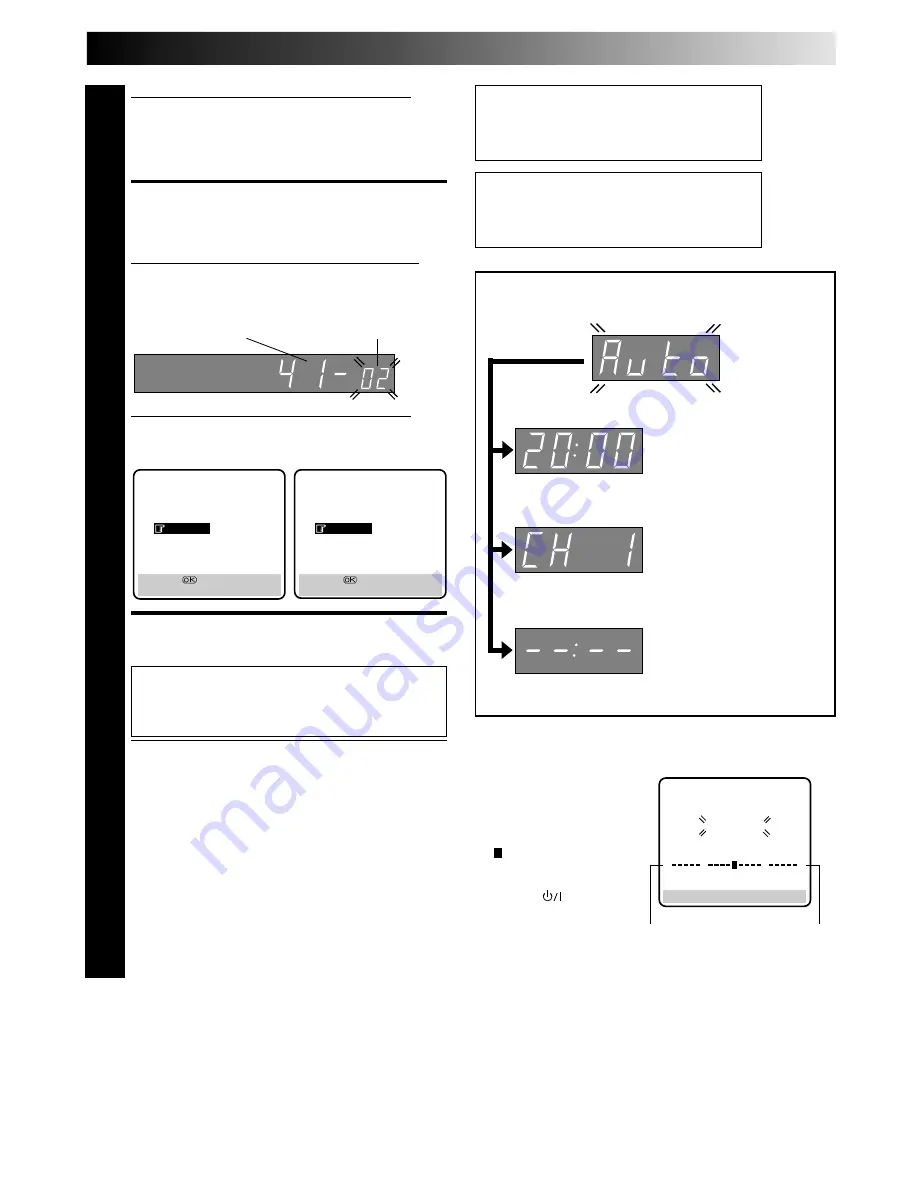
"Auto" appears on the display panel and blinks; do
NOT press any button on the recorder or remote
control until the display panel shows the current
time or "CH1" or "--:--". (Refer to box on this page.)
●
Auto channel set function takes place first; it assigns
automatically all receivable stations in your area.
●
Auto clock set function sets the clock automatically
by reading the clock setting data from a station
transmitting a PDC signal while auto channel set is
being performed.
●
During auto channel set, the recorder recognizes each
station name of the detected stations and stores them
in the recorder's memory, then automatically sets
S
HOW
V
IEW
assigned Guide Program number for those
stations according to the broadcast area.
NOTE:
In the area where no TV station transmits a PDC signal,
the recorder can perform neither auto clock set nor
auto Guide Program number set.
(Ex.) DEUTSCH is selected for SUISSE
International telephone
country code
Language code
For HR-S9400E
For HR-S9400EH
Language Code for the HR-S9400E
ENGLISH
: 01
ITALIANO
: 04
DEUTSCH
: 02
NEDERLANDS : 05
FRANCAIS
: 03
Language Code for the HR-S9400EH
ENGLISH
: 01
CASTELLANO : 04
DEUTSCH
: 02
NEDERLANDS : 05
FRANCAIS
: 03
●
When auto channel set has
been completed success-
fully but auto clock set has
not, "CH" will be displayed.
●
When neither auto
channel set nor auto clock
set has been completed
successfully, "--:--" will be
displayed.
●
When both auto channel
set and auto clock set have
been completed success-
fully the correct current
time will be displayed.
●
If Auto Set Up is completed, go to page 8.
Auto Set Up results appear on the front
display panel
NOTES:
●
If you are using the on-
screen display, the AUTO
SET screen will appear after
pressing OK in step 4. As
Auto Set Up progresses, the
" " mark on the screen
moves from left to right.
●
If there is a power cut, or if
you press
or MENU
while Auto Set Up is in
progress, Auto Set Up will
be interrupted; be sure to
turn off the recorder power once and try again from step 1.
AUTO SET
PLEASE WAIT
[MENU] : EXIT
0
+
+
+
Beginning
End
NEDERLANDS
ITALIANO
FRANCAIS
DEUTSCH
ENGLISH
[
5∞
]
=
[MENU] : ENDE
NEDERLANDS
CASTELLANO
FRANCAIS
DEUTSCH
ENGLISH
[
5∞
]
=
[MENU] : ENDE


