


ENGLISH
ESPAÑOL
FRANÇAIS
Instructions CD
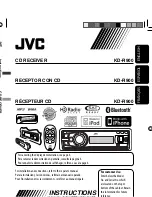
RECEIVER
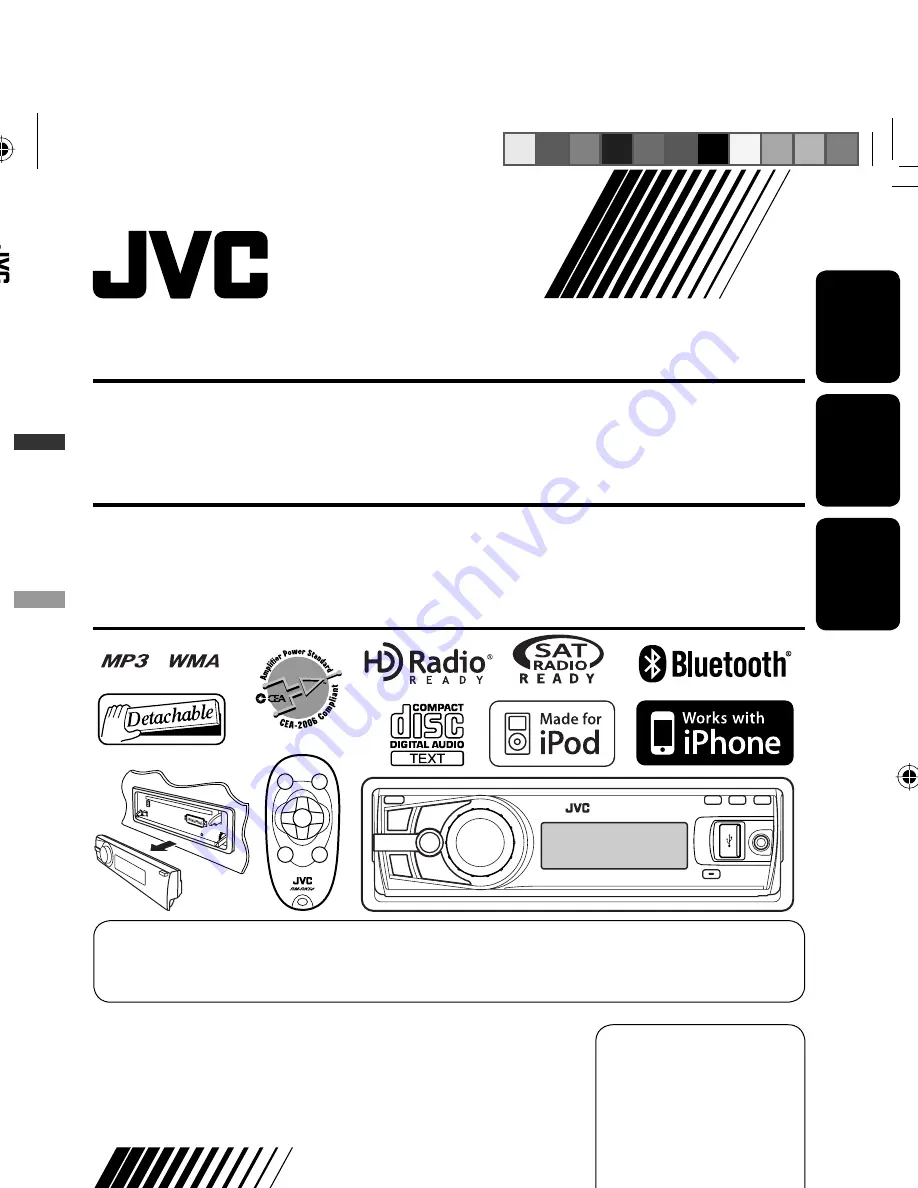
KD-R900
CD RECEIVER
RECEPTOR CON CD
RÉCEPTEUR CD
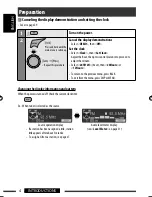
For canceling the display demonstration, see page 4.
Para cancelar la demostración en pantalla, consulte la página 4.
Pour annuler la démonstration des affichages, référez-vous à la page 4.
For installation and connections, refer to the separate manual.
Para la instalación y las conexiones, refiérase al manual separado.
Pour l’installation et les raccordements, se référer au manuel séparé.
GET0608-001A
[J]
For customer Use:
Enter below the Model
No. and Serial No. which
are located on the top or
bottom of the cabinet. Retain
this information for future
reference.
Model No.
Serial No.
KD-R900
Having TROUBLE with operation?
Please reset your unit
Refer to page of How to reset your unit
Still having trouble??
USA ONLY
Call 1-800-252-5722
http://www.jvc.com
We can help you!
EN, SP, FR
0209DTSMDTJEIN
© 2009 Victor Company of Japan, Limited
INSTRUCTIONS
MANUAL DE INSTRUCCIONES
MANUEL D’INSTRUCTIONS
KD-R900
KD-R900
CoverRear_KD-R900[J]f.indd 1
CoverRear_KD-R900[J]f.indd 1
1/8/09 2:04:38 PM
1/8/09 2:04:38 PM


