background image

GET0217-001A

[J]

INSTRUCTIONS

MANUAL DE INSTRUCCIONES

MANUEL D’INSTRUCTIONS
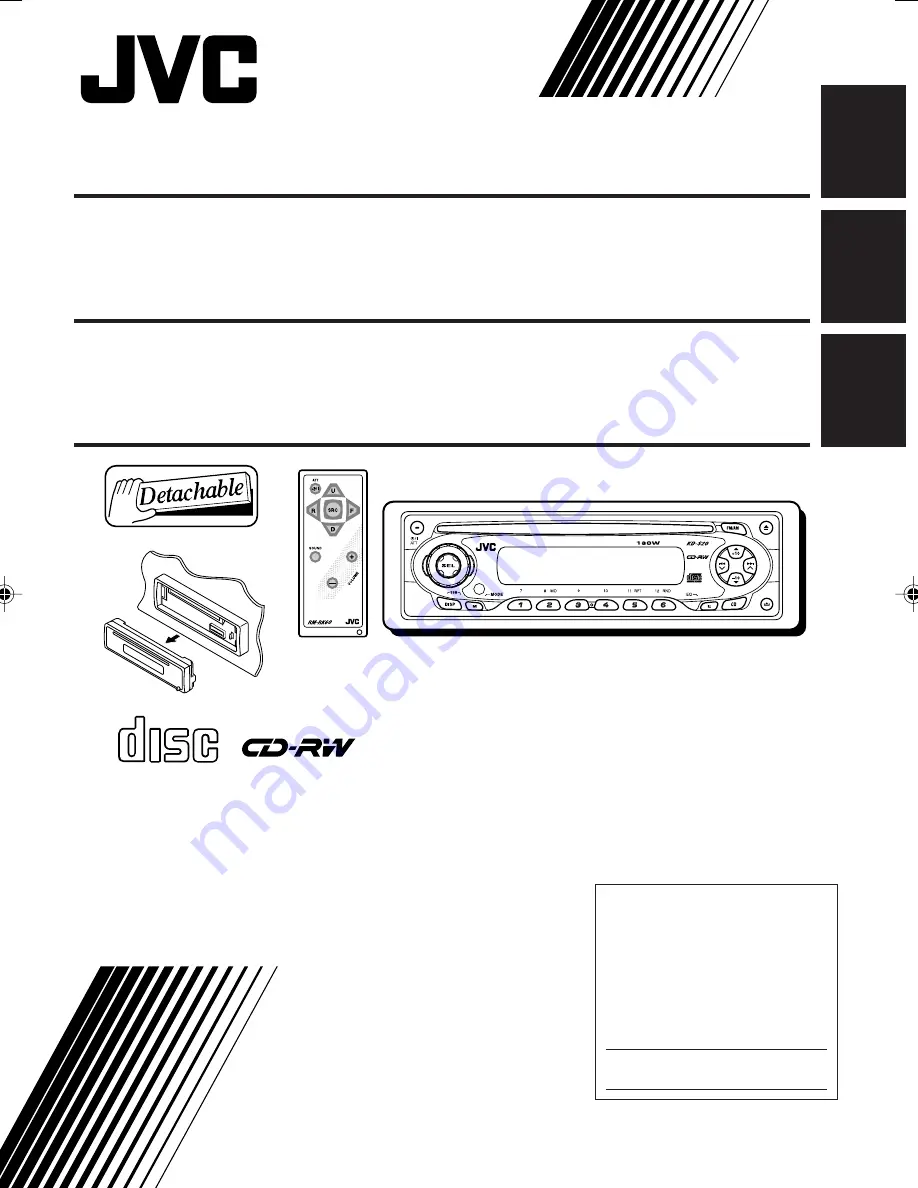
CD RECEIVER

KD-S20

ENGLISH

ESP

A

Ñ

OL

FRAN

Ç

AIS

For installation and connections, refer to the separate manual.
Para la instalación y las conexiones, refiérase al manual separado.
Pour l’installation et les raccordements, se référer au manuel séparé.

RECEPTEUR CD

KD-S20

RECEPTOR CON CD

KD-S20

For customer Use:
Enter below the Model No. and
Serial No. which are located on
the top or bottom of the
cabinet. Retain this information
for future reference.

Model No.

Serial No.

COMPACT

DIGITAL AUDIO

S

cover001AKD-S20[J]f.p65

14/11/03, 9:47 AM

3

Summary of Contents for KD-S20

Page 1: ...al Para la instalación y las conexiones refiérase al manual separado Pour l installation et les raccordements se référer au manuel séparé RECEPTEUR CD KD S20 RECEPTOR CON CD KD S20 For customer Use Enter below the Model No and Serial No which are located on the top or bottom of the cabinet Retain this information for future reference Model No Serial No COMPACT DIGITAL AUDIO S ...

Page 2: ...more of the following measures Reorient or relocate the receiving antenna Increase the separation between the equipment and receiver Connect the equipment into an outlet on a circuit different from that to which the receiver is connected Consult the dealer or an experienced radio TV technician for help IMPORTANT FOR LASER PRODUCTS 1 CLASS 1 LASER PRODUCT 2 CAUTION Do not open the top cover There a...

Page 3: ...sound 16 OTHER MAIN FUNCTIONS 17 Selecting the level display 17 Detaching the control panel 18 TROUBLESHOOTING 19 MAINTENANCE 20 Handling discs 20 SPECIFICATIONS 21 BEFORE USE For safety Do not raise the volume level too much as this will block outside sounds making driving dangerous Stop the car before performing any complicated operations Temperature inside the car If you have parked the car for...

Page 4: ...th DISP display button w Remote sensor e MO monaural button r Number buttons t RPT repeat button y RND random button u E EQ equalizer button i CD button o down button 10 button control panel release button Display window a EQ equalizer indicator s LOUD loudness indicator d CD in indicator f CD indicator g FM band indicators FM1 FM2 FM3 h AM band indicator j Tuner reception indicators MO monaural S...

Page 5: ...the same as the control dial on the main unit Note These buttons are not used for adjusting CLOCK H CLOCK M and LEVEL see pages 8 and 17 Remote controller 1 Turns on the unit if pressed when the unit is turned off Turns off the unit if pressed and held until SEE YOU appears on the display Drops the volume level in a moment if pressed briefly Press again to resume the volume 2 Searches for stations...

Page 6: ...cause the battery to give off heat crack or start a fire CAUTION DO NOT leave the remote controller in a place such as dashboards exposed to direct sunlight for a long time Otherwise it may be damaged Preparing the remote controller Before using the remote controller Aim the remote controller directly at the remote sensor on the main unit Make sure there is no obstacle in between Do not expose the...

Page 7: ...olume level press the button briefly again If you turn the control dial you can also restore the sound To turn off the power Press and hold for more than one second SEE YOU appears then the unit turns off If you turn off the power while listening to a CD CD play will start from where playback has been stopped previously next time you turn on the power CAUTION on Volume Setting CDs produce very lit...

Page 8: ...CLOCK M minute 2 Adjust the minute 4 Finish the setting To check the current clock time or change the display mode Press DISP display repeatedly Each time you press the button the display changes as follows During tuner operation During CD operation During power off The power turns on and the clock time is shown for 5 seconds then the power turns off Frequency Clock Clock Elapsed playing time CLOC...

Page 9: ...stops To stop searching before a station is received press the same button you have pressed for searching Searching a station manually Manual search 1 Select the band FM1 3 AM Each time you press the button the band changes as follows Note This receiver has three FM bands FM1 FM2 FM3 You can use any one of them to listen to an FM broadcast 2 Press and hold or 4 until M manual starts flashing on th...

Page 10: ... the station stored in number button 1 will be automatically tuned in SSM appears then disappears when automatic preset is over 3 Tune in to a station you want while M manual is flashing If you release your finger from the button the manual mode will automatically turns off after 5 seconds If you hold down the button the frequency keeps changing in 200 kHz intervals for FM and 10 kHz for AM until ...

Page 11: ...bers Notes A previously preset station is erased when a new station is stored in the same preset number Preset stations are erased when the power supply to the memory circuit is interrupted for example during battery replacement If this occurs preset the stations again Tuning in to a preset station You can easily tune in to a preset station Remember that you must store stations first If you have n...

Page 12: ...last received station If you change the source CD play also stops without ejecting the CD Next time you select CD as the source CD play starts from where playback has been stopped previously Notes If the ejected CD is not removed for about 15 seconds the CD is automatically inserted again into the loading slot to protect it from dust CD play will not start this time You can eject the CD even when ...

Page 13: ...to go back to the beginning of the current track Each time you press the button consecutively the beginning of the previous tracks is located and played back To go to a track quickly 10 and 10 buttons 1 Press M MODE to enter the functions mode while playing a CD 2 Press 10 or 10 The first time you press 10 or 10 button the track skips to the nearest higher or lower track with a track number of mul...

Page 14: ...de while playing a CD 2 Press RPT repeat while MODE is still flashing on the display so that TRK RPT appears on the display Each time you press the button track repeat play mode turns on and off alternately When track repeat play is turned on the RPT indicator lights up on the display The current track starts playing repeatedly RND disc random indicator RPT indicator Prohibiting CD ejection You ca...

Page 15: ...ntly selected sound mode See Adjusting the sound on page 16 CLASSIC POPS HIP HOP JAZZ USER ROCK Ex When you select ROCK Selecting preset sound modes C EQ custom equalizer You can select a preset sound mode C EQ custom equalizer suitable to the music genre Select the sound mode you want When you press the button once the last selected sound mode is recalled and applied to the current source Then ea...

Page 16: ...ble or loudness the adjustment you have made is stored for the currently selected sound mode C EQ including USER 2 If you are using a two speaker system set the fader level to 00 3 Normally the control dial works as the volume control So you do not have to select VOL to adjust the volume level 2 Adjust the setting 3 Repeat steps 1 and 2 to adjust the other items To reset each sound mode to the fac...

Page 17: ... hold SEL select for more than 2 seconds CLOCK H CLOCK M or LEVEL appears on the display 2 Select LEVEL if not shown on the display 3 Select the desired mode AUDIO 1 Shows the audio level indicator AUDIO 2 Alternates AUDIO 1 setting and illumination display OFF Erases the audio level indicator 4 Finish the setting Ex When you select AUDIO 2 AUDIO 2 AUDIO 1 OFF CLOCK M CLOCK H LEVEL ...

Page 18: ...Lift and pull the control panel out of the unit 3 Put the detached control panel into the provided case Attaching the control panel 1 Insert the left side of the control panel into the groove on the panel holder 2 Press the right side of the control panel to fix it to the panel holder Note on cleaning the connectors If you frequently detach the control panel the connectors will deteriorate To mini...

Page 19: ... CD Check the cords and connections Insert a CD into the loading slot Insert the CD correctly Causes The volume level is set to the minimum level Connections are incorrect The built in microcomputer may have functioned incorrectly due to noise etc Signals are too weak The antenna is not connected firmly CD is inserted upside down CD R CD RW is not finalized CD is locked The CD player may function ...

Page 20: ...tructions or cautions carefully Use only finalized CD Rs or CD RWs Some CD Rs or CD RWs may not be played back on this unit because of their disc characteristics and for the following reasons Discs are dirty or scratched Moisture condensation on the lens inside the unit The pickup lens inside the unit is dirty CD RWs may require a longer readout time since the reflectance of CD RWs is lower than t...

Page 21: ...ity 400 kHz 65 dB Frequency Response 40 Hz to 15 000 Hz Stereo Separation 35 dB Capture Ratio 1 5 dB AM Tuner Sensitivity 20 µV Selectivity 35 dB CD PLAYER SECTION Type Compact disc player Signal Detection System Non contact optical pickup semiconductor laser Number of channels 2 channels stereo Frequency Response 5 Hz to 20 000 Hz Dynamic Range 96 dB Signal to Noise Ratio 98 dB Wow and Flutter Le...

Page 22: ... TROUBLE with operation Please reset your unit Refer to page of How to Reset Still having trouble USA ONLY Call 1 800 252 5722 http www jvc com We can help you http www jvcmobile com Visit us on line for Technical Support Customer Satisfaction Survey US RESIDENTS ONLY ...

Page 23: ...tre véhicule n offre pas ce type d alimentation il vous faut un convertisseur de tension que vous pouvez acheter chez un revendeur d autoradios JVC ENGLISH This unit is designed to operate on 12 V DC NEGATIVE ground electrical systems If your vehicle does not have this system a voltage inverter is required which can be purchased at JVC car audio dealers 1 ESPAÑOL Esta unidad está diseñada para fun...

Page 24: ...ón trasera TROUBLESHOOTING The fuse blows Are the red and black leads connected correctly Power cannot be turned on Is the yellow lead connected No sound from the speakers Is the speaker output lead short circuited Sound is distorted Is the speaker output lead grounded Are the terminals of L and R speakers grounded in common Noise interfere with sounds Is the rear ground terminal connected to the ...

Page 25: ...rasero Enceinte gauche arrière Right speaker front Altavoz derecho delantero Enceinte droit avant Left speaker front Altavoz izquierdo delantero Enceinte gauche avant Right speaker rear Altavoz derecho trasero Enceinte droit arrière Ignition switch Interruptor de encendido Interrupteur d allumage Typical Connections Conexiones tipicas Raccordements typiques Antenna terminal Terminal de la antena B...

Page 26: ...dad Desconecte los altavoces de esta unidad y conéctelos al amplificador Los cables de los altavoces de esta unidad quedan sin usar 3 Firmly attach the ground wire to the metallic body or to the chassis of the car to the place not coated with paint if coated with paint remove the paint before attaching the wire Failure to do so may cause damage to the unit 3 Fije firmemente el cable de tierra a la...

Reviews: