
GET0009-001A
[U]
For installation and connections, refer to the separate manual.
!"#$%&'()*+,-./0
°√ÿ≥“¥Ÿ§ŸË¡◊Õ∑’Ë·¬°µË“ßÀ“° „π°“√µ‘¥µ—Èß·≈–°“√‡™◊ËÕ¡µËÕ
ENGLISH
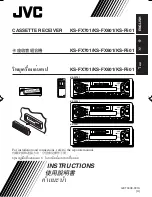
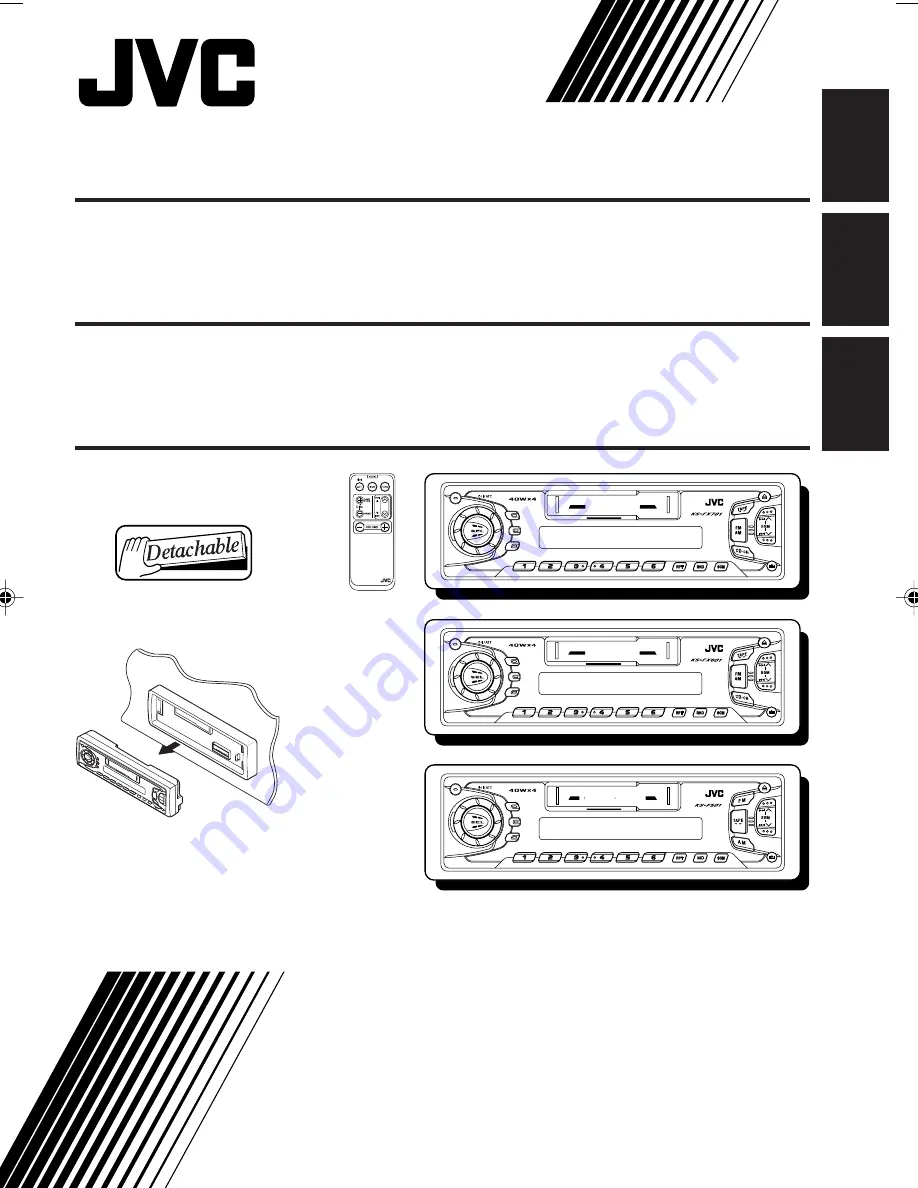
CASSETTE RECEIVER
KS-FX701/KS-FX601/KS-F501
!"#$
KS-FX701/KS-FX601/KS-F501
‰∑¬
KS-FX701
KS-FX601
KS-F501
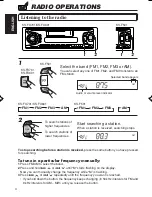
Scan
Music
Multi
MO
DISP
DISP
SCAN
SCAN
LOUD
LOUD
8
9
10
11
12
7
Scan
Music
Multi
DISP
DISP
SCAN
SCAN
LOUD
LOUD
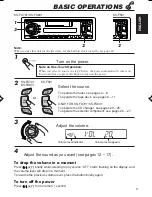
DETACHABLE CONTROL PANEL
DETACHABLE CONTROL PANEL
Scan
Music
Multi
MO
DISP
DISP
SCAN
SCAN
LOUD
LOUD
8
9
10
11
12
7
CD CHANGER CONTROL
CD CHANGER CONTROL
CD CHANGER CONTROL
CD CHANGER CONTROL
RM-RK31
«‘∑¬ÿ‡§√◊ËÕ߇≈Ëπ‡∑ª
KS-FX701/KS-FX601/KS-F501
INSTRUCTIONS
!"
§”·π–π”
COVER.KS-FX701/601/KS-F501[U]f
29/11/00, 14:28
1


