background image

GET0141-001A

[EE]

INSTRUCTIONS

ИНСТРУКЦИИ ПО ЭКСПЛУАТАЦИИ
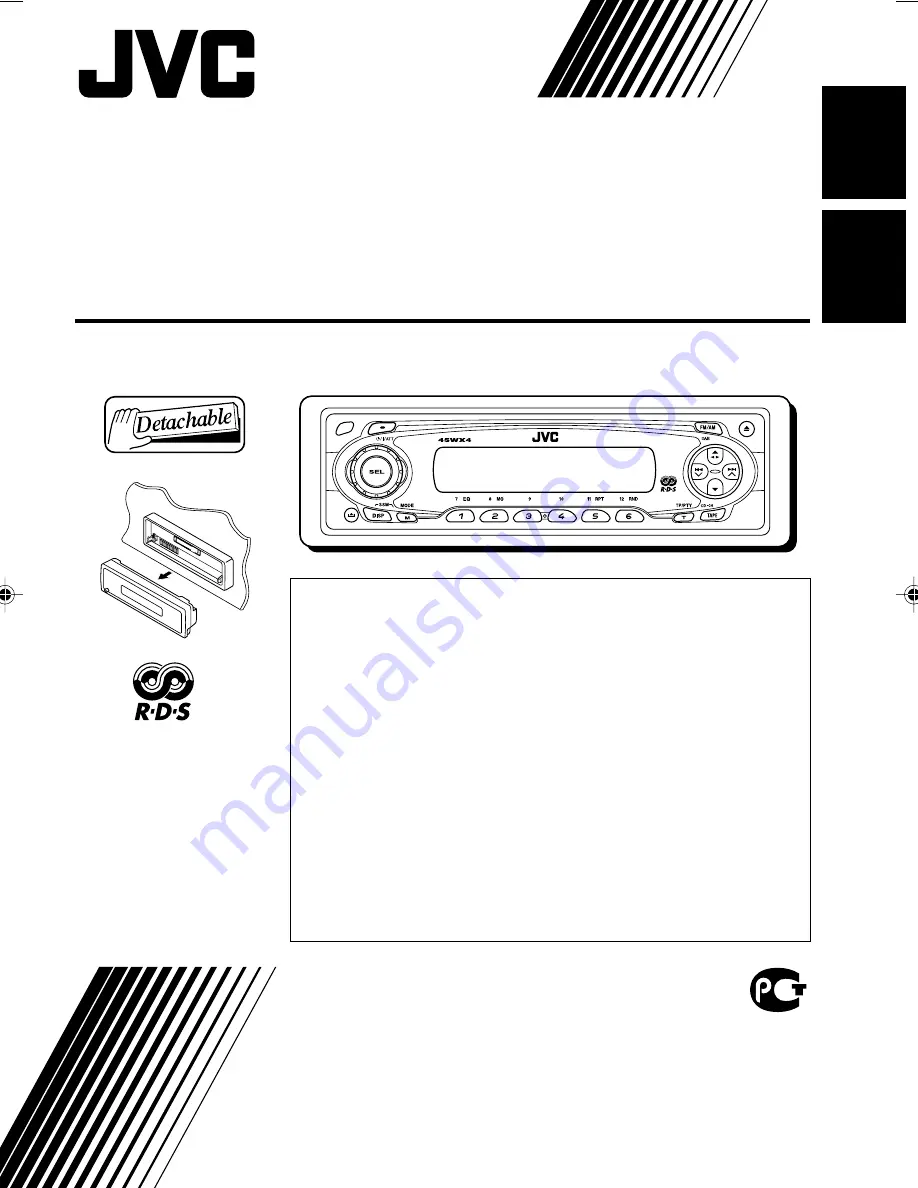
KS-FX845R

CASSETTE RECEIVER

РЕСИВЕР С КАССЕТНЫМ ПРОИГРЫВАТЕЛЕМ

ENGLISH

Р

УCCKИЙ

For installation and
connections, refer to the
separate manual.

Указания по установке
и выполнению
соединений приводятся
в отдельной
инструкции.

В соответствии с Законом Российской Федерации “О защите прав

потребителей” срок службы (годности) данного товара “по истечении
которого он может представлять опасность для жизни, здоровья
потребителя, причинять вред его имуществу или окружающей среде”
составляет семь (7) лет со дня производства. Этот срок является
временем, в течение которого потребитель данного товара может
безопасно им пользоваться при условии соблюдения инструкции по
эксплуатации данного товара, проводя необходимое обслуживание,
включающее замену расходных материалов и/или соответствующее
ремонтное обеспечение в специализированном сервисном центре.

Дополнительные косметические материалы к данному товару,

поставляемые вместе с ним, могут храниться в течение двух (2) лет со
дня его производства.

Срок службы (годности), кроме срока хранения дополнительных

косметических материалов, упомянутых в предыдущих двух пунктах, не
затрагивает никаких других прав потребителя, в частности,
гарантийного свидетельства JVC, которое он может получить в
соответствии с законом о правах потребителя или других законов,
связанных с ним.

KS-FX845R

Cover_001A_KS-FX845R[EE]f.p65

3/5/03, 11:58 AM

3

Summary of Contents for KS-FX845R

Page 1: ...ется временем в течение которого потребитель данного товара может безопасно им пользоваться при условии соблюдения инструкции по эксплуатации данного товара проводя необходимое обслуживание включающее замену расходных материалов и или соответствующее ремонтное обеспечение в специализированном сервисном центре Дополнительные косметические материалы к данному товару поставляемые вместе с ним могут х...

Page 2: ... you press M MODE the unit goes into functions mode then the number buttons work as different function buttons When connecting a JVC MP3 compatible CD changer The 5 buttons will also work as 10 10 buttons after pressing M MODE Ex When number button 2 works as MO monaural button To use these buttons for original functions again after pressing M MODE wait for 5 seconds without pressing any of these ...

Page 3: ...nside the car If you have parked the car for a long time in hot or cold weather wait until the temperature in the car becomes normal before operating the unit How to reset your unit 2 How to use the M MODE button 2 LOCATION OF THE BUTTONS 4 Control panel 4 BASIC OPERATIONS 5 Turning on the power 5 Setting the clock 6 RADIO OPERATIONS 7 Listening to the radio 7 Storing stations in memory 9 Tuning i...

Page 4: ...er c Main display v RND random indicator Lights up only when connecting to a CD changer b RPT repeat indicator Control panel 1 Remote sensor 2 Control dial 3 standby on attenuator button 4 SEL select button 5 FM AM DAB button 6 5 up button 23 tape direction button 7 0 eject button 8 4 buttons 9 control panel release button p DISP display button Also functions as SSM buttons when pressed together w...

Page 5: ...ge 31 To operate the DAB tuner see pages 32 35 To increase the volume To decrease the volume 3 Adjust the volume 4 Adjust the sound as you want See pages 21 and 22 To drop the volume in a moment Press briefly while listening to any source ATT starts flashing on the display and the volume level will drop in a moment To resume the previous volume level press the button briefly again If you turn the ...

Page 6: ...H 1 2 1 2 5 Finish the setting To check the current clock time or change the display mode Press DISP display repeatedly Each time you press the button the display mode changes as follows During tuner operation For the indication change during RDS operation see page 16 For the indication change during DAB operation see page 33 During tape operation During CD changer operation During external compon...

Page 7: ...FM bands FM1 FM2 FM3 You can use any one of them to listen to an FM broadcast To search stations of higher frequencies To search stations of lower frequencies 2 Start searching a station When a station is received searching stops To stop searching before a station is received press the same button you have pressed for searching Note FM1 and FM2 87 5 MHz 108 0 MHz FM3 65 00 MHz 74 00 MHz Selected b...

Page 8: ...requencies MO monaural indicator Searching a station manually Manual search 1 Select the band FM1 3 AM Each time you press the button the band changes as follows Note This receiver has three FM bands FM1 FM2 FM3 You can use any one of them to listen to an FM broadcast 2 Press and hold or 4 until M manual starts flashing on the display 3 Tune in to a station you want while M manual is flashing If y...

Page 9: ...e band number you have selected FM1 FM2 or FM3 These stations are preset in the number buttons No 1 lowest frequency to No 6 highest frequency When automatic preset is over the station stored in number button 1 will be automatically tuned in SSM appears then disappears when automatic preset is over Manual preset You can preset up to 6 stations in each band FM1 FM2 FM3 and AM manually Ex Storing FM...

Page 10: ... supply to the memory circuit is interrupted for example during battery replacement If this occurs preset the stations again Tuning in to a preset station You can easily tune in to a preset station Remember that you must store stations first If you have not stored them yet see Storing stations in memory on pages 9 and 10 1 Select the band FM1 3 AM Each time you press the button the band changes as...

Page 11: ...wo types of the RDS data are used to make Network Tracking Reception work correctly PI Programme Identification and AF Alternative Frequency Without receiving these data correctly from the RDS station you are listening to Network Tracking Reception will not operate To use Network Tracking Reception You can select the different modes of network tracking reception to continue listening to the same p...

Page 12: ...asting a traffic announcement TRAFFIC appears on the display and this unit automatically tunes in to the station The volume changes to the preset TA volume level see page 16 and the traffic announcement can be heard If the TP indicator flashes TA Standby Reception is not yet activated since the station being received does not provide the signals used for TA Standby Reception To activate TA Standby...

Page 13: ...en the current source is FM the PTY indicator either lights up or flashes If the PTY indicator lights up PTY Standby Reception is activated If a station starts broadcasting the selected PTY programme this unit automatically tunes in to the station If the PTY indicator flashes PTY Standby Reception is not yet activated since the station being received does not provide the signals used for PTY Stand...

Page 14: ...age 15 To store your favorite programme types 1 Press and hold T TP PTY for more than 2 seconds while listening to an FM station 2 Select one of the twenty nine PTY codes See page 17 Selected code name appears on the display 3 Press and hold the number button for more than 2 seconds to store the PTY code selected into the preset number you want MEMORY and the selected code name will appear alterna...

Page 15: ...tation is broadcasting Programme search The unit takes some time to tune in to another station using programme search To activate programme search follow the procedure below See also Changing the general settings PSM on page 23 1 Press and hold SEL select for more than 2 seconds so that one of the PSM items appears on the display 2 Press or 4 to select P Programme SEARCH 3 Turn the control dial cl...

Page 16: ...than 2 seconds so that one of the PSM items appears on the display 2 Press or 4 to select TA VOL TA volume 3 Turn the control dial to set to the desired volume You can set it from VOL 00 to VOL 50 4 Press SEL select to finish the setting Automatic clock adjustment When shipped from the factory the clock built in this unit is set to be readjusted automatically using the CT Clock Time data in the RD...

Page 17: ...N Programmes dealing with any aspect of belief or faith or the nature of existence or ethics PHONE IN Programmes where people can express their views either by phone or in a public forum TRAVEL Programmes about travel destinations package tours and travel ideas and opportunities LEISURE Programmes concerned with recreational activities such as gardening cooking fishing etc JAZZ Jazz music COUNTRY ...

Page 18: ...e changes to the previously selected one If you change the source tape play also stops without ejecting the cassette this time You can also eject the cassette by pressing 0 while the unit is turned off To fast forward and rewind a tape To stop fast forward and rewind at any position on the tape press 23 Tape play starts from that position on the tape Notes When one side of the tape reaches its end...

Page 19: ...n specify up to 9 tunes ahead of or before the current tune During playback Specify the tune you want to locate how many tunes ahead of or before the current tune Each time you press the buttons the number changes up to 9 When the beginning of the specified tune is located playback starts automatically Notes While locating a specified tune If the tape is rewound to its beginning playback starts fr...

Page 20: ...et parts or non recorded portions during tunes Tapes with short non recorded sections Tapes with high level noise or humming between tunes Tapes with tunes recorded at low recording levels Lights up when Repeat Play is turned on Prohibiting cassette ejection You can prohibit cassette ejection and lock a cassette in the cassette compartment While pressing TAPE CD CH press and hold for more than 2 s...

Page 21: ... the setting is canceled before you finish start from step 1 again 1 Press M MODE to enter the functions mode 2 Press EQ equalizer while still in the functions mode The last selected sound mode is recalled and applied to the current source 3 Select the sound mode you want Each time you press the button the sound modes change as follows Note You can adjust each sound mode to your preference Once yo...

Page 22: ...eble or loudness the adjustment you have made is stored for the currently selected sound mode C EQ including USER 2 If you are using a two speaker system set the fader level to 00 3 Normally the control dial work as the volume control So you do not have to select VOL to adjust the volume level 2 Adjust the setting 3 Repeat steps 1 and 2 to adjust the other items To reset each sound mode to the fac...

Page 23: ...re 1 Press and hold SEL select for more than 2 seconds so that one of the PSM items appears on the display See page 24 2 Select the PSM item you want to adjust See page 24 3 Adjust the PSM item selected 4 Repeat steps 2 and 3 to adjust the other PSM items if necessary 5 Finish the setting Ex If you have selected CLOCK H previously Ex When you select LEVEL Ex When you select AUDIO 2 ...

Page 24: ...ch DAB AF 2 Alternative frequency DAB VOL 2 DAB volume adjustment LEVEL Level display TEL Telephone muting B SKIP Blank skip EXT IN 3 External component 0 23 1 12 00 59 0 0 00 6 OFF ON OFF 19 CHANGER LINE IN CHANGER 25 AUDIO 2 25 1 Displayed only when the DAB AF is set to AF OFF 2 Displayed only when the DAB tuner is connected 3 Displayed only when one of the following sources is selected FM AM an...

Page 25: ...UTING 1 or MUTING 2 whichever mutes the sounds from this unit When shipped from the factory this mode is deactivated MUTING 1 Select this if this setting can mute the sounds while using the cellular phone MUTING 2 Select this if this setting can mute the sounds while using the cellular phone OFF Cancels the telephone muting To select the external component to use EXT IN You can connect the externa...

Page 26: ...el 2 Pull the control panel out of the unit 3 Put the detached control panel into the provided case Attaching the control panel 1 Insert the right side of the control panel into the groove on the panel holder 2 Press the left side of the control panel to fix it to the panel holder Note on cleaning the connectors If you frequently detach the control panel the connectors will deteriorate To minimize...

Page 27: ...y back MP3 discs You cannot use the KD MK series CD changers with this unit Before operating your CD changer Refer also to the Instructions supplied with your CD changer If no discs are in the magazine of the CD changer or the discs are inserted upside down NO CD will appear on the display If this happens remove the magazine and set the discs correctly If no magazine is loaded in the CD changer NO...

Page 28: ...ach time you press the button consecutively the beginning of the previous tracks files is located and played back Press and hold during play to fast forward the track file When the current disc is a CD Playback starts from the first track of the current disc Notes When you press TAPE CD CH the power automatically comes on You do not have to press to turn on the power If you change the source CD ch...

Page 29: ...n using JVC MP3 compatible CD changer CH X1500 To go to a track file quickly 1 Press M MODE to enter the functions mode while playing a disc 2 Press 5 up or down while still in the functions mode The first time you press 5 up or down button the track file skips to the nearest higher or lower track with a track file number of multiple ten ex 10th 20th 30th Then each time you press the button you ca...

Page 30: ...ht up disc Selecting the playback modes To play back tracks files at random Disc Random Magazine Random Play 1 Press M MODE to enter the functions mode during play 2 Press RND random while still in the functions mode so that DISC RND or MAG RND appears on the display Each time you press the button the random play mode changes as follows Note MP3 indicator also lights up if the current playing disc...

Page 31: ...dure select the external input correctly See To select the external component to use EXT IN on page 25 1 Select the external component LINE IN If LINE IN does not appear on the display see page 25 and select the external input LINE IN Displayed only when one of the following sources is selected FM AM and TAPE Note on One Touch Operation When you press TAPE CD CH the power automatically comes on Yo...

Page 32: ...TAINMENT dealer Refer also to the Instructions supplied with your DAB tuner What is DAB system DAB is one of the digital radio broadcasting systems available today It can deliver CD quality sound without any annoying interference and signal distortion Furthermore it can carry text pictures and data In contrast to FM broadcast where each programme is transmitted on its own frequency DAB combines se...

Page 33: ...edly until the ensemble you want is reached If you hold down the button the frequency keeps changing until you release the button 5 Press 5 up or down to select a service either primary or secondary you want to listen to To restore the FM AM tuner Press and hold FM AM DAB again Storing DAB services in memory You can preset up to 6 DAB services in each DAB band DAB1 DAB2 and DAB3 manually Before yo...

Page 34: ...f the selected primary service has some secondary services pressing the same number button repeatedly will tune in to the secondary services 3 Tune in to an ensemble you want 4 Select a service of the ensemble you want to listen to 5 Press and hold the number button in this example 1 you want to store the selected service into for more than 2 seconds 6 Repeat the above procedure to store other DAB...

Page 35: ...o that one of the PSM items appears on the display 2 Press or 4 to select DAB AF alternative frequency 3 Turn the control dial to select the desired mode AF ON Traces the program among DAB services and FM RDS stations Alternative Reception The AF indicator lights up on the display see page 11 AF OFF Alternative Reception is deactivated 4 Press SEL select to finish the setting Note When Alternative...

Page 36: ... holder 3 Return the battery holder Insert again the battery holder by pushing it until you hear a clicking sound Lithium coin battery product number CR2025 Remote sensor WARNING Store the battery in a place where children cannot reach If a child accidentally swallows the battery consult a doctor immediately Do not recharge short disassemble or heat the battery or dispose of it in a fire Doing any...

Page 37: ...s if pressed and held while listening to a cassette To release this operation press button 2 to resume playback Functions as Multi Music Scan buttons if pressed while listening to a cassette To release this operation press button 2 to resume playback Fast forwards or reverses the track file if pressed and held while listening to the CD changer Skips to the beginning of the next track file or goes ...

Page 38: ... cleaning tape Causes The volume level is set to the minimum level Connections are incorrect The built in microcomputer may have functioned incorrectly due to noise etc Signals are too weak The aerial is not connected firmly Cassette is locked You have tried to insert a cassette in the wrong way This is not a malfunction The tape head is dirty Symptoms Sound cannot be heard from the speakers This ...

Page 39: ...any MP3 files No magazine is loaded in the CD changer MP3 files do not have the extension code mp3 in their file names MP3 files are not recorded in the format compliant with ISO 9660 Level 1 Level 2 or Joliet The file played back is not an MP3 file although it has the extension code mp3 Readout time varies due to the complexity of the folder file configuration Playback order is determined when th...

Page 40: ...ses after use Do not store cassettes in the following places Subject to direct sunlight With high humidity At extremely hot temperatures CAUTION Do not play the cassettes with peeling labels otherwise they can damage the unit Tighten tapes to remove slack since loose tape may become entangled with the mechanism Do not leave a cassette in the cassette compartment after use as the tape may become sl...

Page 41: ...to 1 620 kHz LW 144 kHz to 279 kHz FM Tuner Usable Sensitivity 11 3 dBf 1 0 µV 75 Ω 50 dB Quieting Sensitivity 16 3 dBf 1 8 µV 75 Ω Alternate Channel Selectivity 400 kHz 65 dB Frequency Response 40 Hz to 15 000 Hz Stereo Separation 35 dB Capture Ratio 1 5 dB MW Tuner Sensitivity 20 µV Selectivity 35 dB LW Tuner Sensitivity 50 µV CASSETTE DECK SECTION Wow Flutter 0 11 WRMS Fast Wind Time 100 sec C ...

Page 42: ...set your unit Refer to page of How to reset your unit Затруднения при эксплуатации Пожалуйста перезагрузите Ваше устройство Для получения информации о перезагрузке Вашего устройства обратитесь на соответствующую страницу 2003 VICTOR COMPANY OF JAPAN LIMITED J VC ...

Page 43: ...уже прикреплена При отправке с завода панель управления упакована в твердую коробку 2 Удалите декоративную панель 3 Удалите муфту после освобождения запоров муфты 1 Установите устройство Примечание Устанавливайте устройство таким образом чтобы не повредить предохранитель расположенный сзади 2 Вставьте два рычага между устройством и муфтой как показано на рисунке для освобождения запоров муфты 3 Уд...

Page 44: ...езиновый чехол Parts list for installation and connection The following parts are provided with this unit After checking them please set them correctly Hard case Control panel Жесткий футляр панель управления Sleeve Муфта Trim plate Декоративную панель Power cord Кабель питания 3 2 1 Control panel Панель управления Trim plate Декоративную панель Handle Рычаг Bracket Кронштейн Bracket Кронштейн Not...

Page 45: ...ства см схему подключения ниже к шасси автомобиля при помощи более коротких и толстых проводов Если помехи не исчезают обратитесь к дилеру JVC IN CAR ENTERTAINMENT Максимальная входная мощность громкоговорителей должна быть больше 45 Вт сзади и 45 Вт впереди при полном сопротивлении от 4 Ω до 8 Ω Нe забудьте заземлить устройство на шасси автомобиля Радиатор во время использования сильно нагреваетс...

Page 46: ... Fig 1 и Fig 2 НЕ подключайте устройство с помощью первоначальной проводки громкоговорителей Если Вы это сделаете устройство будет серьезно повреждено Переделайте проводку громкоговорителей так чтобы Вы могли подключить устройство к громкоговорителям как это показано на Fig 3 Если проводка громкоговорителей в Вашем автомобиле такая как показано на Fig 3 Вы можете подключить устройство с помощью пе...

Reviews: