1
KW-DB60
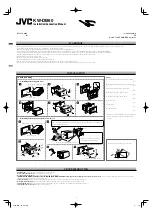
Installation/Connection Manual
1112MYHSANJEIN
EN
© 2012 JVC KENWOOD Corporation
LVT2445-002A
[B]
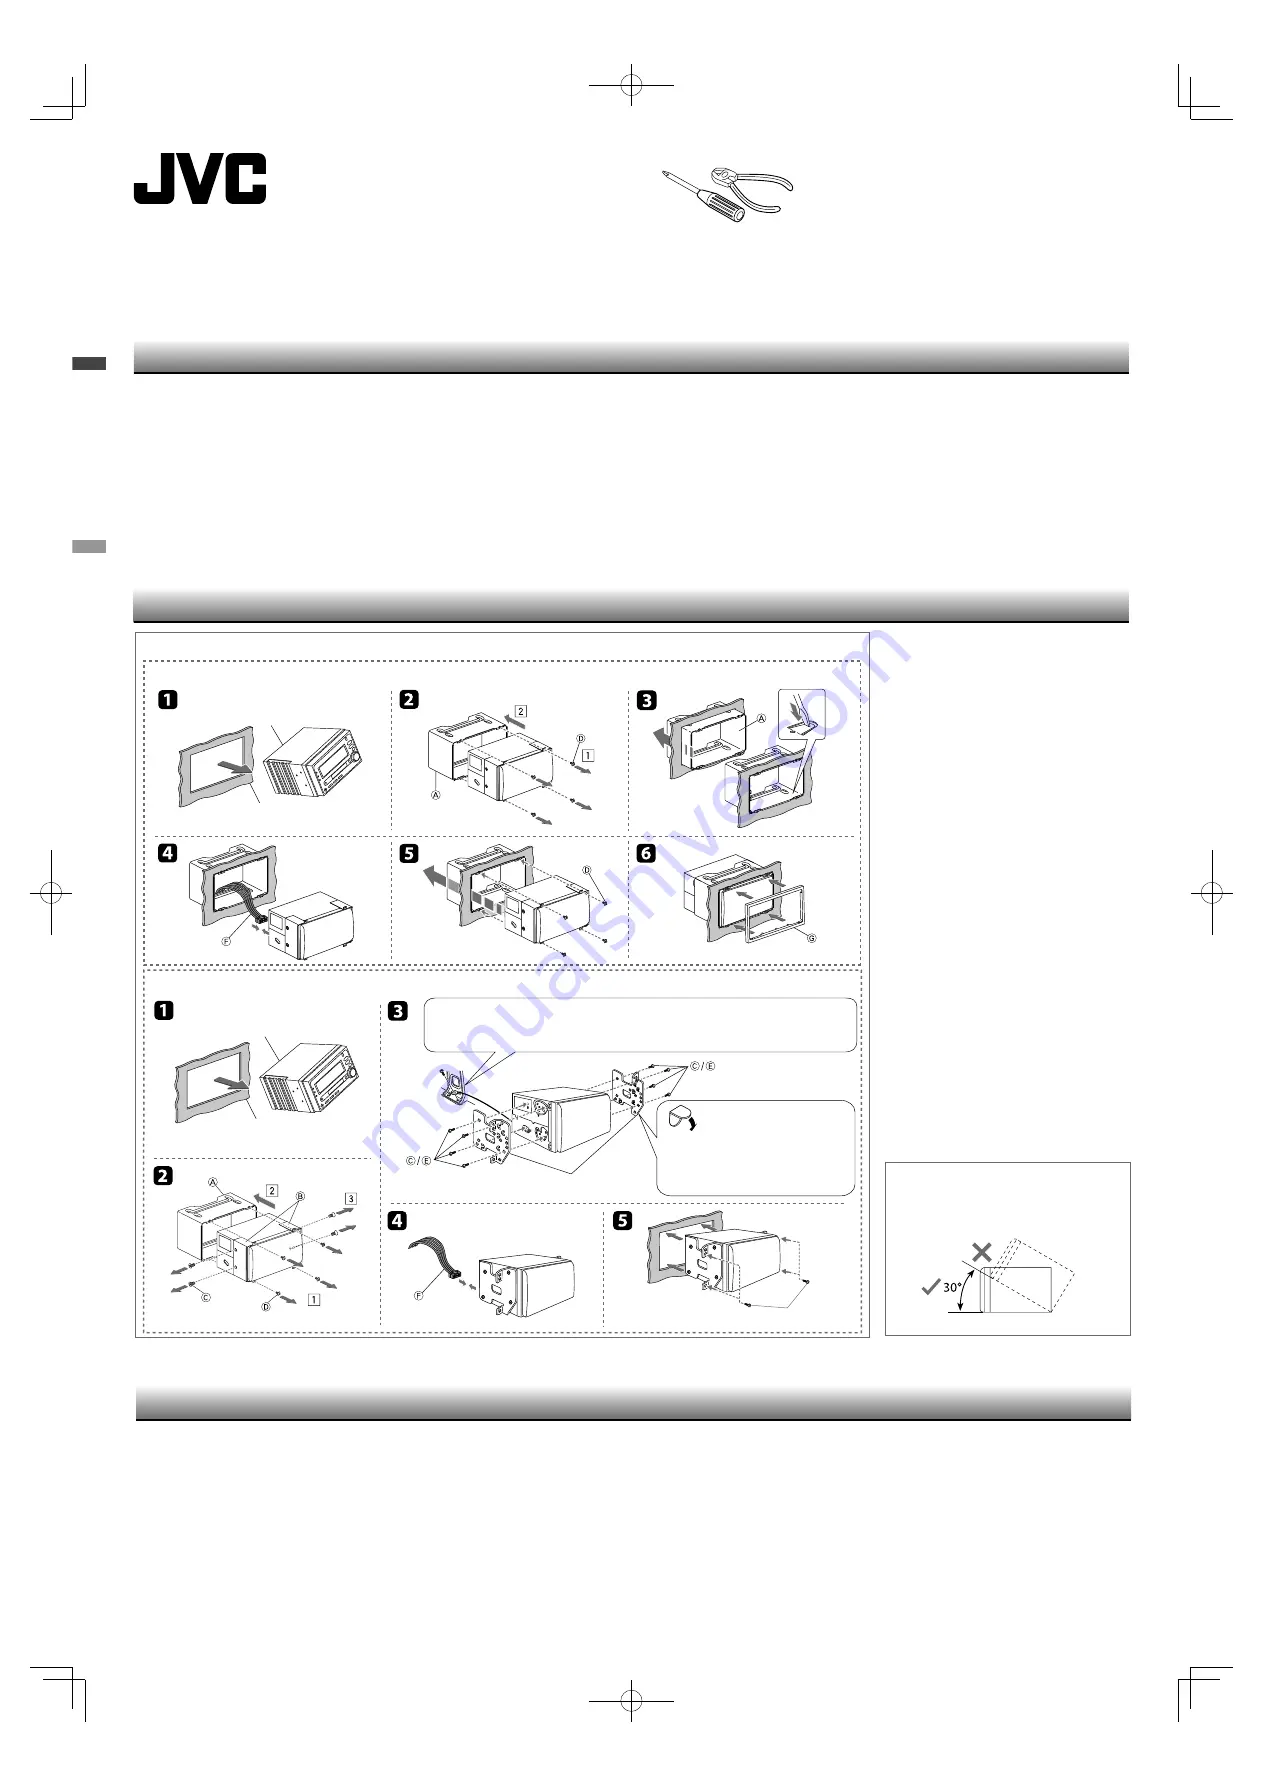
INSTALLATION
WARNINGS
• Mounting and wiring this product requires skills and experience. For safety’s sake, leave this work to professionals. If you experience problems during installation, consult your JVC car audio dealer.
• The unit can only be installed in a car with a 12 V DC power supply, negative ground.
• Disconnect the battery’s negative terminal and make all electrical connections before installing the unit.
• Connect speakers with a maximum power of more than 50 W (impedance of 4 Ω to 8 Ω). Otherwise, change the <AMP GAIN> setting. (See page 18 of the INSTRUCTIONS.)
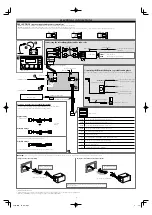
• Insulate unconnected wires with vinyl tape or other similar material. To prevent a short circuit, do not remove the caps on the ends of the unconnected wires or the terminals.
• If the fuse blows, first make sure the wires are not touching to cause a short circuit, then replace the old fuse with one that has the same rating.
• Install this unit in the console of your vehicle.
• Mount the unit so that the mounting angle is 30° or less.
• Be sure to ground this unit to the car’s chassis again after installation.
• After the unit is installed, check whether the brake lamps, blinkers, wipers, etc. on the car are working properly.
• Do not touch the metal part of this unit during and shortly after the use of the unit. Metal part such as the heat sink and enclosure become hot.
In-dash mounting
(A) Installing with the supplied sleeve
Audio system originally installed
in the car
Audio system originally installed in the car
Car dashboard
Car dashboard
If there is an interfering tab on the
mounting bracket, bend it flat.
Screw removed from the car
Mounting bracket removed from the car
Firmly attach the ground wire to the metallic body of the car using the screw originally fixed
to the metallic body of the car.
(B) Installing with the mounting brackets from the car
Install the unit at an angle of less than 30˚.
Part list
A
Sleeve (fitted to the main unit when shipped)
.......................................................................................................(×1)
B
Brackets (fitted to the main unit when shipped)
.......................................................................................................(×2)
C
* Flat countersunk screws—M5 × 8 mm
.......................................................................................................(×8)
D
* Round head screws—M2.6 × 3 mm
.......................................................................................................(×4)
E
Round head screws—M5 × 8 mm
.......................................................................................................(×8)
F
Power
cord
.......................................................................................................(×1)
G
Trim
plate
.......................................................................................................(×1)
H
LINE OUT cord
.......................................................................................................(×1)
* Four of these screws are fitted to the main unit when
shipped. Keep these screws for installation use if
necessary.
•
The fuse blows.
h
Are the red and black leads connected correctly?
•
Power cannot be turned on.
h
Is the yellow lead connected?
•
No sound from the speakers.
h
Is the speaker output lead short-circuited?
•
“MISWIRING CHK WIRING THEN RESET UNIT”/ “WARNING CHK WIRING THEN RESET UNIT” appears on the display and no operation can be done.
h
Is the speaker output lead short-circuited or touches the
chassis of the car/head unit? ; Have you reset your unit?
•
Sound is distorted.
h
Is the speaker output lead grounded? ; Are the “–” terminals of L and R speakers grounded in common?
•
Noise interfere with sounds.
h
Is the rear ground terminal connected to the car’s chassis using shorter and thicker cords?
•
This unit becomes hot.
h
Is the speaker output lead grounded? ; Are the “–” terminals of L and R speakers grounded in common?
•
This unit does not work at all.
h
Have you reset your unit?
TROUBLESHOOTING


