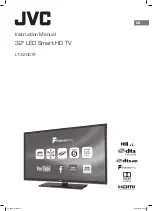
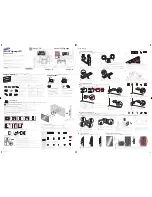
JVC LT-32C672, Instruction Manual
The JVC LT-32C672 is a high-quality LED TV that delivers stunning visuals and immersive audio. Enhance your entertainment experience with this sleek and modern television. Easily set up and optimize your viewing preferences with the comprehensive Instruction Manual available for free download from 88.208.23.73:8080. Get the most out of your JVC LT-32C672 today!
Share
Download


Reviews:
No comments
Related manuals for LT-32C672
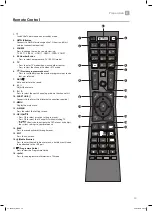
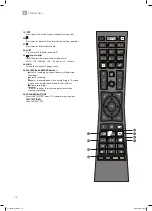
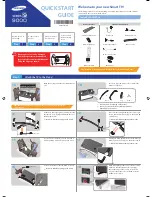
RM40D
Brand: Samsung Pages: 2
UN55F9000AF
Brand: Samsung Pages: 2
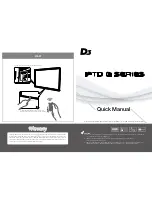
IFTD G SERIES
Brand: D3 Pages: 2

65C825
Brand: TCL Pages: 44
QE55S95BAT
Brand: Samsung Pages: 44
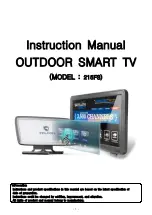
215FS
Brand: Falcon Pages: 42
V605-G3
Brand: Vizio Pages: 51
C745 Series
Brand: TCL Pages: 24
S5400A Series
Brand: TCL Pages: 19
40HL7510U
Brand: Horizon Fitness Pages: 87
S625 Series
Brand: TCL Pages: 11
58ATA6000-U
Brand: Allview Pages: 36
FLS32227H
Brand: F&U Pages: 33

LDS-4371
Brand: Denver Pages: 12
Neptune Partial Sun Series
Brand: peerless-AV Pages: 96
SC-50UK700N
Brand: Seiki Pages: 45
LED-3271S
Brand: Denver Pages: 56
705593
Brand: Bauhn Pages: 56


