26
5
Using the Features
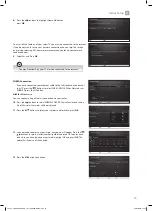
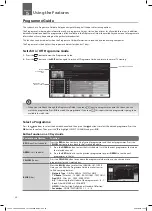
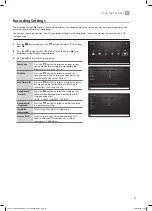
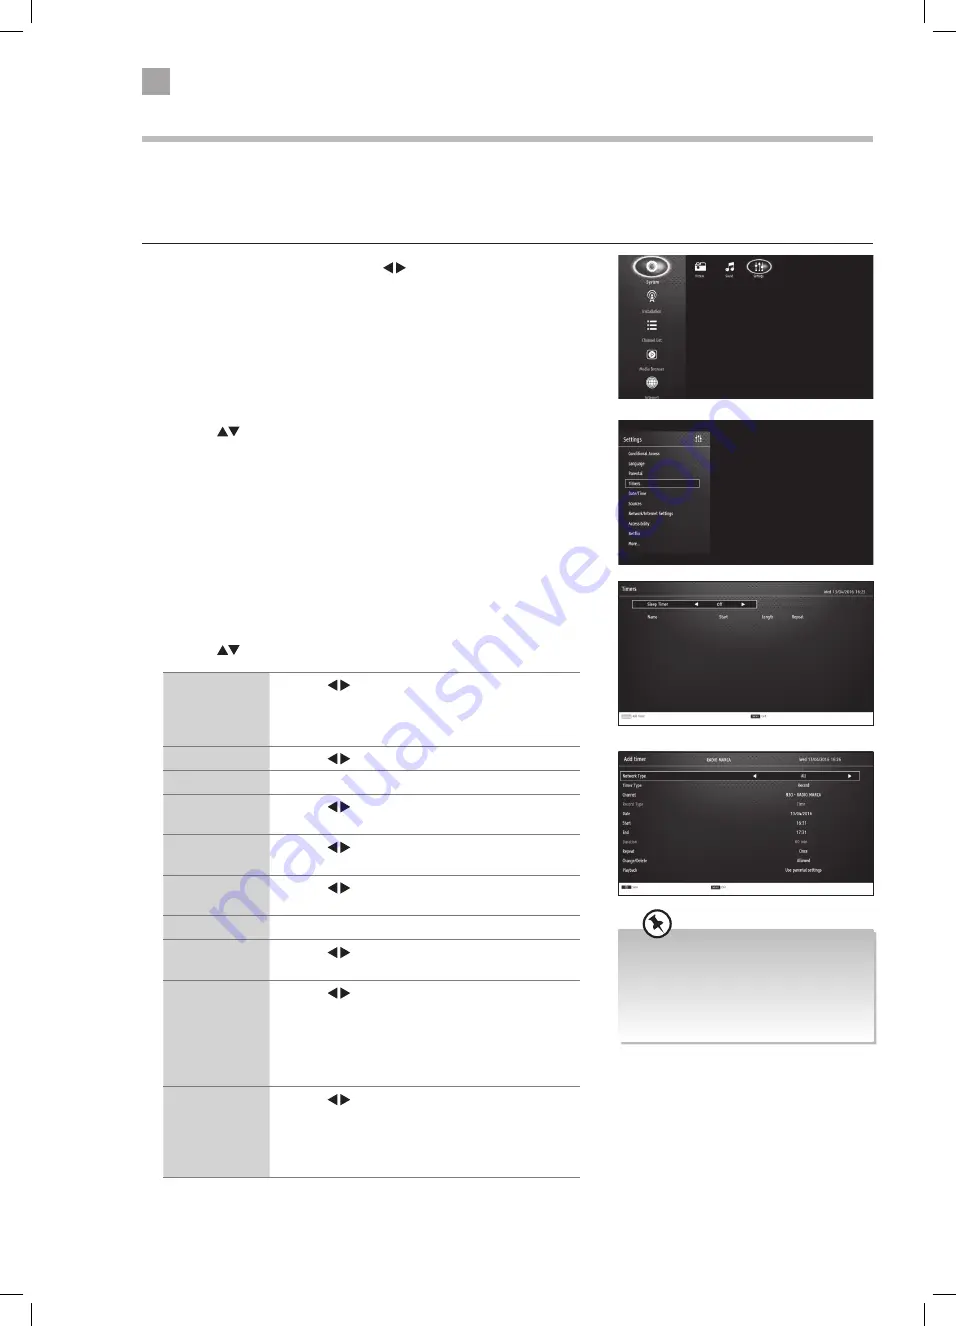
3. Press the YELLOW button to add a timer. The ADD TIMER menu will be
displayed.
4. Adding the timer
Press the
to select each setting below.
Timer Type
Press the buttons to select RECORD or TIMER.
RECORD - Will record a programme
TIMER - Will automatically switch to the selected
programme when it starts.
Channel
Press the buttons to select the channel.
Record Type
Not adjustable.
Date
Press the buttons and the NUMBER buttons to
set the date.
Start
Press the buttons and the NUMBER buttons to
set the start time.
End
Press the buttons and the NUMBER buttons to
set the end time.
Duration
Set automatically.
Repeat
Press the buttons to set the recording to record
ONCE - DAILY - WEEKLY or just WEEKDAYS.
Change/Delete Press the buttons to select ALLOWED or
DISALLOWED
ALLOWED - You allow anyone to change or delete the
recording.
DISALLOWED - You will have to enter the PIN code to
change or delete the recording.
Playback
Press the buttons to select USE PARENTAL
SETTINGS, DISALLOWED or ALLOWED. You will
need to enter the PIN number if you want to play a
recording when you select 'use parental settings and
disallowed'.
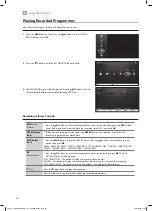
2. Press the
to highlight TIMERS then press OK.
Timer Programming
This function is used to perform scheduled recordings or timers (will switch the programme on when it starts).
The recording from timers or direct recording may have a little bit of delay when it starts to record the broadcast programme.
Please make sure the USB device is inserted. If not, a warning message will pop up.
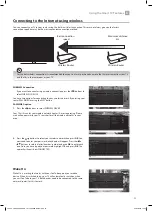
1. Press the MENU button then press the buttons to select SETTINGS and
press OK.
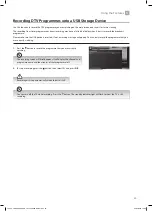
• When the preset time is reached, the
TV will start recording automatically.
• If a programme recording starts
when the TV is in standby mode, the
LED indicator will flash.
JVC 43' LED Smart 4K HDR TV LT-43C888 Manual.indd 26
22/02/2018 10:30

