background image

3

English

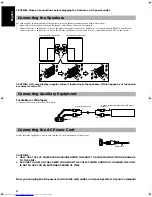
CAUTION: Make all connections before plugging the Unit into an AC power outlet.

Using the Supplied Wire Antenna

Using an FM 75-Ohm Antenna Wire (Not Sup-
plied)

If reception is poor, connect the outside antenna.

Note:

Before attaching a 75 ohm coaxial lead (the kind with a 
round wire going to an outside antenna), disconnect the sup-
plied FM Wire Antenna.

CAUTION: To avoid noise, keep antennas away 
from metallic parts of the System, the connecting 
cord and the AC power cord.

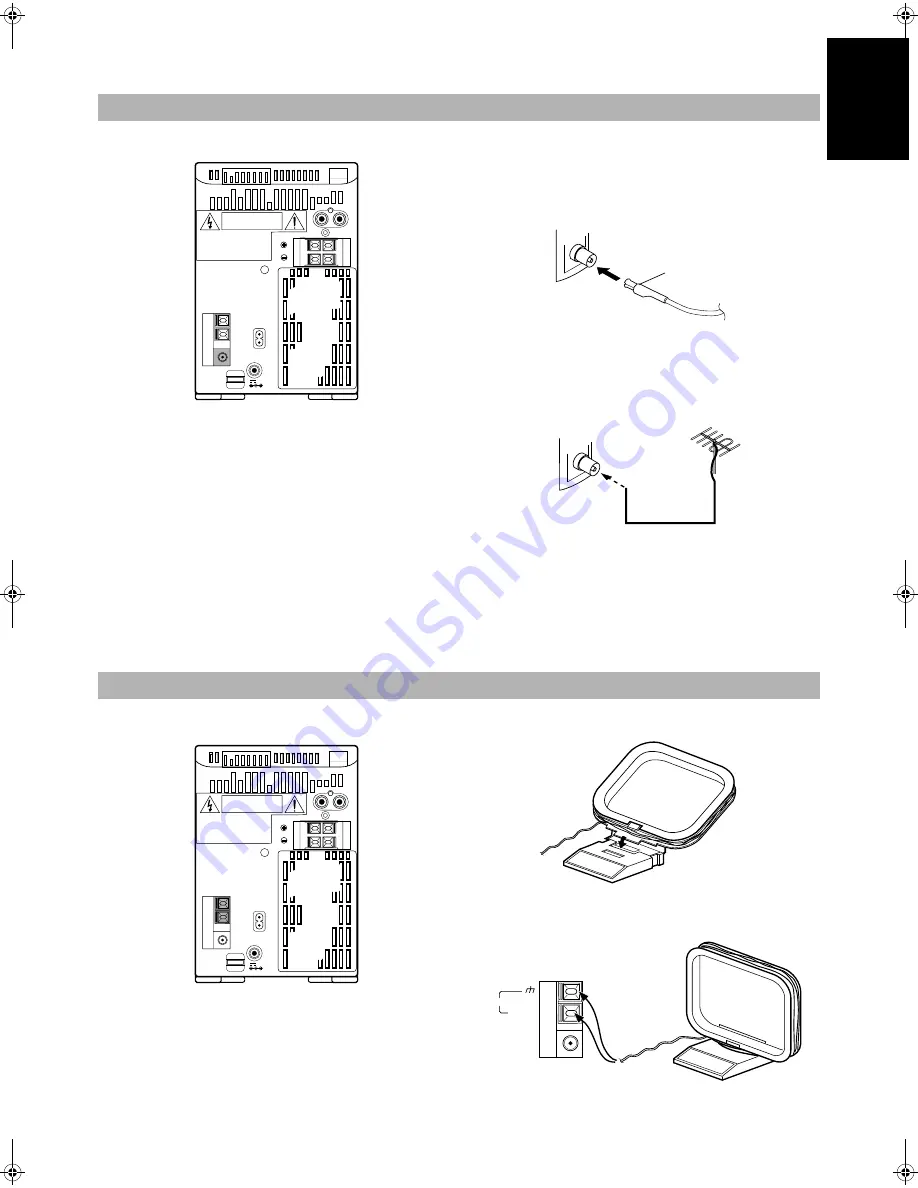
Connecting the FM Antenna

  AC IN

  ~

RIGHT

R

L

LEFT

DC  IN

12V

FM wire antenna (supplied)

Coaxial cable

FM outdoor antenna

(option)

Connecting the AM (MW/LW) Antenna

  AC IN

  ~

RIGHT

R

L

LEFT

DC  IN

12V

Attach the AM loop to its base by snapping the tabs on the 
loop into the slot in the base.

AM loop antenna (Supplied)

FM

AM LOOP

AM EXT

COAXIAL
   75

Turn the loop until you have the best reception.

UX-Eng.fm  Page 3  Thursday, March 5, 1998  6:42 PM

Summary of Contents for LVT0027-005A

Page 1: ...omer Use Enter below the Model No and Serial No which are located either on the rear bot tom or side of the cabinet Retain this information for future reference Model No Serial No INSTRUCTIONS BEDIENUNGSANLEITUNG MANUEL D INSTRUCTIONS GEBRUIKSAANWIJZING MANUAL DE INSTRUCCIONES ISTRUZIONI LVT0027 005A E MICRO COMPONENT SYSTEM MIKRO KOMPONENTEN SYSTEM MICRO CHAINE MIKRO KOMPONENTENSYSTEEM SISTEMA DE...

Page 2: ...e Attenzione L interruttore Disinserire la spina del cavo di alimentazione dalla presa della rete elettrica per staccare completamente l alimentazione L interruttore in nessuna posizione stacca la linea di alimentazione elettrica princi pale È possibile il controllo remoto dell alimentazione Per l Italia Si dichiara che il questo prodotto di marca JVC è conforme alle prescrizioni del Decreto Minis...

Page 3: ...diging te voorkomen moet u het toestel als volgt opstellen 1 Voorkant Geen belemmeringen en voldoende ruimte 2 Zijkanten boven onderkant Geen belemmeringen plaatsen in de hieronder aangegeven zones 3 Onderkant Op vlakke ondergrond plaatsen Voldoende ventilatieruimte voorz ien door het toestel op een onderstel met een hoogte van 10 cm of meer te plaatsen Precaucion ventilación correcta Para evitar ...

Page 4: ...ierten Kundendienst Fachleu ten 1 PRODUIT LASER CLASSE 1 2 ATTENTION Radiation laser invisible quand l appareil est ouvert ou que le verrouillage est en panne ou désactivé Eviter une expo sition directe au rayon 3 ATTENTION Ne pas ouvrir le couvercle du dessus Il n y a aucune pièce utilisable à l intérieur Laisser à un personnel qualifié le soin de réparer votre appareil 1 KLAS 1 LASERPRODUKT 2 GE...

Page 5: ...ic information that is the same for many different functions e g setting the volume is given in the section Common Operations and not repeated under each function The names of buttons controls and display messages are written in all capital letters e g TUNER BAND NO DISC System functions are written with an initial capital letter only e g Normal Play Use the table of contents to look up specific i...

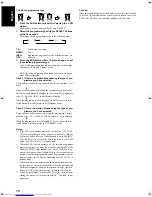
Page 6: ...y To avoid battery leakage or explosion Remove batteries when the Remote Control will not be used for a long time When you need to replace the batteries replace both batteries at the same time with new ones Don t use an old battery with a new one Don t use different types of batteries together The Remote Control makes it easy to use many of the functions of the System from a distance of up to 7m 2...

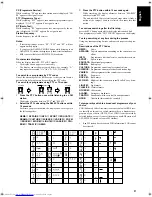
Page 7: ... the sup plied FM Wire Antenna CAUTION To avoid noise keep antennas away from metallic parts of the System the connecting cord and the AC power cord Connecting the FM Antenna AC IN RIGHT R L LEFT DC IN 12V FM wire antenna supplied Coaxial cable FM outdoor antenna option Connecting the AM MW LW Antenna AC IN RIGHT R L LEFT DC IN 12V Attach the AM loop to its base by snapping the tabs on the loop in...

Page 8: ... colors if located near the speakers If this happens set the speak ers away from the TV Turntable or MD player To listen to this source press the AUX button Firmly insert the supplied AC power cord into the AC inlet on the back of the System CAUTIONS ONLY USE THE JVC POWER CORD PROVIDED WITH THIS UNIT TO AVOID MALFUNCTION OR DAMAGE TO THE UNIT BE SURE TO UNPLUG THE POWER CORD FROM THE OUTLET WHEN ...

Page 9: ...e Touch Operation you can play a CD or tape turn on the radio etc with a single press of the play button for that function One Touch Operation turns the power on for you then starts the function you have specified If the Unit is not ready such as no CD or tape in place the Unit still powers on so you can insert a CD or tape How One Touch Operation works in each case is explained in the section dea...

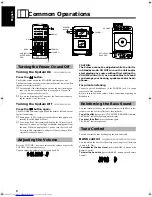
Page 10: ...after about 24 hours Press the VOLUME button to increase the volume or press the VOLUME button to decrease it You can adjust the volume level between 0 and 50 CAUTION The Volume cannot be adjusted while the Unit is in Standby mode DO NOT turn on the Unit and or start playing any source without first setting the VOLUME control to 0 as a sudden blast of sound can damage your hearing speakers and or ...

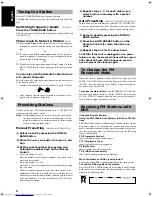
Page 11: ...ry mode when you start one of the System s built in sound sources such as the Tuner or CD Player To show the current time on the display press the DISPLAY button on the Remote Control Note You need to set the clock beforehand See Setting the Clock on page 16 Listening to Auxiliary Equip ment Showing the Time Using the Tuner MULTI JOG dial TUNER BAND 4 Number keys AUTO PRESET TUNER BAND 4 STEREO AU...

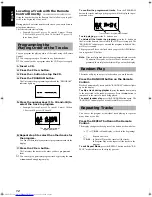
Page 12: ...You can then release the key This com pletes the preset setting 4 Repeat steps 1 3 for each station you want to store in memory with a preset number Auto Presetting In each band you can automatically preset FM 30 AM MW LW 15 stations Preset numbers will be allocated as stations are found starting from the lowest frequency and moving up the frequency 1 Select a band by pressing the TUNER BAND butto...

Page 13: ... NEWS 3 Press the PTY button within 10 seconds again While searching the display alternates between SEARCH and the selected PTY code The unit searched 30 preset stations and stops when it finds a station of the category you have selected then tunes into that station To continue searching after the first stop press the PTY button again while the display indications blink If no programme is found NO...

Page 14: ...g the programme The pro gramme type TA NEWS or INFO indicator starts blinking When the programme is over this unit goes back to the currently se lected station but still remains in EON Standby mode Notes If the EON is in standby mode and the function CD TAPE AUX switch is changed or the power is switched off then the EON mode will be released When the band is set to AM MW LW the EON is not activat...

Page 15: ... example 00 0000 appears on the display To Play a CD 1 Insert a CD 2 Press the CD or the CD 6 button on the Remote Control The first track of the CD will begin playing The CD Player automatically stops when the last track of the CD has finished playing To stop playing the CD press the e button on the Unit or the Remote Control To stop playing and remove the CD press the OPEN 0 button to open the C...

Page 16: ...ing press the e button once To delete all the tracks in a program press the e button on the Unit or the Remote Control while the CD Player is stopped The PROGRAM indicator goes out and the program is deleted Nor mal Play is resumed The program will also be deleted when you press the OPEN 0 but ton to open the CD holder Note If the total playback time of the programmed tracks exceeds 99 minutes 59 ...

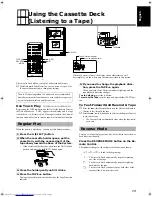
Page 17: ...cks 4 Press the TAPE button The tape is played in the direction shown by the Tape Direction indicator 5 If you need to change the playback direc tion press the TAPE again The opposite side Tape Direction indicator lights up and the tape playback direction changes To stop playing press the ebutton To remove the tape stop the tape and press the 0 EJECT but ton To Fast Forward And Rewind A Tape Press...

Page 18: ... cassette tape one for side A and one for side B can be removed to prevent accidental erasure or recording To record on a cassette with the tabs removed you must cover the holes with adhesive tape first However when a type II tape is used only cover part of the hole as shown since the other part of the hole is used to detect the tape type Type I and Type II tapes can be used for recording Note At ...

Page 19: ...SE MODE button on the Remote Control until the indicator is lit Check that the recording direction for the tape and the Tape Direction indicator is correct See Notes for using Reverse mode for recording 6 Choose whether to have pauses between recorded selections If nothing is done a non recorded pause of about four sec onds will be automatically left between selections If you do not want pauses be...

Page 20: ...blinks and the clock must be reset You can set the Timer whether the Unit is on or off 1 Press the TIMER SNOOZE button on the Unit for more than two seconds The Timer indicator and ON indicator light up and the hour digits blink on the display Perform each setting within 30 seconds Otherwise setting is cleared and must be repeated from the beginning 2 Set the time you want the Unit to come on Exam...

Page 21: ...at the setting procedure from the beginning When the timer turns on it is possible to fade in the sound from volume level 0 zero to the preset volume When the volume setting is set to VOLUME volume level is not specified the timer playback volume is set to the level used before setting the timer CAUTION If the Unit is unplugged or a power fail ure occurs the clock and timer setting will be lost af...

Page 22: ...er cord and then plug it in again General Notes In general you will have the best performance by keeping your tapes CDs and the mechanism clean Store tapes and CDs in their cases and keep them in cabinets or on shelves Keep the Cassette Deck s tape holder and the CD holder closed when not in use Cassette Tapes If the tape is loose it may get stretched cut or caught in the cassette Take up the slac...

Page 23: ...nna is too close to the Unit The FM Wire Antenna is not prop erly extended and positioned Reconnect the antenna securely Change the position and direction of the AM Loop Antenna Extend FM Wire Antenna to the best reception position The CD skips The CD is dirty or scratched Clean or replace the CD The CD does not play The CD is upside down Put the CD in with the label side up Unable to operate the ...

Page 24: ...ner Tuning Range 87 5 108 0 MHz AM Tuner TuningRange MW 522 1 629 kHz LW 144 288 kHz Speaker Specifications each unit Speakers 9 cm cone 1 4 cm cone 1 Impedance 4 ohms Dimensions 131 203 202 mm W H D Mass Approx 1 8 kg General Dimensions 404 209 270 mm W H D Mass Approx 6 9 kg Accessories Power Cord 1 AM Loop Antenna 1 Remote Control 1 Batteries R6P SUM 3 AA 15F 2 FM Wire Antenna 1 Power Specifica...

Page 25: ...VICTOR COMPANY OF JAPAN LIMITED EN GE FR NL SP IT 0293MNMCREJSC ...

Reviews: