LX-D1010G
EN
–
20
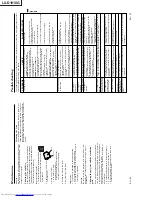
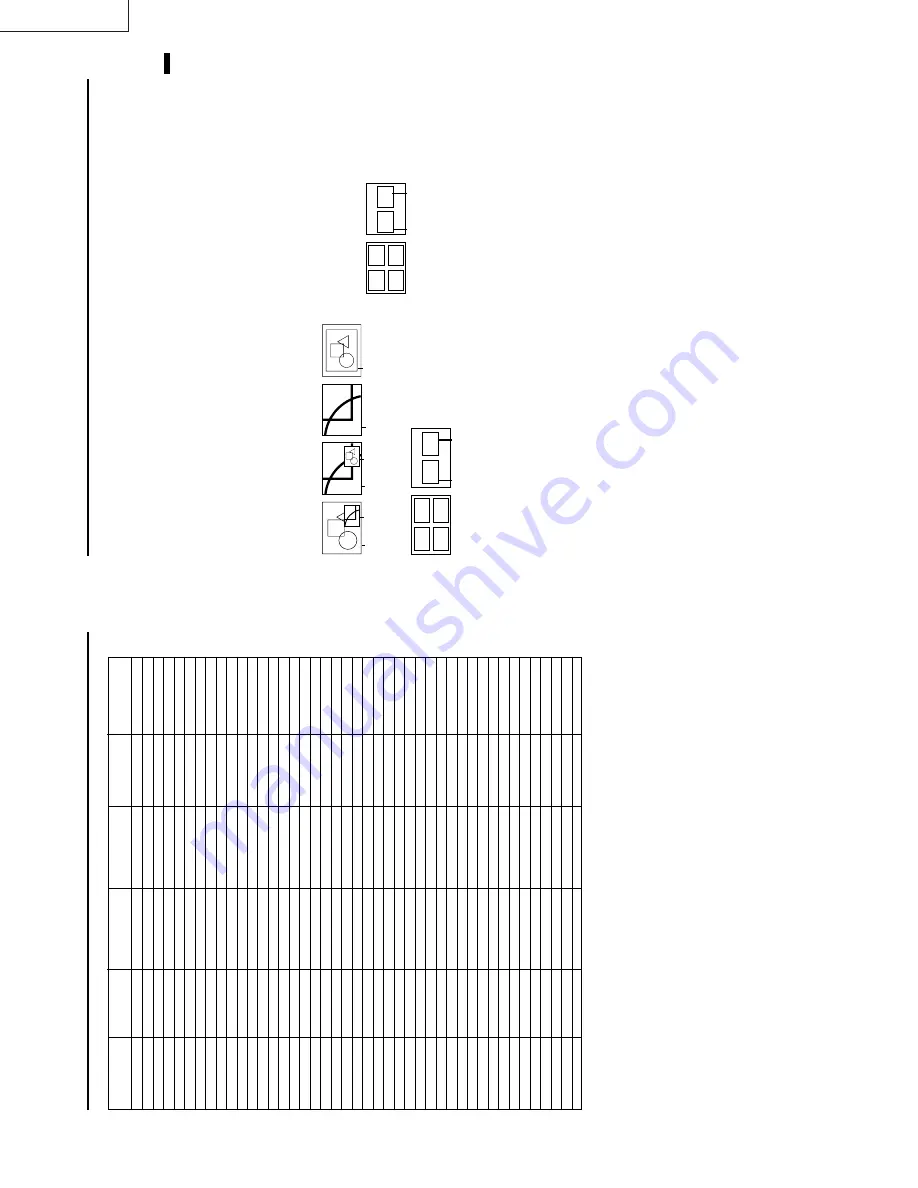
Specification of RGB signals in each computer mode of the projector
•
When
the
EXP
AND
MODE
of
FEA
TURE
menu
is
set
to
real
screen
display
,
by
pressing
the
EXP
AND
button
o
n
the
remote
control,
it
will
switch
to
the
screen
d
isplaying
the
picture
as
its
original
size
(real
screen
d
isplay).
I
n
the
real
screen
d
isplay
,
pictures
will
be
black-framed
when
picture
resolution
is
lower
than 1,024 x 768.
Important:
•
S
ome
computers
may
not
be
compatible
with
the
projector.
•
The projector's maximum resolution is 1,024 x 768
pixels.
It
may
not
d
isplay
correctly
for
the
pictures
of higher resolutions than 1,024 x 768.
•
The picture with a SYNC on G (Green) signal may
jitter
.
•
The picture with a SYNC on G (Green) signal may
be tinged with green.
•
If
the
resolution
a
nd
frequency
of
your
computer
are not shown on the table, change the resolution
of
your
computer
. Y
o
u
may
find
the
compatible
reso-
lution and frequency
.
•
Set
the
COMPUTER
INPUT
in
SIGNAL
menu
to
RGB,
when inputting the HDTV signal as RGB signal.
•
Set
the
SIGNAL
menu
and
USER
menu
as
shown
below
, when 525p signal is inputted.
HORIZ. POSITION
.......................
143
VERT
. POSITION
.........................
54
TRACKING
.............................
800
COMPUTER INPUT
...............
Y
C
B
C
R
/YP
B
P
R
CLAMP POSITION
.......................
+9
CLAMP WIDTH
............................
+3
HORIZ.PIXELS
.................
620
VERT
.LINES
......................
444
VERT
.SYNC.
......................
ON
Picture adjustment (continued)
Signal mode
resolution
horizontal
V
ertical
Normal mode
Real mode
(H x V)
frequency (kHz)
frequency (Hz)
(H x V)
(H x V)
TV60
–
15.73
59.94
1024 x 768
–
TV50
–
15.63
50.00
1024 x 768
–
1080i
–
33.75
60.00
1024 x 576
–
720p
–
45.00
60.00
1024 x 576
–
PC98
640 x 400
24.82
56.42
1024 x 640
640 x 400
CGA70
640 x 400
31.47
70.09
1024 x 640
640 x 400
CGA85
640 x 400
37.86
85.08
1024 x 640
640 x 400
VGA60
640 x 480
31.47
59.94
1024 x 768
640 x 480
VGA72
640 x 480
37.86
72.81
1024 x 768
640 x 480
VGA75
640 x 480
37.50
75.00
1024 x 768
640 x 480
VGA85
640 x 480
43.27
85.01
1024 x 768
640 x 480
SVGA56
800 x 600
35.16
56.25
1024 x 768
800 x 600
SVGA60
800 x 600
37.88
60.32
1024 x 768
800 x 600
SVGA72
800 x 600
48.08
72.19
1024 x 768
800 x 600
SVGA75
800 x 600
46.88
75.00
1024 x 768
800 x 600
SVGA85
800 x 600
53.67
85.06
1024 x 768
800 x 600
XGA43i
1024 x 768
35.52
86.96
1024 x 768
1024 x 768
XGA60
1024 x 768
48.36
60.00
1024 x 768
1024 x 768
XGA70
1024 x 768
56.48
70.07
1024 x 768
1024 x 768
XGA75
1024 x 768
60.02
75.03
1024 x 768
1024 x 768
XGA85
1024 x 768
68.68
85.00
1024 x 768
1024 x 768
SXGA70a
1
152 x 864
63.85
70.01
1024 x 768
1024 x 768
SXGA75a
1
152 x 864
67.50
75.00
1024 x 768
1024 x 768
SXGA85a
1
152 x 864
77.49
85.06
1024 x 768
1024 x 768
SXGA60a
1280 x 960
60.00
60.00
1024 x 768
1024 x 768
SXGA75a
1280 x 960
75.00
75.00
1024 x 768
1024 x 768
SXGA43i
1280 x 1024
46.43
86.87
1024 x 768
1024 x 768
SXGA60
1280 x 1024
63.98
60.02
1024 x 768
1024 x 768
SXGA75
1280 x 1024
79.98
75.03
1024 x 768
1024 x 768
SXGA85
1280 x 1024
91.15
85.02
1024 x 768
1024 x 768
MAC13
640 x 480
35.00
66.67
1024 x 768
640 x 480
MAC16
832 x 624
49.72
74.55
1024 x 768
832 x 624
MAC19
1024 x 768
60.24
75.02
1024 x 768
1024 x 768
MAC21
1
152 x 870
68.59
74.96
1024 x 768
1024 x 768
HP75
1024 x 768
62.94
74.92
1024 x 768
1024 x 768
HP72
1280 x 1024
78.13
72.00
1024 x 768
1024 x 768
SUN66a
1
152 x 900
61.85
66.00
1024 x 768
1024 x 768
SUN76a
1
152 x 900
71.81
76.63
1024 x 768
1024 x 768
SUN66
1280 x 1024
71.68
66.68
1024 x 768
1024 x 768
SUN76
1280 x 1024
81.13
76.1
1
1024 x 768
1024 x 768
SGI72
1280 x 1024
76.92
72.30
1024 x 768
1024 x 768
SGI76
1280 x 1024
82.00
76.00
1024 x 768
1024 x 768
IBM60
1280 x 1024
63.42
60.00
1024 x 768
1024 x 768
EN
–
21
ENGLISH
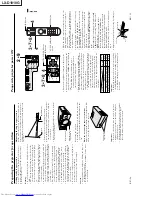
Advanced features for presentation
Expand
By pressing the EXPAND button on the remote con-
trol, you can magnify the detailed image of the picture.
Y
ou can also view the screen displaying the picture as
its original size (native resolution display).
Setting the Expand mode
1
.
Press the MENU button.
2.
Press the
$
or
%
to select the FEA
TURE menu.
3.
Press the ENTER button.
4.
Press the
{
or
}
button to select EXPAND MODE
or FRAME POSI.
5
.
Press the
$
or
%
to set the EXP
AND MODE or
FRAME POSI.
6
.
Press the MENU button twice to exit the menu sys-
tem.
REAL screen display
•
During REAL mode, Press the
$
or
%
buttons
for fine adjustment. The e
{
and
}
buttons are
not working at this time.
•
The expanding rate cannot be changed by press-
ing either the + or - button. They are working for
volume adjustment.
Picture in Picture (PinP)
One of the special features of this unit is the picture-
in-picture (PinP) mode. PinP allows you to view differ-
ent sources at the same time.
Using the PinP mode
1
.
Press the PinP button on the remote control.
•
Pressing the PinP button repeatedly will select
on and off.
T
o
switch Main image and Sub image
2.
Press the
$
or
%
buttons on the remote control.
T
o
change frame position
3.
Press the
{
or
}
buttons on the remote control.
4
.
Press the PinP button on the remote control.
The sub image will be disappear
.
•
Adjusting contrast, brightness, tint or color isn't
available in PinP mode.
•
In PinP mode, both Main image and Sub image
are displayed with thir frames skipped.
•
In PinP mode, the audio of the Main image is
outputted.
•
In PinP
mode, the images may not move smoothly
.
Still
How to stop the picture temporarily (still picture).
1
.
Press the STILL button on the remote control.
The picture will be freezed temporary
.
T
o
resume picture activity
.
2
.
Press the STILL button on the remote control
again.
Normal
image
Native resolution
display
Zooming
image
(EXPAND MODE 1)
Zooming
image
Normal
image
(EXPAND MODE 2)
Zooming
image
(EXPAND MODE 3)
(EXPAND MODE 4)
EXPAND MODE
(FRAME POSI.
1
〜
4)
(FRAME POSI. 5)
12
3
4
Main
image
Sub
image
FRAME POSI.
Using the Expand mode
1
.
Press the EXPAND button.
•
Y
ou can magnify different areas of the active pic-
ture by pressing the
{
,
}
,
$
,
%
button.
•
Y
ou can change the magnification of the zoomed area
by pressing the + or - button.
2
.
Press the EXP
AND button twice on the remote con-
trol.
The normal screen display will appear on the screen.
•
Display enlargement does not work with
video input or S-video input.
•
In EXP
AND mode, you cannot adjust the zoom/fo-
cus and the volume.
(FRAME POSI.
1
〜
4)
(FRAME POSI. 5)
12
3
4
Main
image
Sub
image
FRAME POSI.
Summary of Contents for LX-D1010G - Lcd Projector
Page 32: ...LX D1010G 4 10 PA012 Memo ...
Page 36: ...LX D1010G 6 2 PA012 Memo ...
Page 67: ... PA012 15 1 LX D1010G 15 BLOCK DIAGRAMS ...
Page 68: ... PA012 15 2 LX D1010G ...
Page 69: ...LX D1010G PA012 15 3 ...
Page 70: ...LX D1010G PA012 16 1 ...
Page 77: ...LX D1010G PA012 Parts 7 Memo ...
Page 81: ...しろページ ...

