64
EN
4
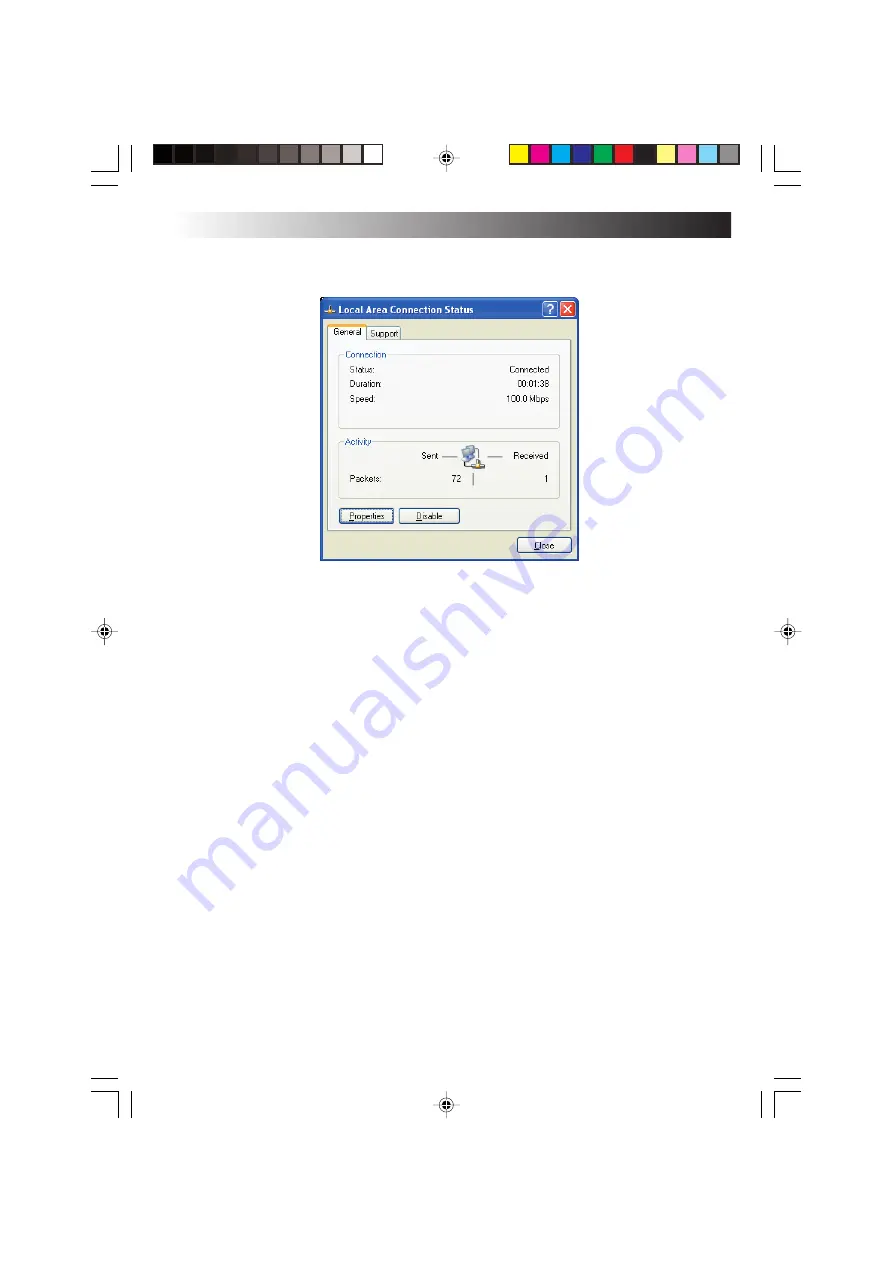
Double-click [Local Area Connection].
The “Local Area Connection Status” screen will appear.
5
Click the [Properties] button.
The “Local Area Connection Properties” screen will appear.
6
On the [General] tab, double-click [Internet Protocol (TCP/IP)].
The “Properties of Internet Protocol (TCP/IP)” screen will appear.
7
Enter appropriate values in the [Use the following IP address] and [Use the following
DNS server addresses] fields.
8
Click the [OK] button to save the setting.
•
Setting a computer name or work group
Tips
To share data or a printer among a group of computers, you must set the computers in the
same work group. This enables you to transfer data between computers.
1
Click the [start] button and [Control Panel].
2
Click the [Performance and Maintenance] icon.
3
Click the [System] icon.
The “System Properties” screen will appear.
4
Click the [Computer Name] tab.
5
Click the [Change] button.
6
Change the “Computer name”and/or “workgroup” as necessary.
7
Click the [OK] button to save the setting.
The “Change in computer name” screen containing the “Welcome to the ***
workgroup.” message will appear.
HARDWARE
Summary of Contents for MP-XP731DEEB
Page 13: ...EN13 Wireless LAN antenna Wireless LAN antenna ...
Page 14: ...14EN MEMO ...
Page 15: ...EN15 SETTING UP 1 ...
Page 23: ...EN 23 JVC ORIGINAL SOFTWARE AND SYSTEM APPLICATIONS 2 ...
Page 35: ...EN 35 NAVIGATE IN THE INTERNET WORLD 3 ...
Page 53: ...EN 53 HARDWARE 4 ...
Page 80: ...80EN MEMO ...
Page 81: ...EN 81 PC RECOVERY REPEATED PC SETUP 5 ...
Page 85: ...EN 85 TROUBLESHOOTING 6 ...
Page 97: ...APPENDIX 7 ...
Page 104: ...104EN MEMO ...
Page 105: ...EN 105 MEMO ...
Page 131: ...25 ENGLISH Memo MP WDX2E En fm Page 25 Friday September 19 2003 9 29 AM ...


