EN
69
1. Start up the PC.
If the [Intel(R) Setting Service] screen appears, click the [No] button.
This message will no longer appear if a check mark is entered for “Do not display
in the future” .
2. Set the wireless LAN to ON using the wireless LAN ON/OFF switch.
The wireless LAN now starts up, and the wireless LAN indicator above the
F10 key flashes while a search is being conducted, and it lights when a
connection is made.
(In order to prevent other electronic devices or equipment in places such as
aircraft and hospitals from being adversely affected, keep the wireless LAN
functions shut down when starting up the PC or restoring its operation from the
standby or hibernation mode.)
3. Set the IP address to be used by the wireless LAN.
This step must be taken only when the wireless LAN is to be used for the first time.
Once the wireless LAN has been successfully connected, jump to step 4 (page 72)
when re-connecting the wireless LAN for the second or any subsequent time.
1
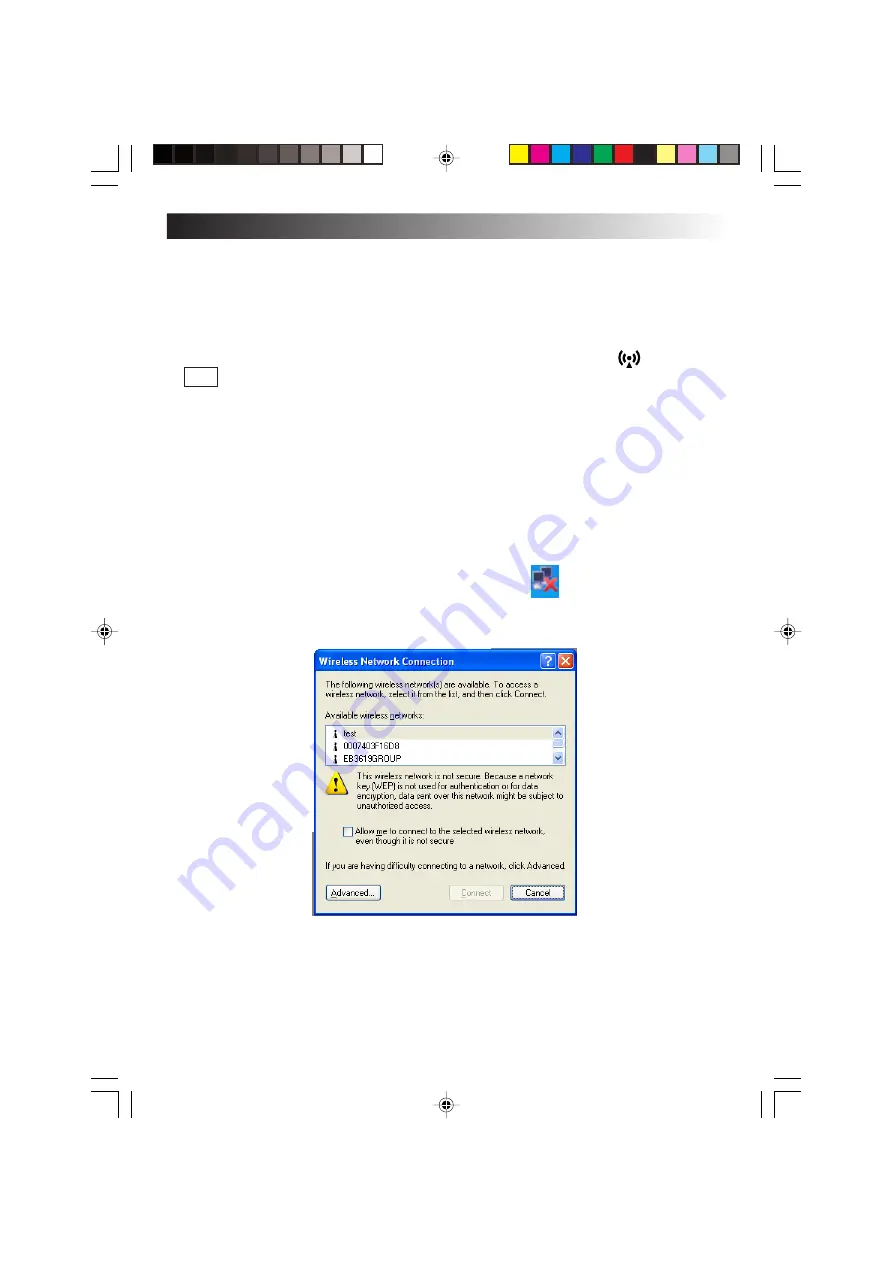
Double-click the [Wireless Network Connection] icon on the task tray.
The [Wireless Network Connection] screen now appears.
Summary of Contents for MP-XP731DEEB
Page 13: ...EN13 Wireless LAN antenna Wireless LAN antenna ...
Page 14: ...14EN MEMO ...
Page 15: ...EN15 SETTING UP 1 ...
Page 23: ...EN 23 JVC ORIGINAL SOFTWARE AND SYSTEM APPLICATIONS 2 ...
Page 35: ...EN 35 NAVIGATE IN THE INTERNET WORLD 3 ...
Page 53: ...EN 53 HARDWARE 4 ...
Page 80: ...80EN MEMO ...
Page 81: ...EN 81 PC RECOVERY REPEATED PC SETUP 5 ...
Page 85: ...EN 85 TROUBLESHOOTING 6 ...
Page 97: ...APPENDIX 7 ...
Page 104: ...104EN MEMO ...
Page 105: ...EN 105 MEMO ...
Page 131: ...25 ENGLISH Memo MP WDX2E En fm Page 25 Friday September 19 2003 9 29 AM ...


