– 65 –
English
5
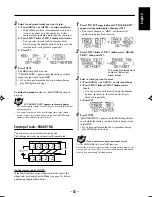
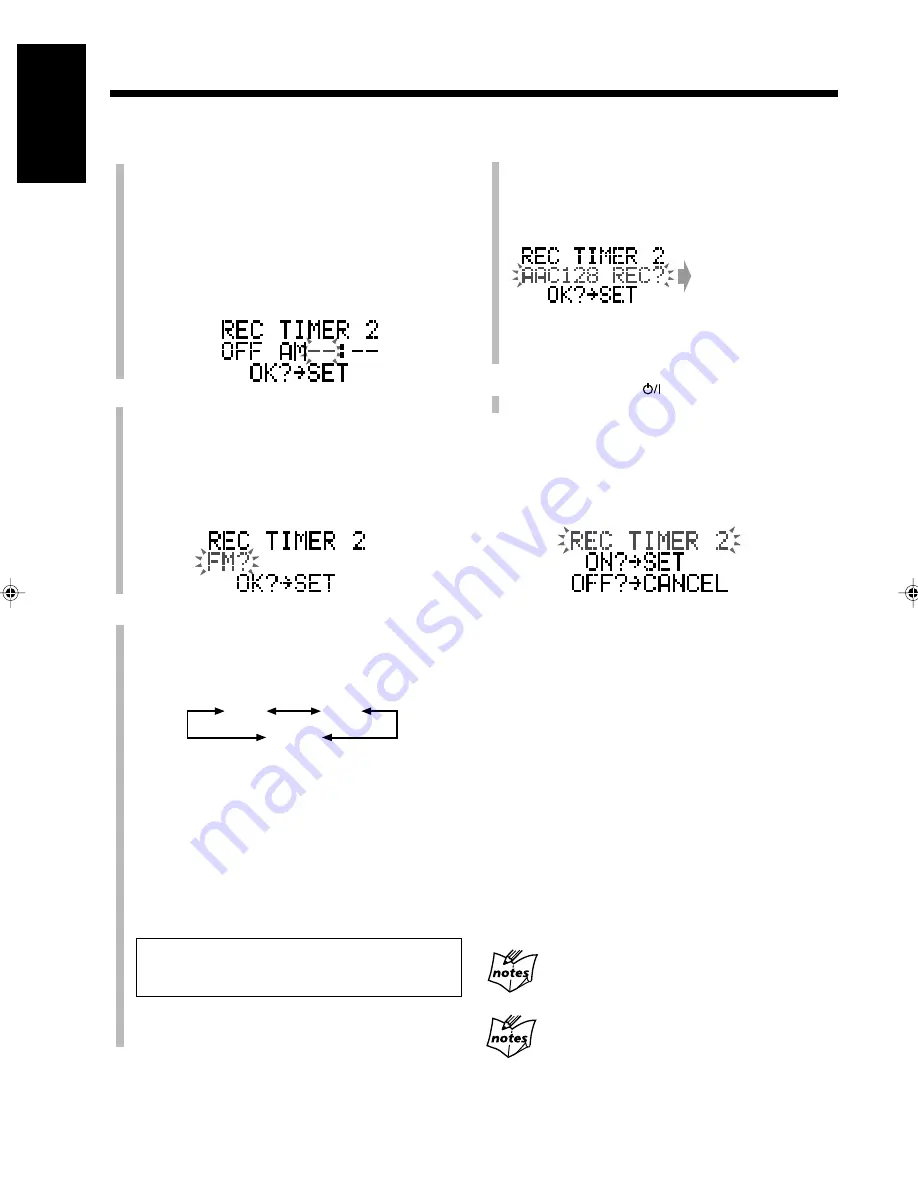
Set the timer on-time.
1) Press
SELECT
¢
or
SELECT
4
to adjust the
hour, then press
SET
.
The minute digit starts flashing.
2) Press
SELECT
¢
or
SELECT
4
to adjust the
minute, then press
SET
.
The timer off-time setting screen appears.
• If you have set the timer before, the previously set
timer off-time will appear (instead of “– – : – –”).
6
Set the timer off-time.
1) Press
SELECT
¢
or
SELECT
4
to adjust the
hour, then press
SET
.
The minute digit starts flashing.
3) Press
SELECT
¢
or
SELECT
4
to adjust the
minute, then press
SET
.
The recording source setting screen appears.
7
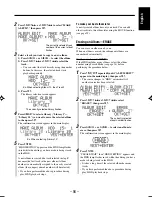
Select the source to record from.
1) Press
SELECT
¢
or
SELECT
4
to select the
source.
• Each time you press the button, the sources
change as follows:
2) Press
SET
.
3) When you select “FM?” or “AM?” as the source,
press
SELECT
¢
or
SELECT
4
again to select a
preset channel number, then press
SET
.
• If you select “– –,” the currently received station
will be tuned in.
When you select the external component as the
playback source, prepare the external component
with the timer function.
The recording mode setting screen appears.
FM?
AM?
LINE?
(TAPE?/DBS?/VCR?/TV?/GAME?)
* If you have changed the source names, the changed
names will appear in the main display (see page 22).
*
8
Press
SELECT
¢
or
SELECT
4
to select the
recording mode—“AAC128 REC?” or “AAC 96
REC?,” then press
SET
.
The REC indicator and the timer number indicator stop
flashing and remain lit on the display.
• For each recording mode, see page 39.
9
Press
STANDBY/ON
to turn off the unit if
necessary.
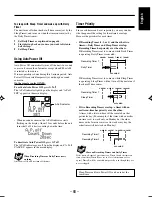
To turn off the Recording Timer after its setting is done
1
Press
CLOCK/TIMER
once.
The currently selected Recording Timer ON/OFF setting
screen appears in the main display.
2
Press
SELECT
¢
or
SELECT
4
to select the timer
number (REC TIMER 1, 2 or 3) you want.
3
Press
CANCEL
.
The selected Recording Timer will be turned “OFF,” and
the timer number indicator goes off from the display. (If
the other two Recording Timer settings have been also
turned off, the REC indicator also goes off.)
To turn on the Recording Timer,
repeat steps
1
and
2
, and
press
SET
in step
3
.
The REC indicator and the timer number indicator for the
currently selected timer light up on the display. The settings
you have stored are shown in the main display for your
confirmation.
• “REC TIMER (with the current timer number) NO SET”
appears and “SET REC!” flashes in the main display if
no timer setting has been done for the currently selected
Recording Timer.
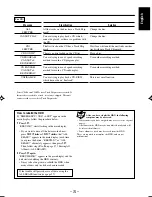
If recording is performed when the timer on-time
comes
Recording Timer does not work at all.
If you press
CLOCK/TIMER
,
SLEEP
, or
TITLE/EDIT
during timer recording
Recording Timer is canceled temporarily. Recording continues, but
the unit will not turn off when the timer off-time comes.
• If you press
7
or turn off the unit, recording stops.
Ex. When Recording Timer 2 is currently selected
Ex. When selecting “AAC128 REC?”
The contents of this
setting are shown in
sequence.
EN63-68_NX-HD10[J_C]f.pm6
02.6.15, 1:01 PM
65


