


For Customer Use:
Enter below the Model No. and Serial
No. which are located either on the rear,
bottom or side of the cabinet. Retain this
information for future reference.
Model No.
Serial No.
601-370000-010
LVT1094-001A
[J]
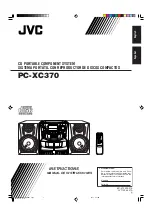
PC-XC370
CD PORTABLE COMPONENT SYSTEM
SISTEMA PORTÁTIL CON REPRODUCTOR DE DISCOS COMPACTOS
INSTRUCTIONS
MANUAL DE INSTRUCCIONES
English
Español
PC-XC370[J]_COVER1_2.p65
03.5.7, 6:12 PM
1


