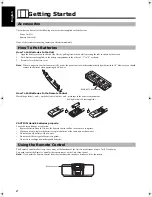

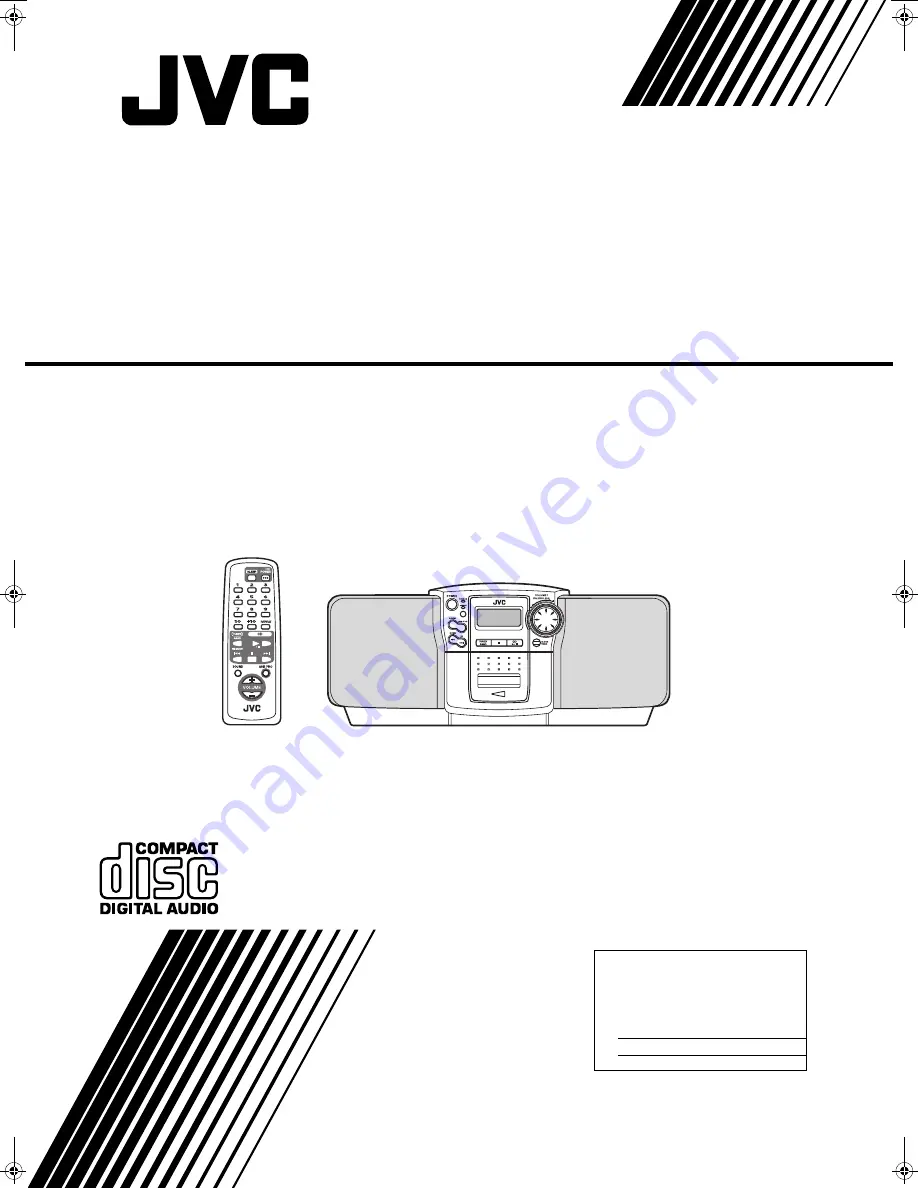
REMOTE CONTROL RM-SRCBZ6
For Customer Use:
Enter below the Model No. and Serial No.
which are located either on the rear, bot-
tom or side of the cabinet. Retain this
information for future reference.
Model No.
Serial No.
INSTRUCTIONS
MANUAL DE INSTRUCCIONES
MANUEL D’INSTRUCTIONS
LVT0490-001B
[J]
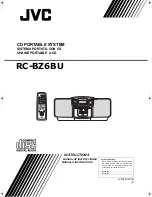
CD PORTABLE SYSTEM
SISTEMA PORTATIL CON CD
CHAINE PORTABLE A CD
RC-BZ6BU
Rc-BZ6BU-Cover(J).fm Page 1 Thursday, February 24, 2000 11:07 AM


