RS-WP1WT
1-14
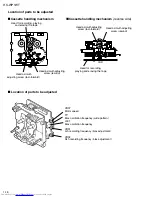
Cassette mechanism
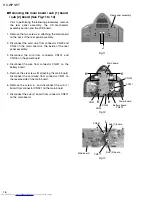
Flywheel R
Trigger arm
Head mount
Fig. 1
Fig. 2
Playback / Recording &
eraser head
Flexible
board
Spring 1
Trigger arm
Head amplifier & mechanism
control P.C. board
Flywheel R
Fig. 3
Playback / Recording &
eraser head
Reversing azimuth
screw
Head
mount
Flexible
board
Spring 1
Head amplifier &
mechanism control
P.C. board
CN31
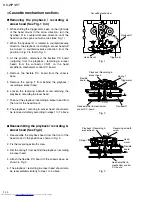
<Cassette mechanism section>
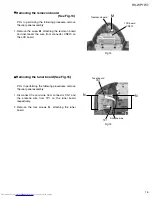
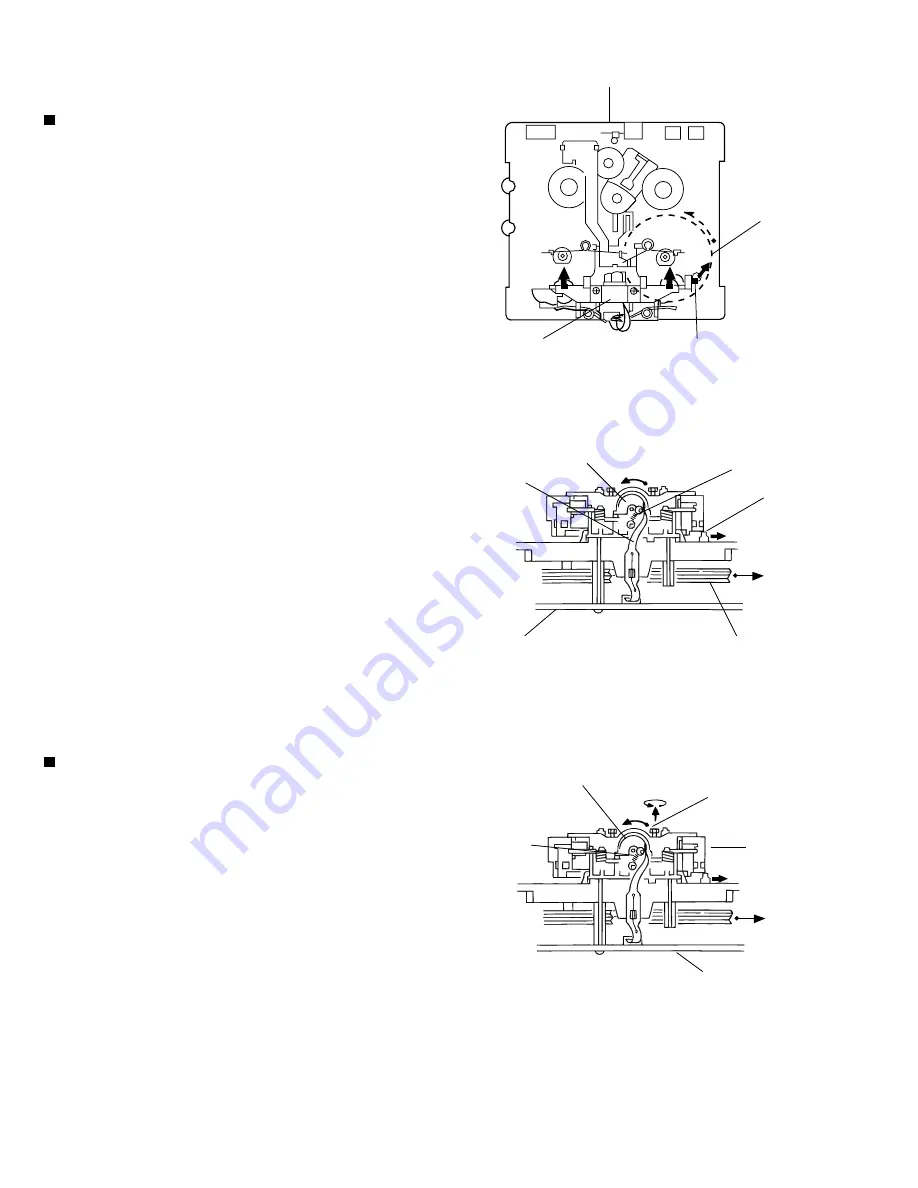
While shifting the trigger arms seen on the right side
of the head mount in the arrow direction, turn the
flywheel R in counterclockwise direction until the
head mount has gone out with a click (See Fig. 1).
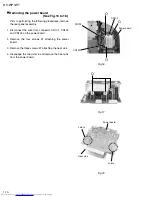
When the flywheel R is rotated in counterclockwise
direction, the playback / recording & eraser head will
be turned in counterclockwise direction from the
position in Fig. 2 to that in Fig. 3.
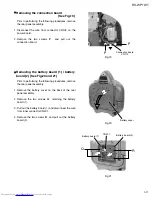
At this position, disconnect the flexible P.C. board
(outgoing from the playback / recording & eraser
head) from the connector CN31 on the head
amplifier & mechanism control P.C. board.
Remove the flexible P.C. board from the chassis
base.
Remove the spring
1
from behind the playback /
recording & eraser head.
Loosen the reversing azimuth screw retaining the
playback / recording & eraser head.
Take out the playback / recording & eraser head from
the front of the head mount.
The playback / recoring & eraser head should also
be removed similarly according to steps 1 to 7 above.
1.
2.
3.
4.
5.
6.
7.
8.
Removing the playback / recording &
eraser head (See Fig. 1 to 3)
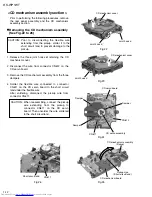
Reassemble the playback head from the front of the
head mount to the position as shown in Fig. 3.
Fix the reversing azimuth screw.
Set the spring
1
from behind the playback / recording
& eraser head.
Attach the flexible P.C. board to the chassis base, as
shown in Fig. 3.
The playback / recording & eraser head should also
be reassembled similarly to step 1 to 4 above.
1.
2.
3.
4.
5.
Reassembling the playback / recording &
eraser head (See Fig.3)
Summary of Contents for RS-WP1WT
Page 37: ...RS WP1WT 3 2 M E M O ...
Page 57: ...RS WP1WT 2 4 ...
Page 66: ...RS WP1WT 2 13 Tuner Board Block No 04 ...
Page 68: ...RS WP1WT 2 15 ...

