17
English
MULTI JOG
NORMAL
TEXT
STANDBY
STANDBY/ON
and
TUNER PRESET
STANDBY
STANDBY/ON
and
FM MODE
ONE TOUCH OPERATION
SLEEP
20
10
30
40
50
60
70
80
90
(Canceled)
00
SETTING
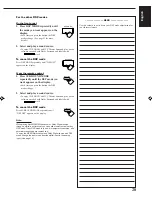
Showing the Text Information on the
Display
When you have connected an MD recorder or CD player equipped
with TEXT COMPU LINK remote control system (see page 36),
you can show the text information, such as disc title or track title, on
the display of this receiver. To show it on the display, follow the
procedure below.
Before you start, remember...
• There is a time limit in doing the following steps. If the setting is
canceled before you finish, start from step 1 again.
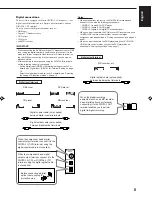
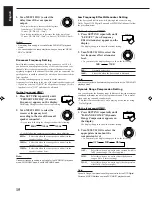
On the front panel ONLY:
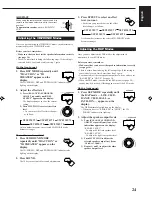
1. Press SETTING repeatedly until
“FL DISPLAY” appears on the
display.
The display changes to show the current setting.
2. Turn MULTI JOG to select either
the source name or the text
information to be shown on the
display.
• As you turn it, the display changes to show the following:
NORMAL: Source name appears during play.
TEXT:
Text information appears during play.
Note:
Though you have selected “TEXT,” the source name such as “CD” or
“MD” appears if a playing disc has no text information.
Setting the AM Tuner Interval Spacing
Some countries space AM stations 9 kHz apart, and other countries
use 10 kHz spacing.
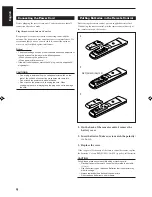
On the front panel ONLY:
To select the 10 kHz interval:
Be sure the receiver is turned off, but is plugged into an AC outlet.
Hold down TUNER PRESET and press STANDBY/ON
. Now
the 10 kHz interval is selected.
To change back to the 9 kHz interval:
Be sure the receiver is turned off, but is plugged into an AC outlet.
Hold down FM MODE and press STANDBY/ON
. Now the
9 kHz interval is selected.
Storing the Basic Settings and
Adjustments — One Touch Operation
JVC’s One Touch Operation function is used to assign and store
different sound settings for each different playing source. By using
this function, you do not have to change the settings every time you
change the source. The stored settings for the newly selected source
are automatically recalled. The following can be stored for each
source:
• Volume level (see page 11)
• Bass boost (see page 12)
• Input attenuator mode (see page 12)
• Subwoofer output level (see page 12)
• Balance (see page 13)
• SEA modes (see page 20)
• DSP modes
– 3D-PHONIC mode settings (see page 24)
– DAP mode settings (see page 24)
– Surround mode settings (see page 25)
• DVD MULTI playback mode settings (see page 29)
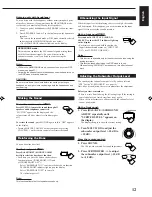
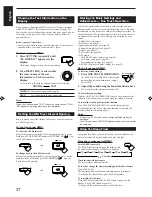
On the front panel ONLY:
To store the sound settings
1. Press ONE TOUCH OPERATION.
The ONE TOUCH OPERATION lamp lights
up, then the previously memorized settings
are recalled.
2. Adjust the sound using the functions listed above.
The newly adjusted settings are memorized.
To recall the sound settings
With the ONE TOUCH OPERATION lamp lit, the settings for the
currently selected source are recalled when the source is selected.
To cancel the One Touch Operation function
Press ONE TOUCH OPERATION so that the lamp goes off.
(Even though the One Touch Operation function is canceled, the
recalled sound effects remain active.)
Notes:
• If the source is FM or AM, you can assign a different setting for
each band.
• The DSP modes and DVD MULTI playback mode cannot be used at
the same time.
Using the Sleep Timer
Using the Sleep Timer, you can fall asleep to music and know the
receiver will turn off by itself rather than play all night.
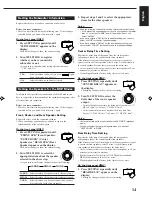
From the remote control ONLY:
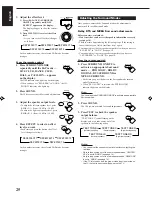
Press SLEEP repeatedly.
The SLEEP indicator lights up on the display, and
the shut-off time changes as follows (in minutes):
When the shut-off time comes
The receiver turns off automatically.
To check or change the time remaining until the shut-off time
Press SLEEP once.
The remaining time until the shut-off time appears in minutes.
• To change the shut-off time, press SLEEP repeatedly.
To cancel the Sleep Timer
Press SLEEP repeatedly until “SLEEP 00min.” appears on the
display. (The SLEEP indicator goes off.)
• Turning off the power also cancels the Sleep Timer.
EN10_19.RX-7001PGD[U,US]/f
00.5.31, 10:55 AM
17

