71
Item
Preset Values
Description
Reference
Page
B
^
䢇
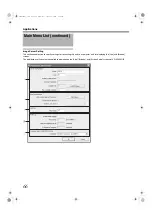
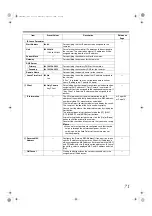
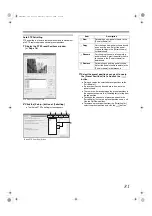
For specifying the first IP address to be assigned to the
cameras.
䢇
For selecting the number of IP addresses to be assigned to
the cameras. The selected number of IP addresses will be
assigned starting from the first IP address.
^
For specifying the subnet mask for the cameras.
^
For specifying the gateway for the cameras.
䢇
For specifying the primary DNS for the cameras.
䢇
For specifying the secondary DNS for the cameras.
^
For specifying the domain name for the cameras.
C
䢇
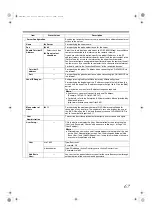
For specifying the valid period of the IP address assigned to
the cameras.
If
is selected, you can set the lease time in units of
hours. (Setting value: 1 hour to 99 hours)
^
D
䢇
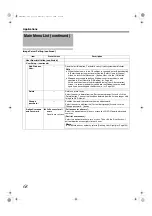
For selecting whether to apply restrictions on the device when
assigning the IP address. If
is selected, IP
address will only be assigned to the corresponding camera. If
is selected, IP address will be assigned to all
devices.
^
E
^
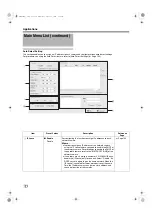
The [IP Information] list contains information on the IP
address of the automatically detected camera, MAC address,
number of video CH, manufacturer, and model.
Click [Auto Detect] to start auto detect and display the result.
The camera at the top of the list is used with priority.
You can sort the order of the detected cameras by clicking the
Sort button.
The different types of sort buttons include the [IP], [MAC],
[CH], [MAKER], and [MODEL] sort buttons.
After selecting the detected camera, click the [Up] or [Down]
button to alter the order of the cameras.
Deselect the check box of any camera that you are not using.
Memo :
●
When multicast packets are configured such that they do
not pass through the network equipment, such as a
switching hub, the Auto Detect of the camera may not
function properly.
F
^
Configure the [Reserve MAC Address] if you want to assign a
specific IP address to the cameras. A specific IP address is
always mapped to a MAC address. Enter a value in the [MAC]
and [IP] fields, and click [Add] to set the addresses. To cancel
the setting, select a displayed MAC and IP address and click
[Del].
^
G
^
Clicking this button closes the setup screen and starts the
assignment of IP addresses.
^
VR-N1600_J.book Page 71 Wednesday, August 8, 2007 3:32 PM
Summary of Contents for VR-N1600E
Page 2: ...IMPORTANT SAFEGUARDS I VR N1600_J book Page I Wednesday August 8 2007 3 32 PM ...
Page 3: ...SAFETY PRECAUTIONS for USA II VR N1600_J book Page II Wednesday August 8 2007 3 32 PM ...
Page 4: ...SAFETY PRECAUTIONS for Europe III VR N1600_J book Page III Wednesday August 8 2007 3 32 PM ...
Page 5: ...IV VR N1600_J book Page IV Wednesday August 8 2007 3 32 PM ...
Page 6: ...SICHERHEITSVORKEHRUNGEN for Germany V VR N1600_J book Page V Wednesday August 8 2007 3 32 PM ...
Page 7: ...VI VR N1600_J book Page VI Wednesday August 8 2007 3 32 PM ...
Page 9: ...VIII E 1600E E 1600E E E VR N1600_J book Page VIII Wednesday August 8 2007 3 32 PM ...


