57
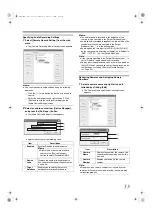
Adjusting Camera Settings
1
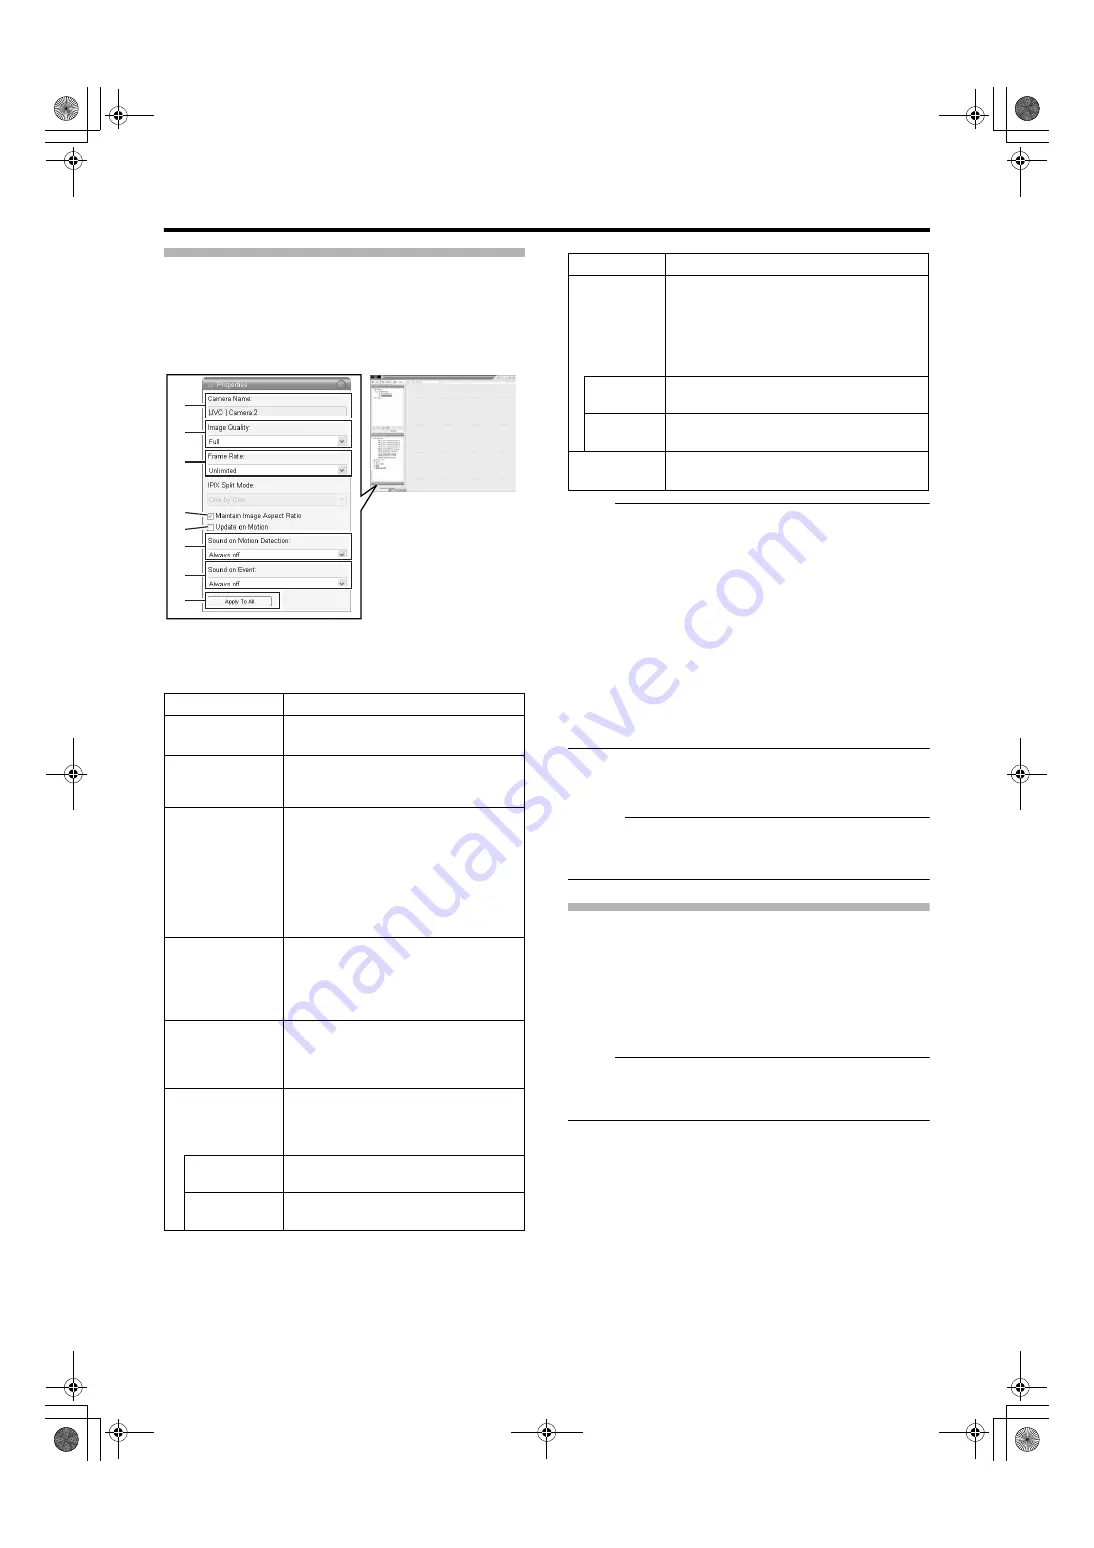
Select the camera you want to adjust on the
[Screen Setup] screen
2
Select [Properties]
3
Adjust the following camera settings
accordingly
Note :
●
Set VR-N1600U/E so that the total frame rate for viewing
on all surveillance computers is 80 ips or less.
●
The recording frame rate may deteriorate if you change
the picture quality. The [mage Quality] settings may affect
the recording performance. As such, use this function with
the value fixed at
.
●
When you drag the timeline browser using the mouse
during playback, the frame rate setting is disabled.
[Searching Recorded Image Using the Timeline Browser]
(
●
Notification sound is not output from VR-N1600U/E during
motion detection or occurrence of an event. This function
is for use by the NVR Viewer, which is downloaded onto
the surveillance computer.
4
To adjust the settings on other cameras, repeat
Steps 2 to 3
Memo :
●
To adjust the settings of all cameras at once, click the
[Apply To All] button. The new camera settings will be
applied to all cameras in the view.
Using Your Views on Different Computers
User settings, including the [Private] view, are stored in VR-
N1600U/E. In other words, you can use your [Private] views
on any surveillance computer that has this unit and the
installed (
Page 108) by logging in with your own
user name and password.
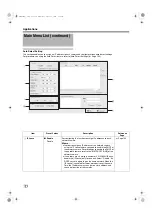
1
Double-click the [Setup] tab on the NVR Viewer.
Note :
●
Particular user rights may be required in order to access
the [Setup] tab. In this case, consult your system
administrator.
2
Select the folder you want to use in the [Views]
section
●
You can create or edit views.
●
Folders that cannot be edited are indicated by the
[LOCK] icons.
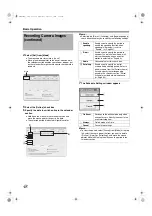
Item
Description
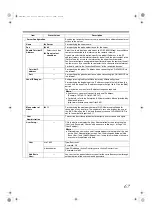
A
Displays the name of the selected
camera. (This is a read-only field.)
B
Enables you to adjust the image
resolution and picture quality during
viewing. Select [Full] at all times.
C
This is the viewing frame rate.
Select [Unlimited] (default value; same
as live settings), [Medium] (25 % of
the frame rate), or [Low] (5 % of the
frame rate), depending on the frame
rate specified in [Live Settings] (
Page 50) on the [Camera Settings]
screen.
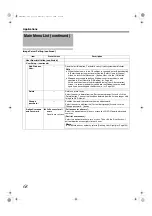
D
If this check box is selected, images
will not be stretched to fit the size of
the display position. Images will be
displayed in the aspect ratio that they
have been recorded.
E
If this check box is selected, the
camera’s images will only be updated
on the [Live] screen when motion is
detected.
F
Enables notification with a simple
sound when motion is detected while
viewing images from the camera on
the [Live] screen.
Does not produce sound notification
when motion is detected.
Notifies with a sound each time motion
is detected.
A
B
C
D
E
F
G
H
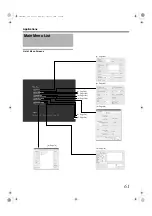
[Screen Setup] Screen
Item
Description
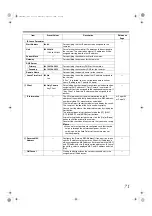
G
Enables notification with a simple alert
sound when events related to the selected
camera occur while viewing images from
the camera on the [Live] screen.
To use this feature, you need to configure
the event notification setting. (
Does not output sound alert when an
event related to the camera occurs.
Outputs a sound alert each time an event
related to the camera occurs.
H
Press this button to apply the new settings
to all cameras.
VR-N1600_J.book Page 57 Wednesday, August 8, 2007 3:32 PM
Summary of Contents for VR-N1600E
Page 2: ...IMPORTANT SAFEGUARDS I VR N1600_J book Page I Wednesday August 8 2007 3 32 PM ...
Page 3: ...SAFETY PRECAUTIONS for USA II VR N1600_J book Page II Wednesday August 8 2007 3 32 PM ...
Page 4: ...SAFETY PRECAUTIONS for Europe III VR N1600_J book Page III Wednesday August 8 2007 3 32 PM ...
Page 5: ...IV VR N1600_J book Page IV Wednesday August 8 2007 3 32 PM ...
Page 6: ...SICHERHEITSVORKEHRUNGEN for Germany V VR N1600_J book Page V Wednesday August 8 2007 3 32 PM ...
Page 7: ...VI VR N1600_J book Page VI Wednesday August 8 2007 3 32 PM ...
Page 9: ...VIII E 1600E E 1600E E E VR N1600_J book Page VIII Wednesday August 8 2007 3 32 PM ...


