


Page 1
English
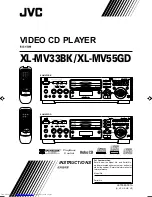
XL-MV33BK/XL-MV55GD
LET0080-001A
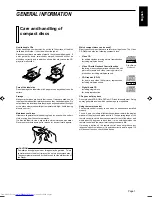
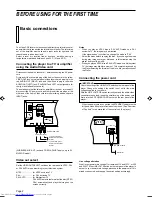
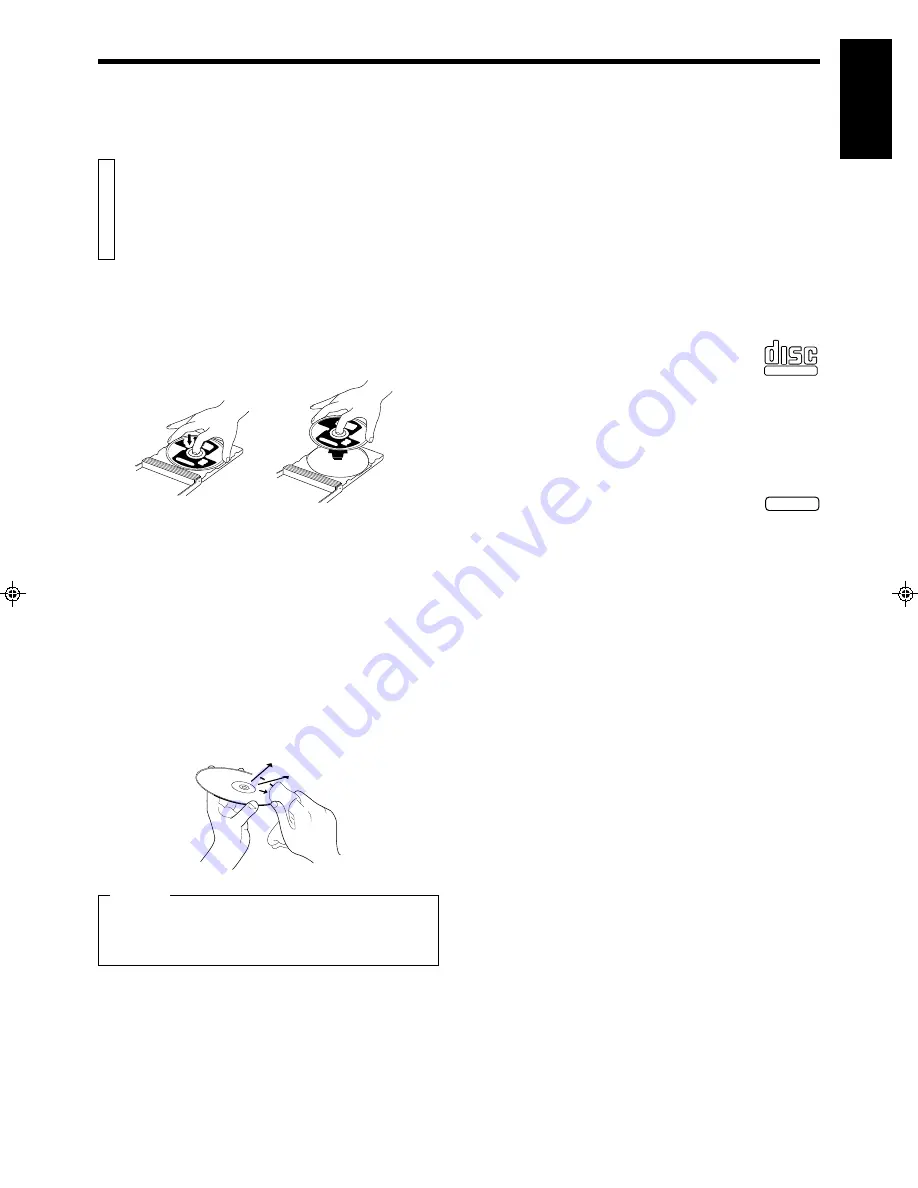
How to handle CDs
When handling a compact disc, do not touch the surface of the disc
(reflective silver side –– the side without the label).
Since compact discs are made of plastic, they are easily damaged. If
a disc gets dirty, dusty, scratched or warped, the sound will not be
picked up correctly and, in addition, such a disc may cause the CD
player to malfunction.
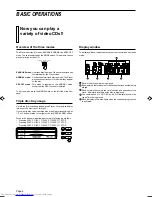
Which compact discs can be used?
Many types of compact discs are sold for a variety of uses. The Video
CD Player can play the following compact discs:
•
Video CD
for audio and video (moving picture) reproduction,
including multiplex sound.
•
Video CD with Playback Control function
featuring menu-type operation and super-fine still
pictures for audio and video (moving picture) re-
production, including multiplex sound.
•
CD Graphics (CD-G)
for audio and video (still picture) reproduction,
including multiplex sound.
•
Digital Audio CD
including single discs
for audio reproduction.
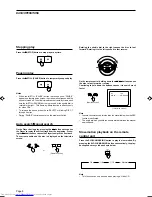
CDs you can't play back
Do not play back CD-ROMs, DVDs, or CD-is on this equipment. Doing
so may generate a noise which can damage your speakers.
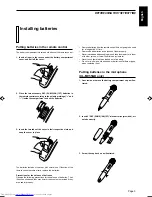
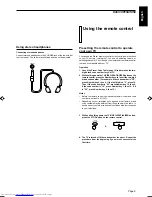
Using the remote control
The remote control is ready to use when its batteries are installed
properly.
To use it, point its infrared light-emitting window toward the display
window of the player and press a button. The operating range of the
remote control is up to about seven meters in front of the player and
within about 30 degrees to each side –– with nothing between the
remote control and the player interrupting the beam path.
If pressing a button on the remote control does not produce any
response, check to make sure it is pointed correctly and try again. If it
still does not function, check the batteries.
Care and handling of
compact discs
GENERAL INFORMATION
Care of the label side
Do not damage the label side, stick paper or use any adhesive on its
surface.
Storage
Make sure that discs are kept in their cases. If discs are piled one on
top of another without their protective cases, they can be damaged. Do
not put discs in a location where they may be exposed to direct sunlight,
or in a place where the humidity or temperature is high. Avoid leaving
discs in your car!
Maintenance of discs
If there are fingerprints or dirt adhering to a disc, wipe it with a soft dry
cloth, moving from the center outwards.
If a disc is difficult to clean, wipe with a cloth moistened with water.
Never use record cleaners, petrol, alcohol or any anti-static agents.
CAUTION
Sometimes during play noise or images may be garbled. This is
sometimes due to the disc. (It may not be up to industry standards.)
These symptom are caused by the discs, not by the malfunction of
the Player.
GRAPHICS
'
'
PlayBack
Control
COMPACT
DIGITAL VIDEO
XL-MV33BK/XL-MV55GD
LET0080-001A
XL-MV33BK/55GD Body-1
97.5.27, 11:33 AM
1


