
For Customer Use:
Enter below the Model No. and Serial
No. which are located either on the rear,
bottom or side of the cabinet. Retain this
information for future reference.
Model No.
Serial No.
LVT0222-003A
[E]
INSTRUCTIONS
BEDIENUNGSANLEITUNG
MANUEL D’INSTRUCTIONS
GEBRUIKSAANWIJZING
MANUAL DE INSTRUCCIONES
INSTRUZIONI
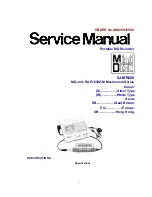
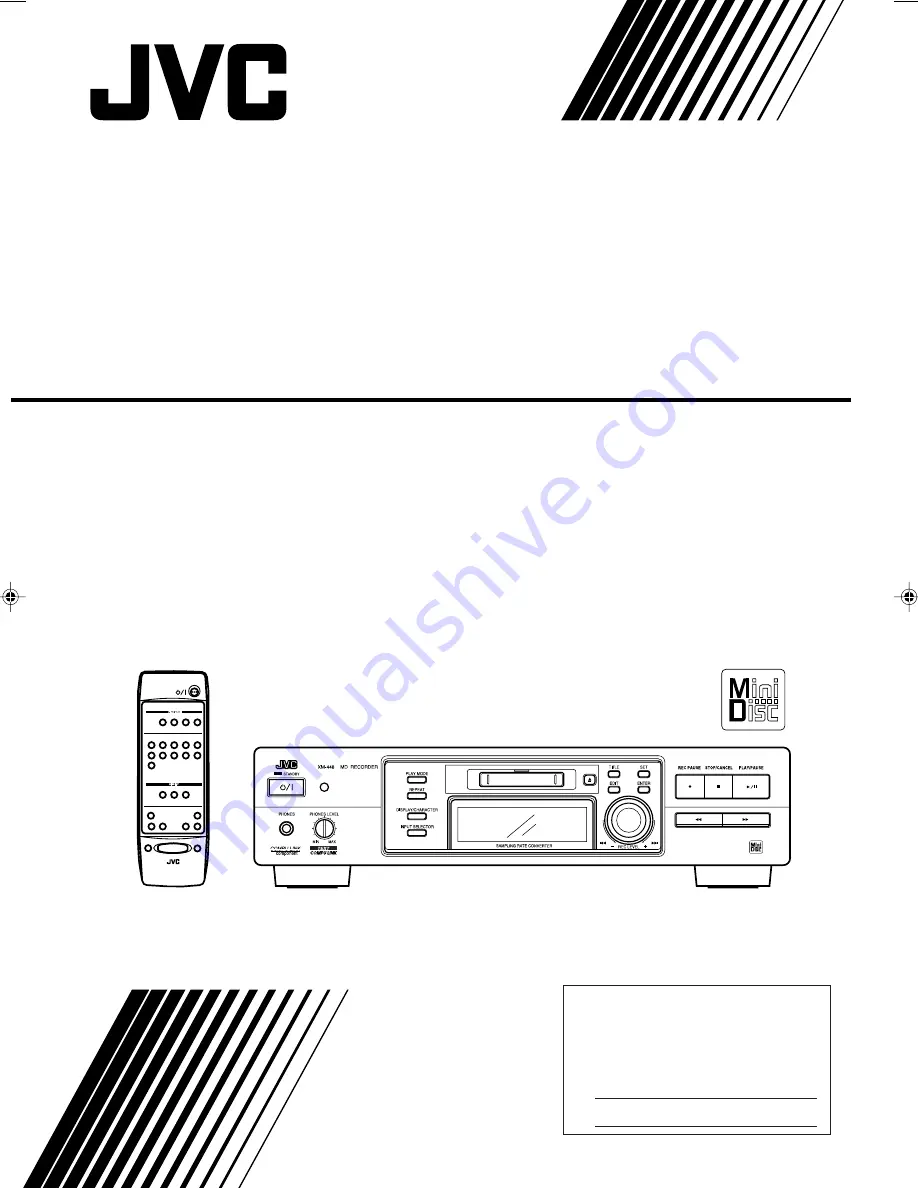
XM-448BK
MINIDISC RECORDER
MINIDISC-REKORDER
ENREGISTREUR MINIDISC
MINIDISC-RECORDER
GRABADORA DE MINIDISC
REGISTRATORE MINIDISC
1
¡
4
¢
0
8
3
7
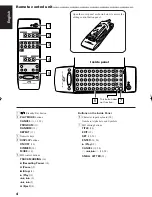
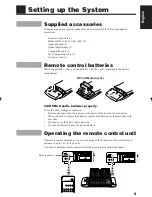
RM-SXM448E REMOTE CONTROL
1
2
3
4
5
6
7
8
9
10
+10
PROGRAM
CANCEL
RANDOM
REPEAT
ON/OFF
TRACK MARKING
DIMMER
MODE
XM-448BK(E) Cover
99.3.4, 10:03 AM
1