English
1
XM-EX90
MINIDISC RECORDER
For Customer Use:
Enter below the Model No. and Serial
No. which are located either on the rear,
bottom or side of the cabinet. Retain this
information for future reference.
Model No.
Serial No.
LVT0097-001A
[J]
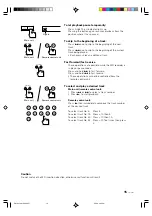
1
2
3
4
5
6
7
8
9
10
+10
CLOCK
/ TIMER
FM MODE
/ MUTING
SLEEP
SET
CANCEL
REPEAT
CD 1
CD 2
CD 3
DOWN
PLAY MODE
REPEAT
S.A.BASS
FADE
MUTING
TREBLE
BASS
BALANCE
– / L
+ / R
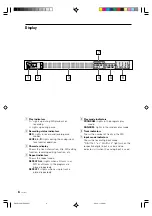
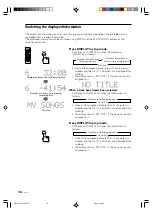
DISPLAY
TRACK
MARKING
PLAY MODE
UP
CD CONTROL
MD CONTROL
TAPE CONTROL
VOLUME
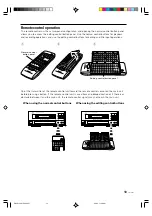
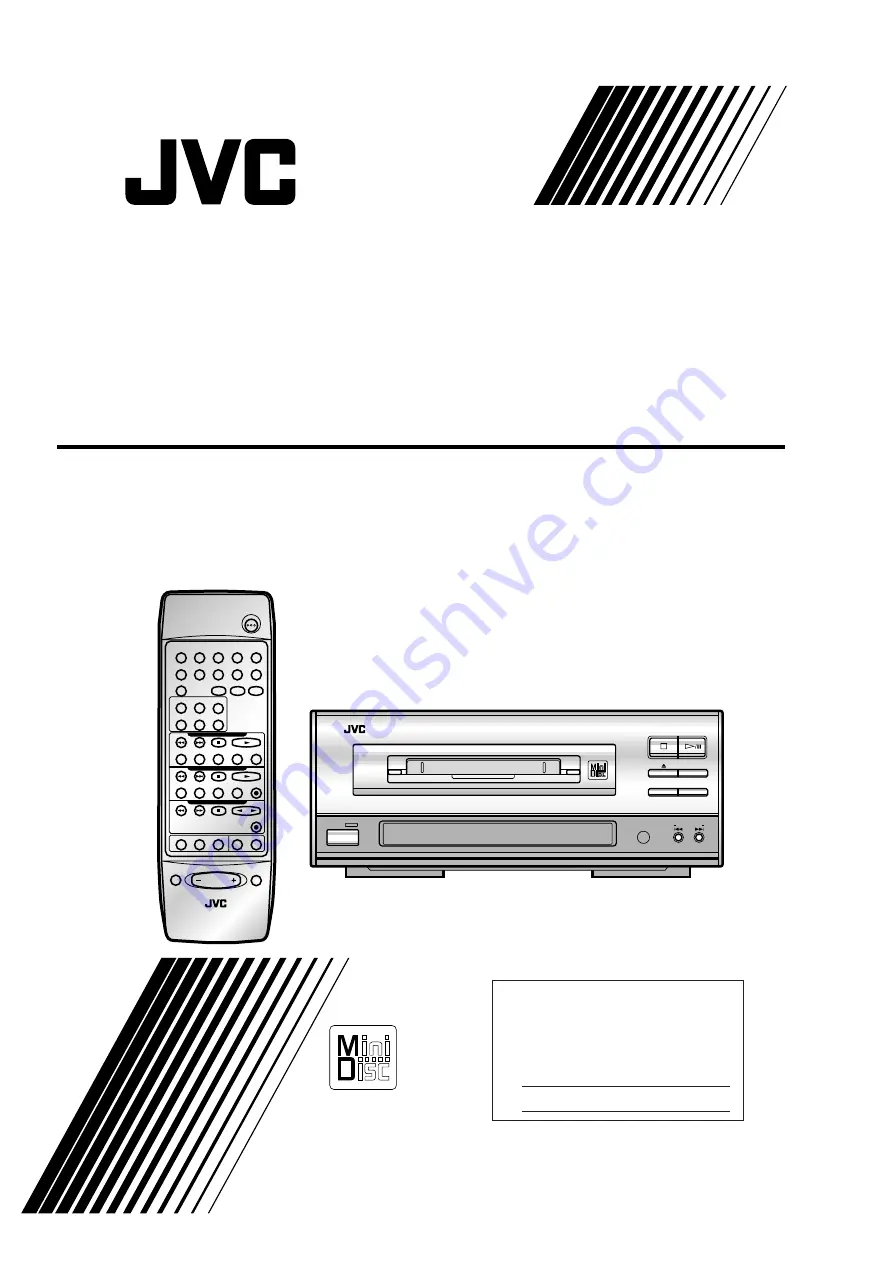
RM-SEEX90MU REMOTE CONTROL
TUNER
AUX
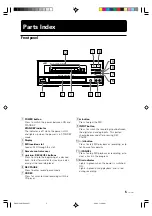
POWER
XM-EX90 MINIDISC RECORDER
INPUT
CD REC
REC PAUSE
/CANCEL
SAMPLING RATE CONVERTER
STANDBY
REC LEVEL
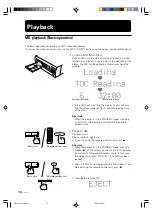
DISC LOADING MECHANISM
POWER
INSTRUCTIONS
XM-EX90