background image

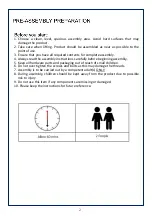
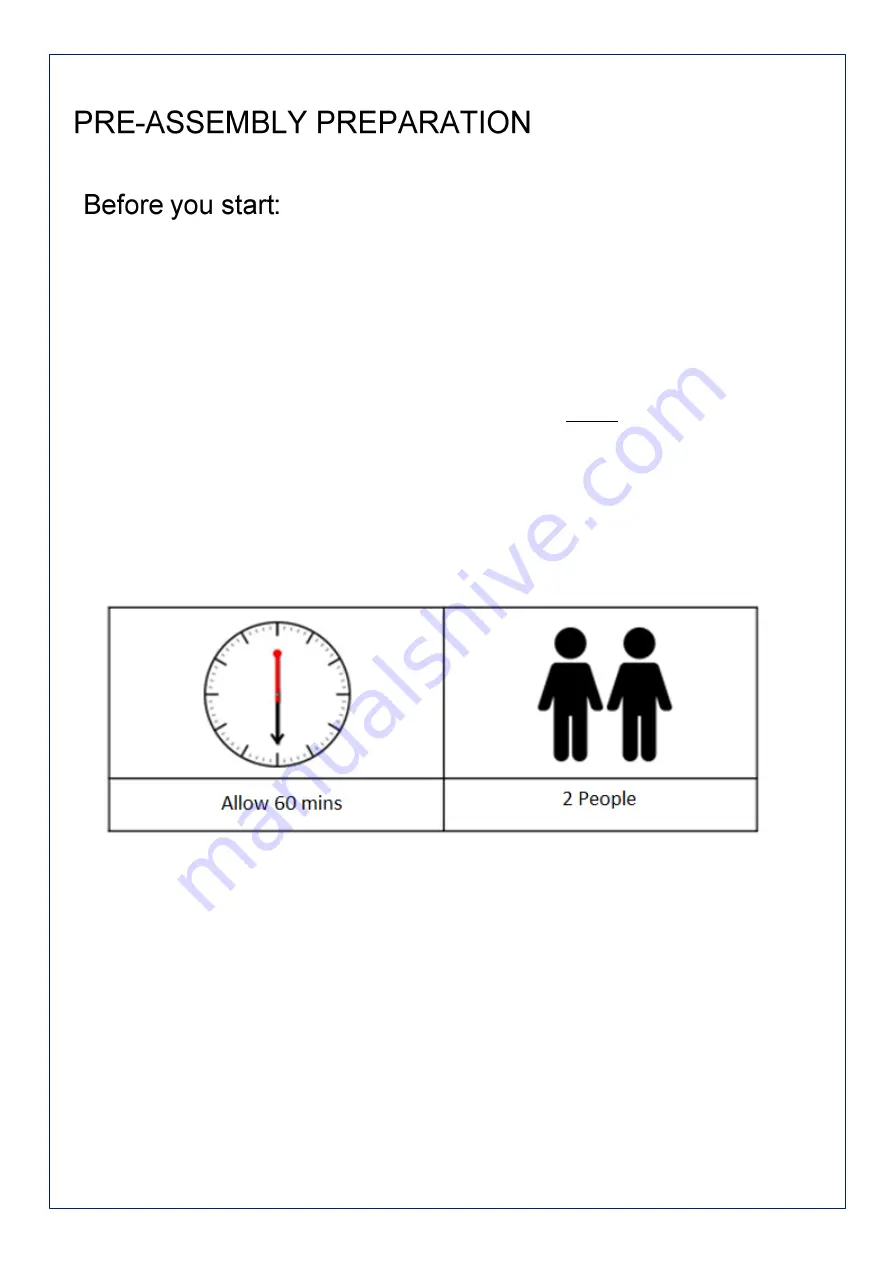
1. Choose  a  clean,  level,  spacious  assembly  area.  Avoid  hard  surfaces  that  may 

damage the product.


2. Take  care  when  lifting.  Product  should  be  assembled  as  near  as  possible  to  the 

point of use.


3. Ensure that you have all required contents for complete assembly.


4. Always read the assembly instructions carefully before beginning assembly.


5. Keep all hardware parts and packaging out of reach of small children.


6. Do not over tighten the screws and bolts as this may damage the threads. 
7. Assembly is to be carried out by a competent adult(s) ONLY. 
8. During assembly, children should be kept away from the product due to possible 

risk to injury. 

9. Do not use this item if any components are missing or damaged. 
10. Please keep the instructions for future reference. 

Summary of Contents for RIVADAVIA 70793

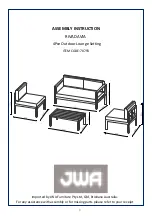
Page 1: ...INSTRUCTION RIVADAVIA 4Pce Outdoor Lounge Setting ITEM CODE 70793 Imported by JWA Furniture Pty Ltd Qld Brisbane Australia For any assistance with assembly or for missing parts please refer to your r...

Page 2: ...sembly instructions carefully before beginning assembly 5 Keep all hardware parts and packaging out of reach of small children 6 Do not over tighten the screws and bolts as this may damage the threads...

Page 3: ...3...

Page 4: ...4...

Page 5: ...5...

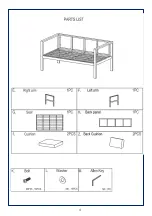
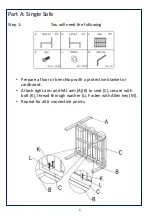
Page 6: ...Single Sofa Step 1 Prepare a floor or benchtop with a protective blanket or cardboard Attach right arm and left arm A B to seat C secure with bolt K thread through washer L Fasten with Allen key M Re...

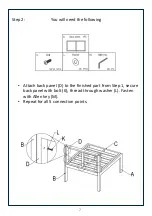
Page 7: ...tep 2 You will need the following Attach back panel D to the finished part from Step 1 secure back panel with bolt K thread through washer L Fasten with Allen key M Repeat for all 5 connection points...

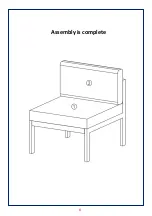
Page 8: ...Assembly is complete 8...

Page 9: ...2 Seat Sofa Step 1 Prepare a floor or benchtop with a protective blanket or cardboard Attach right arm and left arm E F to seat G secure with bolt K thread through washer L Fasten with Allen key M Re...

Page 10: ...ep 2 You will need the following Attach back panel H to the finished part from Step 1 secure back panel with bolt K thread through washer L Fasten with Allen key M Repeat for all 6 connection points 1...

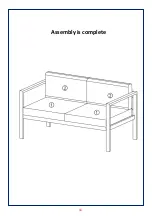
Page 11: ...Assembly is complete 11...

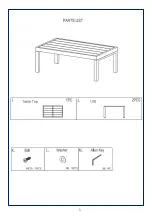
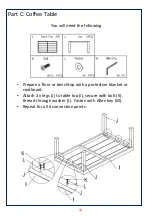
Page 12: ...g Part C Coffee Table Prepare a floor or benchtop with a protective blanket or cardboard Attach 2 x legs J to table top I secure with bolt K thread through washer L Fasten with Allen key M Repeat for...

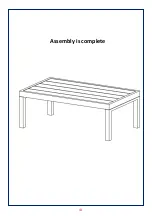
Page 13: ...Assembly is complete 13...

Page 14: ...14...

Reviews: