FM
Radi
o
(
cont
’
d)
The
FM
Radi
o’
s
display shows a linear scale that corresponds to
an FM radio dial, with frequencies ranging from 87.9 MHz to 108
MHz. It shows the current station to which the radio is tuned,
whether or not the current station is being received in stereo, and
the volume control setting, expressed from 1-30 (see page 32).
The
r
adi
o’
s
ant
enna
i
s
t
he
wi
r
e
used
i
n
t
he
headphones
at
t
ached
t
o
t
he
uni
t
.
For
best
results in obtaining good reception, the wire should be left fully extended and not
bunched or curled up and placed in a pocket.
Setting Stations
Up to 20 FM stations can be preset for easy recall, and they can be set both manually
and automatically. Setting stations automatically allows the radio to scan the entire FM
range and discern only the strongest stations, which it stores for later recall.
Subsequently, you can manually add other stations missed by the scan, as long as the
total number of stations does not exceed 20.
Usi
ng
t
he
Radi
o’
s
Funct
i
ons
With the unit in the FM Radio mode, press the
button to display the
RADIO SET
menu. The following table describes each of the FM Radio functions in logical order,
rather than the order they appear in the menu.
FM RADIO
RADIO SET MENU
COMMENTS
Auto Search
Be sure to fully extend the headphone cable to get the
best reception during the search. Highlight Auto Search,
and press the
button to begin the scan, which will take
about one minute to complete. Once done, the JX-MP256FM
will have stored the frequencies of up to the 20 best received
stations. To play the stored stations, press and hold either the
or
buttons for about one second. The unit will scan the
dial in the direction chosen, and stop at the next stored
station. To change the station, repeat the process until the
desired station is reached.
-46-
JX-MP256FM Digital Audio Player
FM
RADI
O
(
cont
’
d)
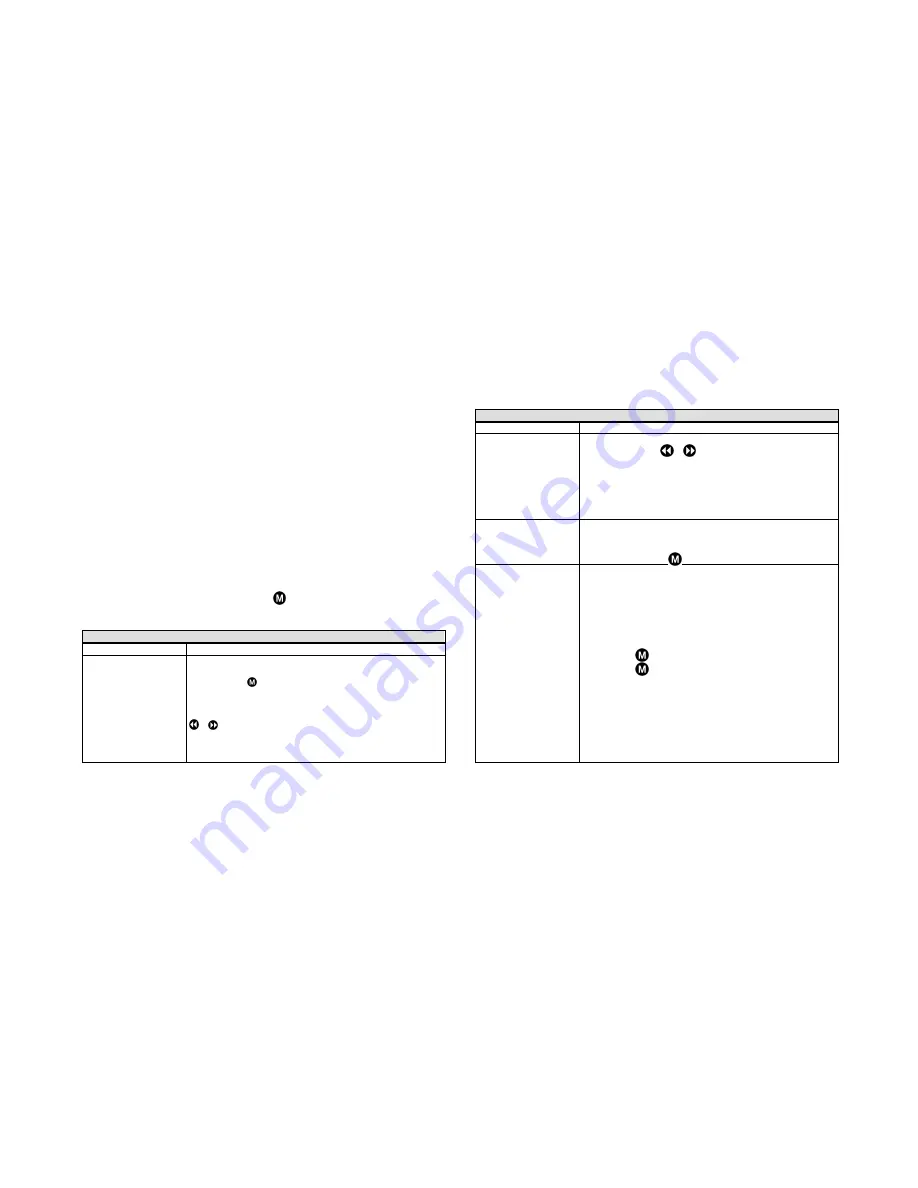
RADIO SET MENU
COMMENTS
Auto Search
(cont’d)
Stations can also be searched for manually by momentarily
pressing either the
or
button in the direction desired.
Each such press changes the frequency by 0.05 MHz
(50KHz). Use this technique to tune in stations that were not
detected during the Auto Search. Stations selected in this
manner can be saved (see below), as if they were part of the
Aut
o
Sear
ch,
as
l
ong
as
t
he
maxi
mum
of
20
st
at
i
ons
haven’
t
been exceeded.
Save
Once a station has been manually selected (as described
above), it can be saved as if it was part of the Auto Search
process. With the station playing, highlight
Save
in the
menu, and press the
button.
Record
Anything heard in the FM Radio mode can be recorded and
stored in your JX-MP256FM. As with all recordings, check
the memory allocation first (see page 17) and delete any
unnecessary files if more capacity is required. To record a
portion of an FM broadcast, do the following:
1. Tune into the broadcast, and obtain the best reception
possible by orienting the headphone/earphone wire as
previously described.
2. Press the
button and select
Record.
3. Press the
button again to enter the
FM REC SET
menu, which provides three selections:
Main Folder
can be ignored, because it confirms
that you wish to place your FM recording in the VOICE
folder, where all FM radio recordings must be stored.
Select
REC type
to enter the
REC type
menu,
where you can choose among four recording bit rates
(see page 31). Keep in mind that while the higher bit
rates provide for a better quality recording, they use
JX-MP256FM Digital Audio Player
-47-

