Klein + Hummel
Operating Manual KPA Series
English
21
■
Protection
Turn-On/Turn-Off muting
For about four seconds after turn-on, and immediately at turn-off, the amplifier outputs are muted.
Short circuit protection
A short circuit protection system safeguards the amplifier’s output transistors under short circuits and other
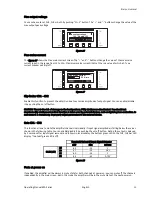
stressful loads. It is completely inaudible when inactive. In case of short circuit, the red LED will be light-up and
writing ”PROT” appears in the first line of the display(see Par. “The main screen” for a detailed description). The
amplifier will reset himself 5 times every 2 seconds. Once 50 resets have been performed and the fault still exist on
the output, the unit sets into steady protection mode. Turn ON/OFF cycle is needed to restart the unit.
Thermal protection
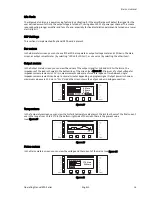
A KPA amplifier uses a continuously variable speed fan to assist cooling (the fan speed changes in response to the
amplifier’s cooling needs). If the heat sink temperature reaches approximately 80°C, the yellow LED starts to
flashing. If the temperature is more then 85°C the thermal sensing circuitry will mute each power section
<channels, the LED will light permanently and the power supply will be cut off. Once the heatsink has cooled down,
the amplifier will automatically reset and the LED will be go out. It is possible to reduce the temperature by
reducing the output power.
DC fault protection
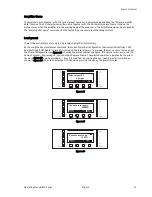
If DC or excessive subsonic energy appears at a channel output, an instantaneous protection circuit will cut off the
power supply for both channels. Power supply shutdown is used instead of speaker relays, thereby improving the
damping factor and reliability of the KPA amplifiers.
Input/Output protection
An ultrasonic network decouples RF from the outputs and keeps the amplifier stable with reactive loads.
■
User maintenance
Cleaning
Disconnect the amplifier from the AC main source first; use a soft cloth and mild non-abrasive solution to clean the
faceplate and chassis.
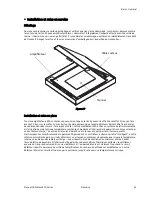
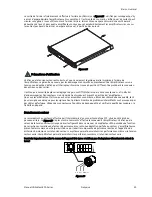
Removing Front Cover
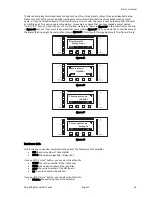
To remove the amp front cover (see
figure 33
) push a pen or a small screwdriver into the ventilation hole at the
location shown to release the lock. Pull the cover to the front and flip it to the right. Please remove the front grille
carefully. The dust filter may be directly removed for cleaning.


