


45
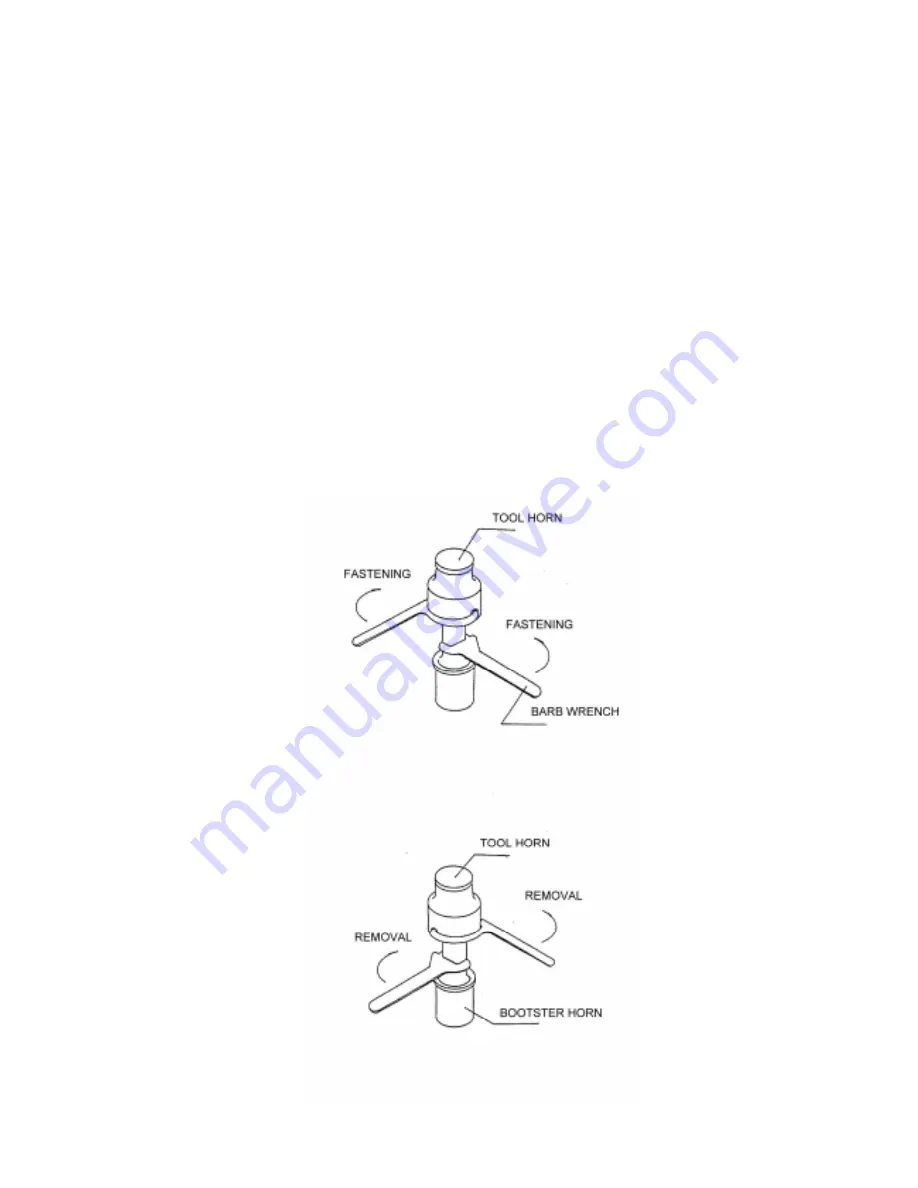
7.6 Replacement of the Tooling Horn
The horn surface will be scratched by the roller due to long or wrong speed
adjustment.
In this case, the machine can not cut and seal the cloth correctly. The tooling horn
should be repaired or changed using the following procedures and drawings:
A.
Switch off power supply.
B.
Raise up the roller bracket, then remove the roller.
C.
Remove the protecting cover from the tooling horn.
D.
Hold the booster horn with an adjustable wrench, and use a barb wrench hook
in an counterclockwise direction. Then release and remove the tooling horn.
Caution:
1. Work at the rear side of the machine.
2. Fan should be removed before removing tooling horn.
Summary of Contents for KS-72
Page 12: ...11...
Page 13: ...12...
Page 22: ...21...
Page 23: ...22...
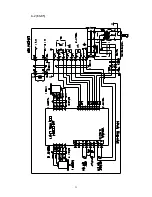
Page 31: ...30 6 4 Wiring Diagram A MAIN WIRING DIAGRAM A 1 KS 72...
Page 32: ...31 A 2 KS 85...
Page 38: ...37 FUSE FUSE B GENERATOR CIRCUIT DIAGRAM KS 72 KS 85 KS 2010 KS 3010...


