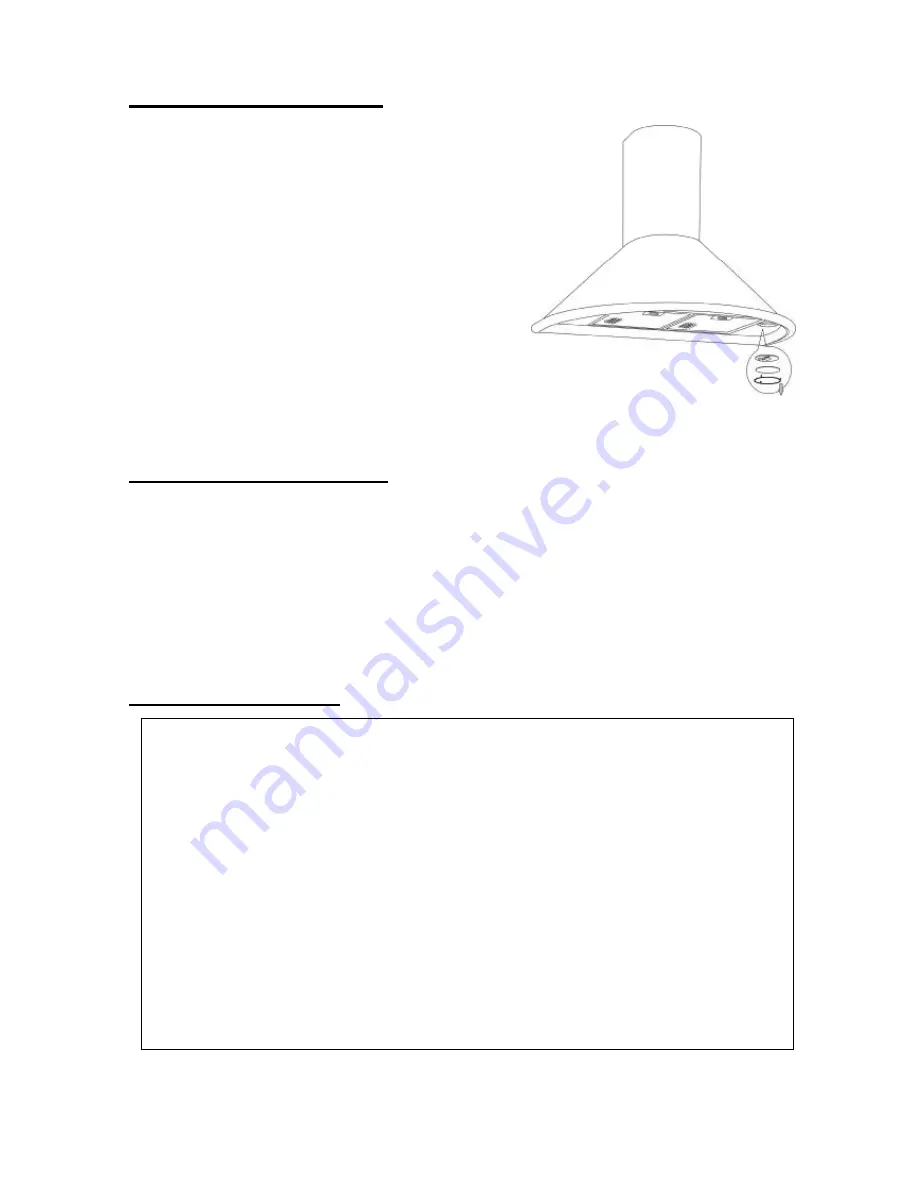
background image


HALOGEN BULBS         

ALWAYS  SWITCH  OFF  THE  ELECTRICITY  SUPPLY 
BEFORE  CARRYING  OUT  ANY  OPERATIONS  ON  THE 
APPLIANCE.   

To change bulbs:   
1. Rotate the cover in anticlockwise, as shown. CAUTION: 

BULB  MAY  BE  HOT,PLEASE  ROTATE  WHEN  THE 
BULB IS COOL!   

2. Replace with a Type JC, 12Volt, 20Watt Max, G-4 Base 

bulb. Do not touch replacement bulb with bare hands! If 
the  bulb  is  touched  with  the  bare  hand,  it  should  be 
cleaned  with  a  lint-free  cloth moistened  with methylated 
spirit.   


LED LIGHTS                       

ALWAYS  SWITCH  OFF  THE  ELECTRICITY  SUPPLY  BEFORE  CARRYING  OUT  ANY 
OPERATIONS ON THE APPLIANCE.   

To change the light: 
1.  Open  the  filter  and  find  the  spring  of  the  light,  push  the  spring  and  the  lgight  will  be  slip  out. 
Change  the  light  as  with  same  kind  of  4Volt,3  Watt  LED  light.  CAUTION:  LIGHT  MAY  BE 
HOT,PLEASE ROTATE WHEN THELIGHT IS COOL!   


WARRANTY               


We will warrant this product free from defects in material and quality for one year and motor for 
5  years.  If  any  problems  occur from  correct  usage,  please  contact  the  service  department  for 
under warranty service.     
This warranty does not cover the following: 
The filter mesh and bulb. 
Commercial use. 
Amendment of the date of manufacture on the rating plate. 
Damaged caused to the body by usage of detergent sprayer. 
Pollution made to the led parts, glass parts and S/S parts. 
Incorrect installation, misuse, abuse or neglect. 
Incorrectly fitted to insufficient or unsuitable power. 
Taken apart or serviced by unauthorized service engineers or replaced with other manufacture

components. 
For commercial use the maintenance and free service should be discussed with our authorized 
agent. 
Beyond  the  12  month  limited  warranty  period,  the  purchaser  should  pay  for  charge  of 
components and call out. 
In the event of a service call, please provide the warranty card and receipt of date of purchase.   


Summary of Contents for K1005

Page 1: ...TIONS FOR DOMESTIC COOKING ONLY Installer Leave this manual with the homeowner Homeowner Cleaning Maintenance and Operating instructions on the coming pages RANGE HOOD ITEM NO K1005 K1005A REFERED MOD...

Page 2: ...ted fans must always be vented to the outdoors 7 Do not use this unit with any separate solid state speed control device 8 To reduce the risk of fire use only metal ductwork 9 This unit must be ground...

Page 3: ...erload which will automatically shut off the motor if it becomes overheated The motor will restart when it cools down If the motor continues to shut off and restart have the hood serviced 7 For best c...

Page 4: ...uct fixing support 2 Safety screw ST4mm x30mm 1 Slidery duct fixing support 7 Mounting Screws 4 x 40mm 8 Mounting Screws 4 x 8mm 9 Drywall Anchors 8 holes 2 Washer 4 x12 x1mm 1 Aluminum Flex Duct VENT...

Page 5: ...24 A maximum of 33 above cooktop is highly recommended for best capture of cooking impurities Distances over 33 are at the installer and users discretion INSTALL THE DUCTWORK NOTE To reduce the risk o...

Page 6: ...crews 4x50mm into the anchors and install the hook on the wall as shown INSTALL SLIDERY DUCT FIXING SUPPORT 1 Calculate the final height of the U shaped section drill 2 holes of 8mm on a suitable plac...

Page 7: ...t which is stands on two sides of the motor PREPARE THE HOOD Note On stainless steel hoods carefully remove the plastic protective film from all exterior surfaces of the hood and decorative flues prio...

Page 8: ...er Use drywall anchors provided 4 Measure the height of the glass to the slidery duct fixing support Adjust the height of the chimney according to the height Then use the duct fixing suppor with two s...

Page 9: ...r water Wipe dry with a clean soft cloth to avoid water marks l For discolorations or deposits that persist use a non scratching household cleanser or stainless steel polishing powder with a little wa...

Page 10: ...otor will stop 2 Push the Low button the buzzer will buzz once and the motor runs at low speed 3 Push the high button the buzzer will buzz once and the motor runs at mid speed 4 Push the High button t...

Page 11: ...COOL WARRANTY We will warrant this product free from defects in material and quality for one year and motor for 5 years If any problems occur from correct usage please contact the service department f...

Page 12: ...K Star International Group Inc K Star Electronic Appliance Inc Toll Free 800 893 2168 Email info kstarus com http www kstarus com...

Reviews: