
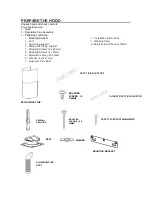

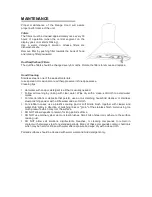


PREPARE THE HOOD
Unpack hood and check contents.
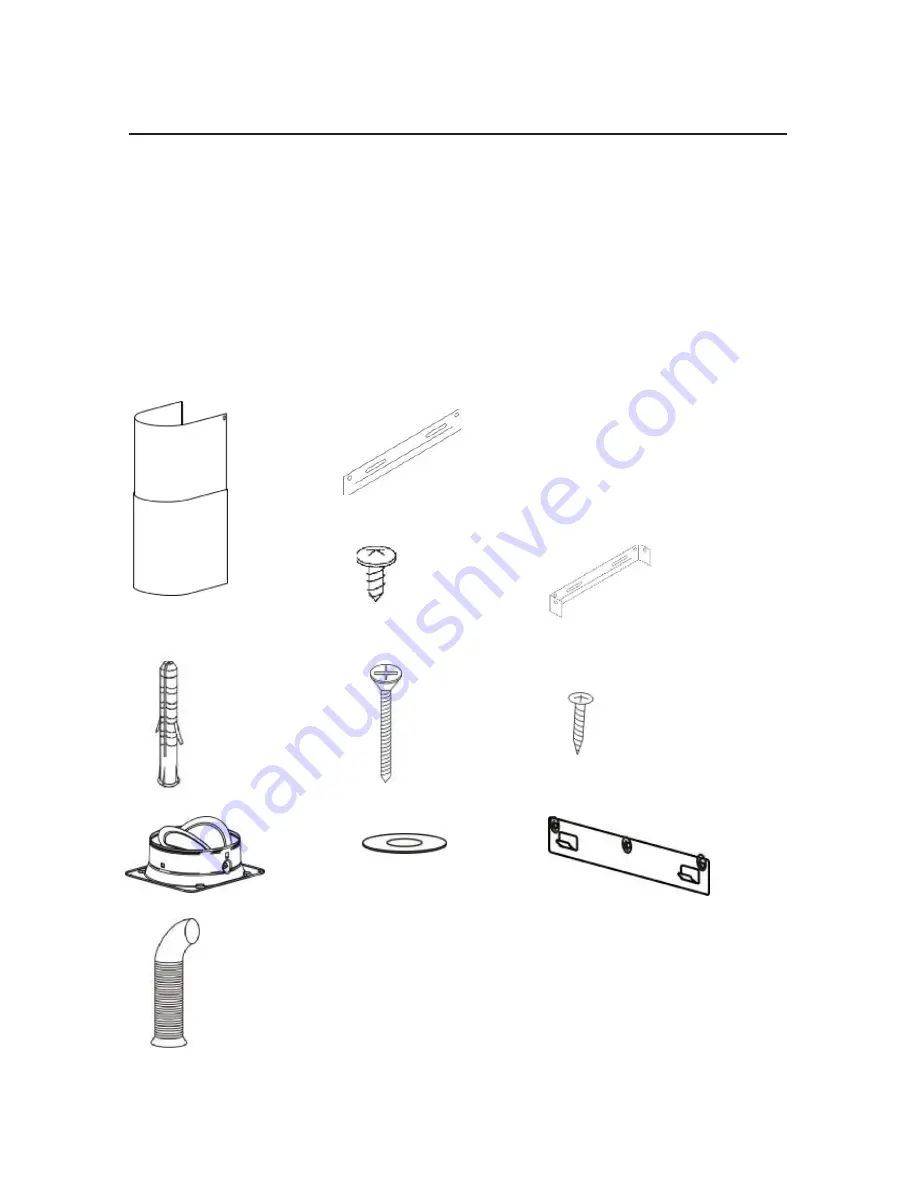
You should receive:
1 - Hood
1 - Decorative Flue Assembly
1 - Parts Bag containing:
1 -
Mounting Bracket
1 - Installation Instructions
1 - Vent 1 - Warranty Card
1 - Duct fixing support 2- Safety screw (ST4mm x30mm)
1 - Slidery duct fixing support
7 - Mounting Screws (4 x 40mm)
8 - Mounting Screws (4 x 8mm)
9 - Drywall Anchors (
φ
8 holes)
2 - Washer (4 x12 x1mm)
1 - Aluminum Flex Duct
VENT
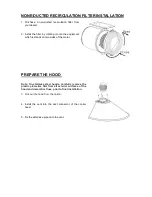
DUCT FIXING SUPPORT
SLIDERY DUCT FIXING SUPPORT
MOUNTING
SCREWS (4
X 8MM)
MOUNTING
SCREWS (4 X
40MM)
DRYWALL
ANCHORS
WASHER
ALUMINUM FLEX
DUCT
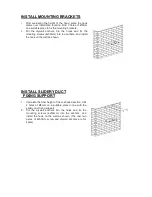
MOUNTING BRACKET
SAFETY SCREW (ST4MM
x30MM)
DECORATIVE FLUE


