W W W . K A A R T A . C O M
2 4
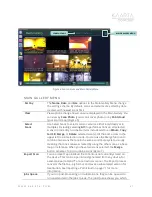
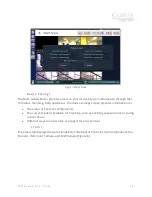
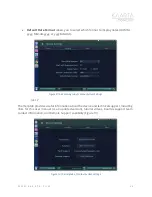
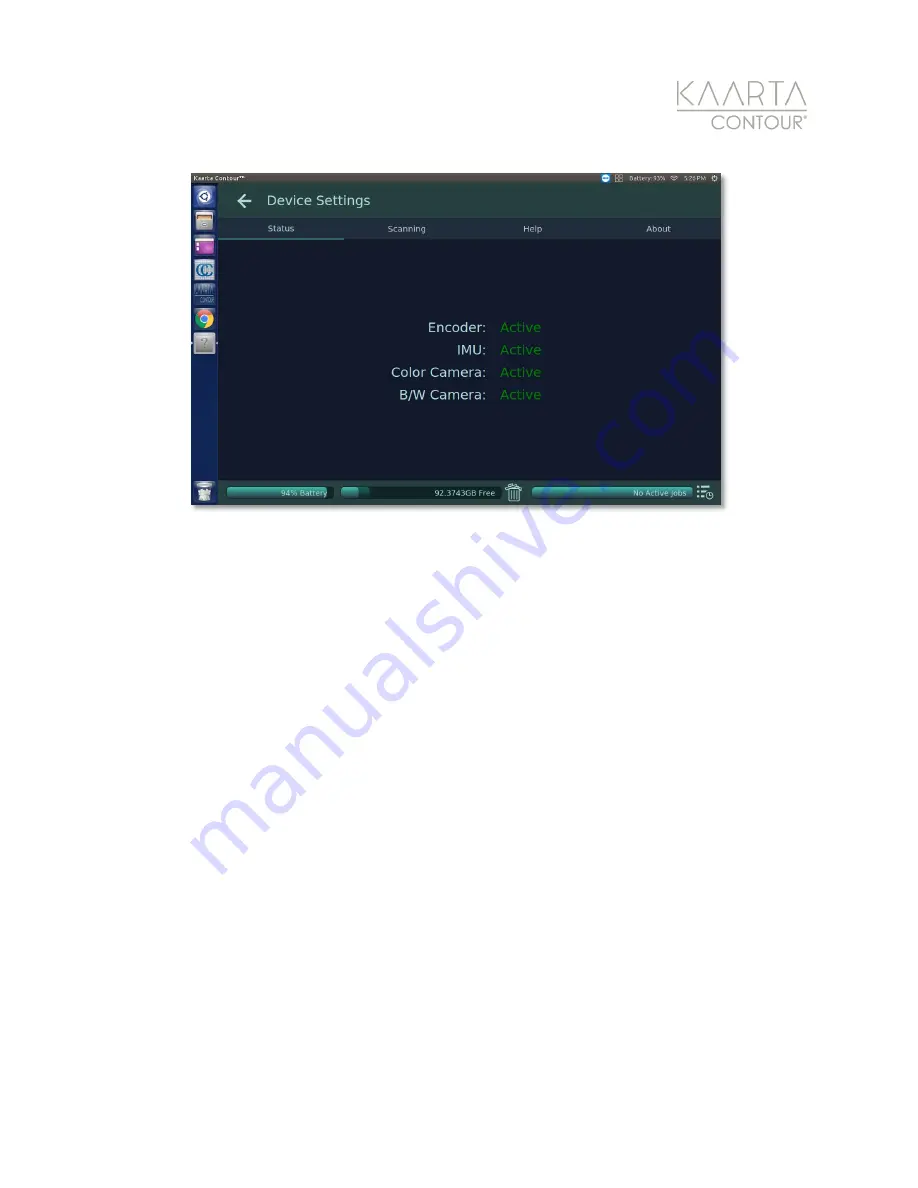
Figure 8: The Status tab of Contour System Settings.
S C A N NI N G
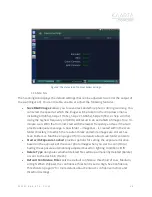
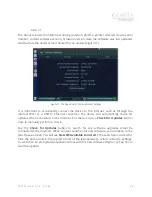
The Scanning tab displays the default settings that can be adjusted to control the output of
the scan (Figure 9). You can disable, enable, or adjust the following features:
•
Save B&W Images
allows you to save black and white photos during scanning. You
can select the speed at which the images will be taken in the drop-down menu,
including All (20hx), Skip x1 (10hx), Skip x2 (-6.66hz), Skip x3 (5hz), or Skip x4 (4hz).
Using the highest frequency All (20Hz) will result in an extra 6GB of images for a 10-
minute scan. With that in mind, start with the lowest frequency and see if that will
provide adequate coverage. A new folder – imagesbw – is created within the scan
folder directory into which the resultant black and white images are stored. See
Scan Folders on Machine on page 29 for more details about scan folder contents.
•
Start with Exposure Locked
provides options for setting the exposure duration
based on the exposure of the cover photo image when you start a scan (On) or
having the exposure automatically adjusted based on lighting conditions (Off)
•
Delete Type
designates whether deleted files will be permanently deleted (Delete)
or sent to the trash bin (Trash).
•
Default Confidence Filter
sets the default confidence threshold of Low, Medium,
or High. When shipped, the confidence threshold is set to High. See Confidence
Threshold on page 47 for more details about Contour’s confidence metrics and
threshold settings.


