W W W . K A A R T A . C O M
7 1
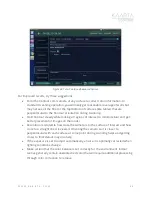
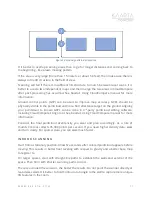
combing. This is useful for larger area scanning where you scan one section and want to go
back to scan another section that branched off from the section you just finished.
Scan Tip:
Keyposes, Adding Data, Chaining, and Branching, once
understood, greatly extends the environments that can be successfully
mapped.
A d d i n g D a t a
You can add data to an existing Contour scan (see Resume/Replay on page 53 and Chaining
and Branching Operation on page 72 for more information about extending or adding data
to a Contour scan). You can also import external scans, incorporate them into your Kaarta
scanning sessions, and easily process and export your data. First, you will need to import
the pointcloud onto Contour.
I mp o rt i n g a Po i n t c l o u d
You can import a pointcloud or scan file to Contour not currently stored on the device. This
can be a pointcloud generated from any device, such as Kaarta Stencil or a terrestrial
scanner, or a zip file of a Kaarta Stencil 3 (Pro) scan. The import process converts the file to
a .ply format and saves a subsampled version for localization.
From Contour’s Main Gallery Menu, select
Import
Scan
(see Main Gallery section and
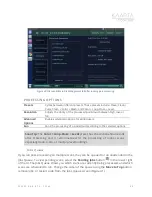
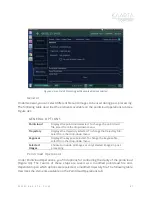
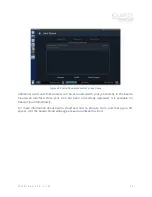
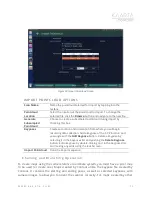
Figure 4 for more information). The Import Pointcloud screen opens (Figure 50). Select the
file to import by clicking the
Browse
button to the right of the
Source Location
drop-down
menu. Name the file by tapping into the
Scan Name
textbox. Designate whether the
imported pointcloud is a .ply or .zip by clicking the appropriate radio button.
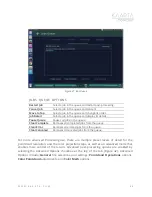
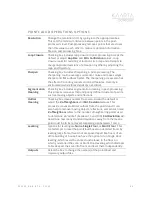
You will need to add a keypose for external scans so that Contour recognizes the location
and orientation from which to resume scanning. Press the
Add Keypose
button on the
Import Pointcloud screen (see Figure 50). Enter the X,Y,Z, coordinates and yaw angle using
the touchscreen. To delete a keypose, select it under Keyposes and press the
Delete
Keypose
button. To edit a keypose, double-click an existing keypose and edit with the
touchscreen.
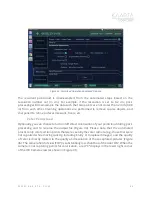
After selecting your external scan and creating a keypose, click the
Import
button at the
bottom of the Import Pointcloud screen to begin the import process. You can choose to
generate a subsampled pointcloud if you do not need the full resolution point cloud
imported.

