W W W . K A A R T A . C O M
5 1
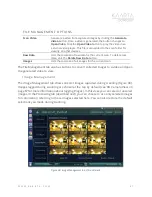
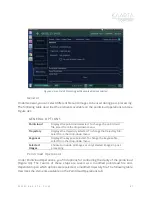
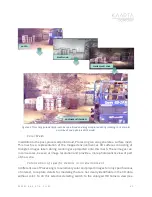
maintain good feature tracking. The display shows green dots for features that are within
the range of the laser and red dots for features outside of the current view of the laser (e.g.,
distant features) (Figure 32). Both features are useful, however, having more green dots
may produce a better-quality scan.
Figure 32: Feature Tracking view in focus.
Generally, maintaining the same features for over a longer time period will help. You may
also be able to tell if tracking of false features, such as reflections or moving shadows, are
impacting scan quality. Intentionally pointing the camera toward a heavily featured area
while moving will improve results, especially in challenging areas like narrow hallways or
doorways.
S C A N D E T A I L S
To stop scanning, click the
Scan Start/Stop
button once. Contour saves the pointcloud into
a binary .ply format, which can be opened in pointcloud editors or CAD programs. This file
is saved during scanning and can be opened immediately after scanning is complete.
Once the scan is saved, the Scan Detail screen opens. In this screen, you can rename the
file, add notes, open the pointcloud, copy to USB, or run post-processing tools. Files can
also be accessed in the
Desktop/recordings
folder on the Contour desktop. The Scan
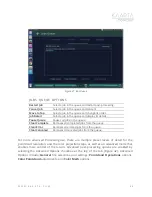
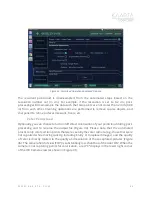
Detail screen includes multiple tabs on the left to access menus and options related to the
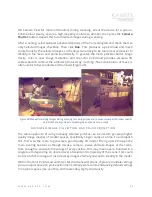
selected scan (Figure 33). The six tabs on the Scan Detail screen are as follows: Overview,
Resume/Replay, File Mgmt., Image Mgmt., Processing, and Kaarta Cloud. The
Rename
and


