W W W . K A A R T A . C O M
5 4
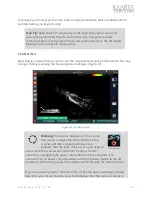
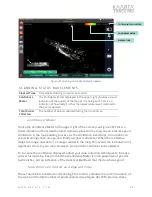
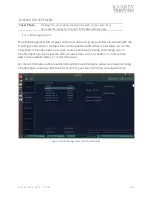
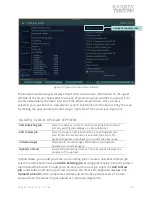
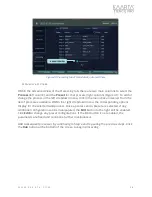
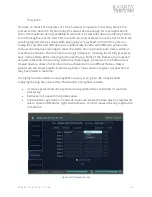
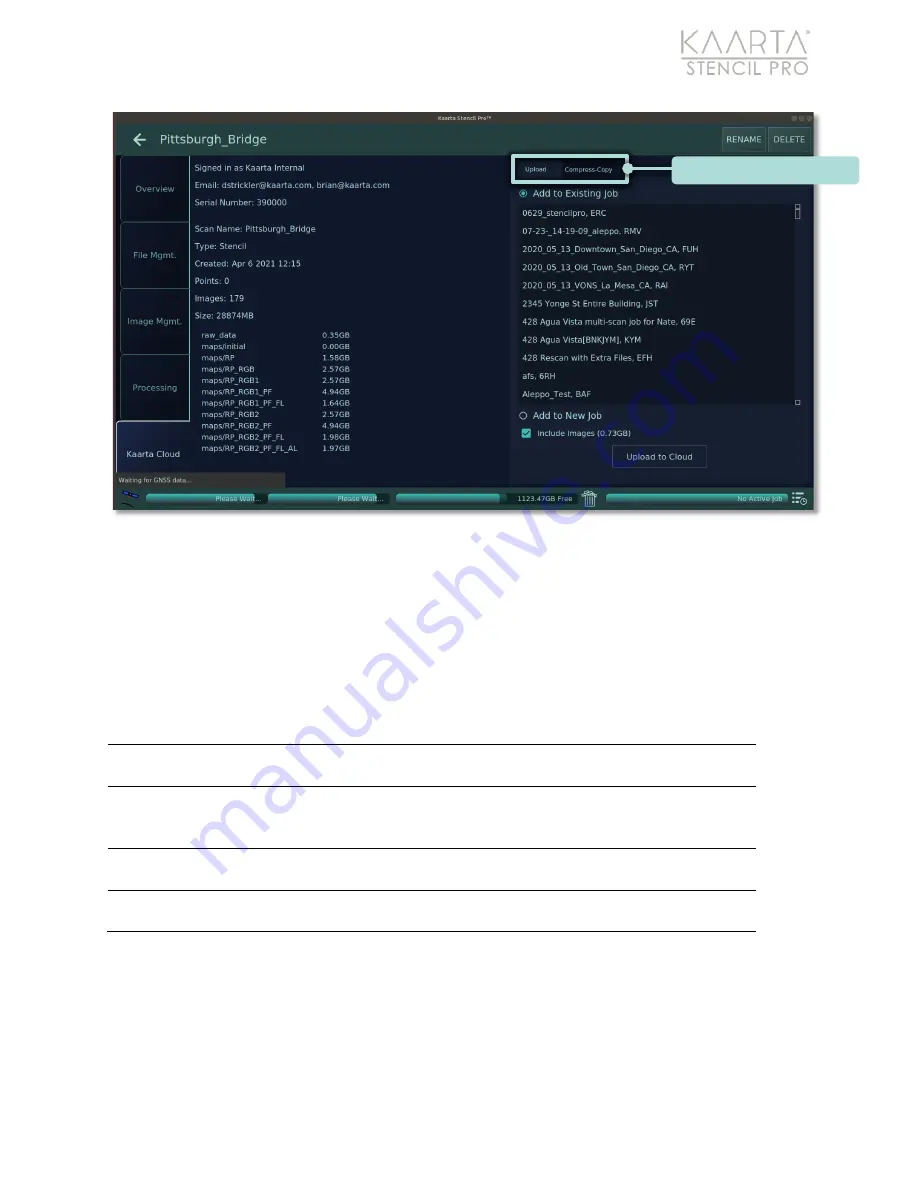
Figure 37: Kaarta Cloud tab of Scan Details.
The Kaarta Cloud tab layout displays important scan and user information on the upper
left side of the screen. Select which iteration of your scan you would like to upload, from
the files listed along the lower left side of the Kaarta Cloud screen. Once a scan is
selected, you can choose to Upload your scan to Kaarta Cloud or Compress Copy the scan
by clicking the appropriate tab at the upper right side of the screen (see Figure 37).
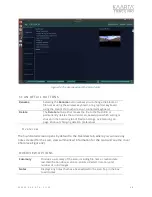
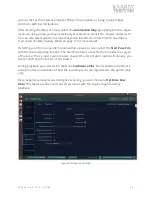
Upload allows you to add your scan to an existing job or create a new Kaarta Cloud job.
select the radial button beside
Add to Existing Job
. Existing jobs display in the drop-down
menu below the button. To add your current scan to a new job, select the
Add to New
Job
radial button and name your new job when the Stencil Pro keyboard displays. The
Upload to Cloud
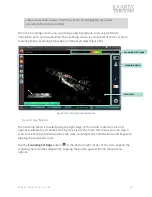
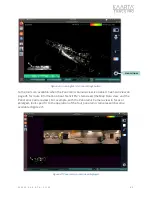
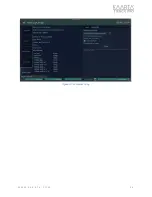
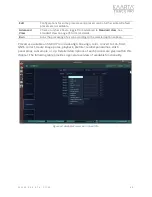
button compresses all files and starts the upload process. The Jobs
Queue shows the status of your upload as it proceeds (Figure 38).
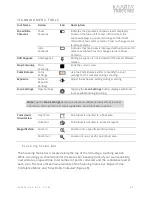
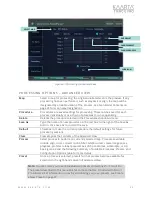
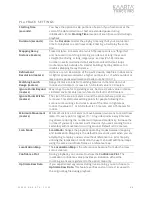
KAAR TA CLOUD UPLOAD OPTIONS
Add to Existing Job
Select to add your current scan to an existing Kaarta Cloud
job. Any existing jobs display as a drop-down list.
Add to New Job
Select to create a new job into which you will upload your
scan. When the radial button is selected, the Stencil Pro
keyboard appears and allows you to enter the new name.
Include Images
Checkbox to include images with Kaarta Cloud upload.
Deselect to exclude imagery.
Upload to Cloud
Initiates the uploading process. The Jobs Queue displays the
progress of the upload.
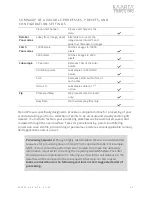
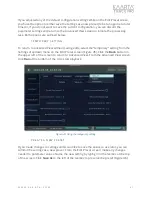
UPLOAD OR COMPRESS COPY

