W W W . K A A R T A . C O M
1 4
CHAPTER 2
B E F O R E Y O U B E G I N M A P P I N G
C H A R G E B A T T E R I E S
For all United States orders, Stencil Pro is shipped with two V-mount batteries to power
the device for scanning. If shipped within the United States, the batteries are charged to
approximately 30%. Begin by charging both batteries with the supplied
battery charger while you get familiar with Stencil Pro operations.
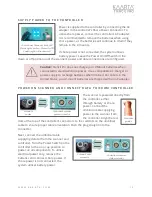
Once charged, place the batteries in their respective V-mounts on either
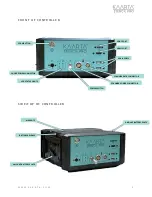
side of the controller. Make sure the Power Switch on the controller is
in the off or down position. One battery will run approximately 1 hour,
for a total of 2 hours scan time with both batteries fully charged. The V-
mount batteries are hot swappable and can be removed/added during
scanning.
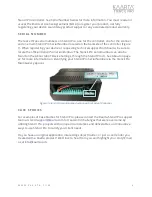
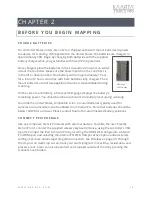
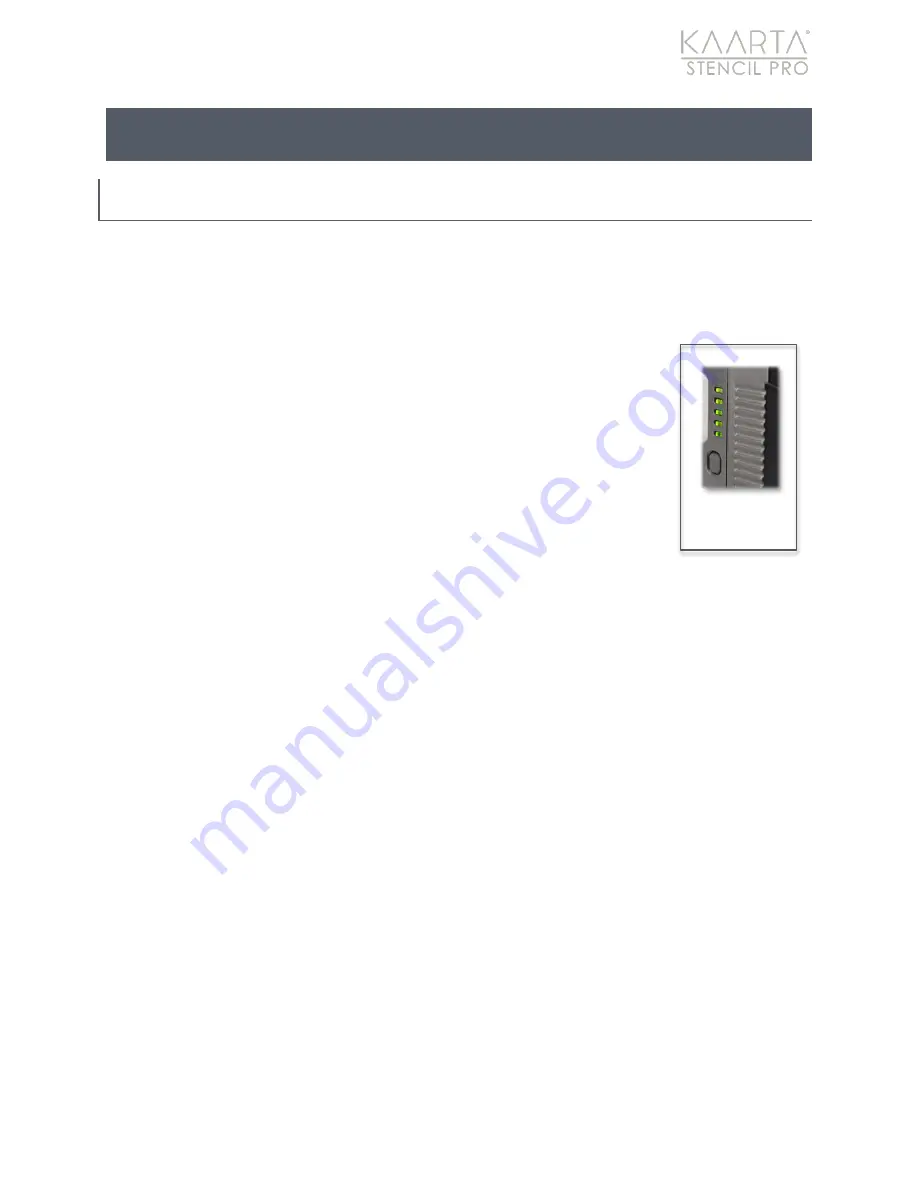
On the side of each battery, a five-level LED gauge displays the battery's
remaining power.
You should
continue to monitor the battery level during scanning.
If outside the United States, compatible Li-Ion V-mount batteries typically used for
cameras and camcorders can be utilized to run Stencil Pro. Note that batteries should be
below 100Wh for air travel. Please contact Kaarta for recommended battery solutions.
C O N N E C T P E R I P H E R A L S
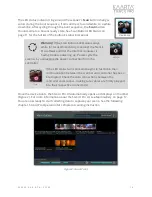
Like any computer, Stencil Pro works with external devices. To utilize the user-friendly
Stencil Pro UI, connect the supplied wireless keyboard/mouse, using the controller’s USB-
A ports. Connect the iPad to Stencil Pro by inserting the HDMI Wi-Fi dongle into a Stencil
Pro HDMI port and selecting the internal PCI Wi-Fi Hotspot Active option under wireless
settings. For more details regarding iPad connection, see Wireless on page 35. Through
the UI, you can start/stop a scan, track your scan’s progress in real time, review data, and
process scans. Scans can also be started and stopped outside of the UI by pressing the
scanner’s Scan button.
Battery’s
LED power

