W W W . K A A R T A . C O M
7 0
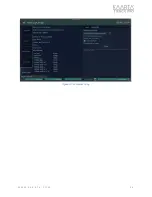
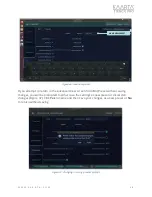
After playback, you can view your replayed scan by going to the File Mgmt. tab of Scan
Details. (see File Management on page 49 for more details), as shown in Figure 50. Under
the Pointcloud Operations section of File Mgmt., choose the replayed scan, which will be
designated with an “RP” for replayed. Click the CloudCompare button below to open the
pointcloud, trajectory, and corrected trajectory files, if GNSS was utilized. Click Apply at
the CloudCompare prompt(s) to open the file properly.
Figure 50: View scan after playback.
Co lor
Stencil Pro is equipped with four 8-megapixel color cameras which capture high
resolution 360° imagery, enhancing an already comprehensive 3D model by creating a
visual record of current project conditions, as-built environments, and corridor mapping
projects. The integration of 3D and high-quality imagery data can improve or speed up
the object identification process utilized by geospatial or machine-based learning
applications and real-time change detection when compared to point cloud data alone.
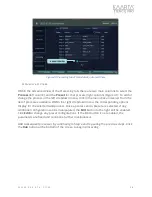
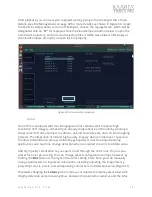
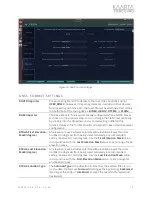
Add high quality colorization to your point cloud through the Color task. There is one
preset for Color processing. You can change preset configuration settings, however, by
clicking the
Edit
button to the right of the color setting. From here, you can manually
change parameters for improved colorization, including adjusting the image latency,
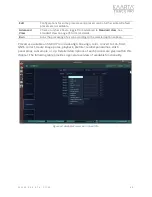
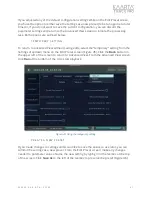
projecting color to points, and extrapolating color where no RGB value exists (Figure 51).
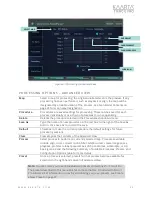
If needed, changing the
Latency
metric reduces or adjusts the latency associated with
lengthy detection and processing times between the panoramic cameras and the lidar.

