5
Deburr all drilled holes. Remove all debris from the work area after drilling and before proceeding
further with any installation. DO NOT use compressed air to remove debris. Flying objects can
cause serious injury.
Prep Door for Input Unit
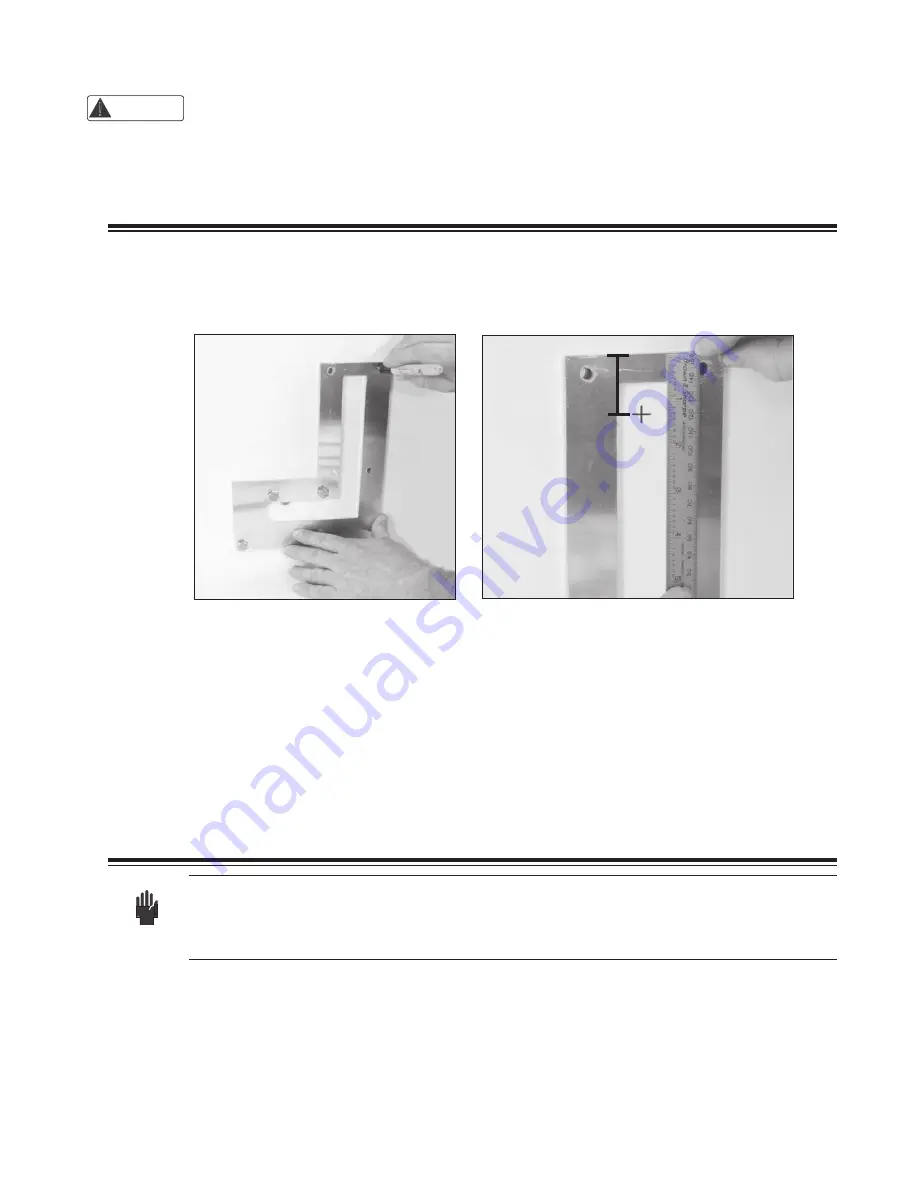
1. Temporarily attach the cable routing plate to the front of the door for use as a template, using
the lock mounting screws to hold it in place. (See Figure 9.)
2. Center punch four mounting holes for the Input Unit.
3. Measure and mark an additional 16mm (5/8") hole for cable routing approximately 32mm
(1 1/4") from the top of the cable routing plate. (See Figure 10.)
4. Remove the cable routing plate.
5. Drill the cable routing hole for the input unit using a 14mm 16mm (5/8") drill bit.
6. Drill the four mounting holes for the input unit using a 10mm (3/8") drill bit.
Install Lock Body & Input Unit
Note:
For Roll-Up Door applications using a Todco (or Whiting General Purpose) handle,
use the longer 8mm mounting bolts supplied for the bottom two holes of the lock body
and use the longer 6mm mounting bolts supplied for the bottom two holes of the input
unit.
1. Start to attach the two cable routing plates to the inside of the door using two of the lock body
mounting bolts and two lock washers. Attach through the upper right and lower left corners of
the lock body mounting holes.
2. On the outside of the door, place the lock body gasket over the two bolts to hold it in place.
3. While holding the lock body, route the cable through the gasket and the cable routing hole for
the lock body.
Fig. 9 - Use Cable Routing Plate as Template
Fig. 10 - Measure & Mark Cable Routing Hole
WARNING
!
1 1/4"


