18
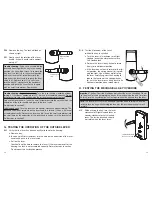
L. TESTING THE OPERATION OF THE LOCK
L-1 Rotate inside lever and hold. Ensure that the latch is fully retracted and
flush with the latch faceplate. Release the inside lever; the latch should be
fully extended.
L-2 Enter the factory-set combination: 1,2,3,4,5,6,7,8. You should see a green
light and hear a high pitched tone as you push each button. When the lock
opens, you will briefly hear the sound of an electronic motor. Rotate outside
lever and hold. Ensure that the latch is fully retracted and flush with the
latch faceplate. Release the outside lever; the latch should be fully extend-
ed. When the lock re-locks, you will again hear the motor.
L-3 With the the door open, verify functionality of the mechanical Key Override
as detailed in Section F.
M. INSTALLING THE STRIKE
Note: Use only the strike and strike box supplied. The use of non-approved
parts will result in a functionality problem and may void the warranty.
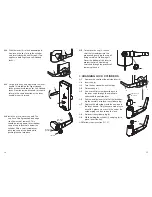
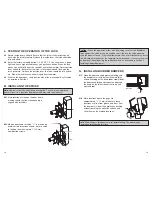
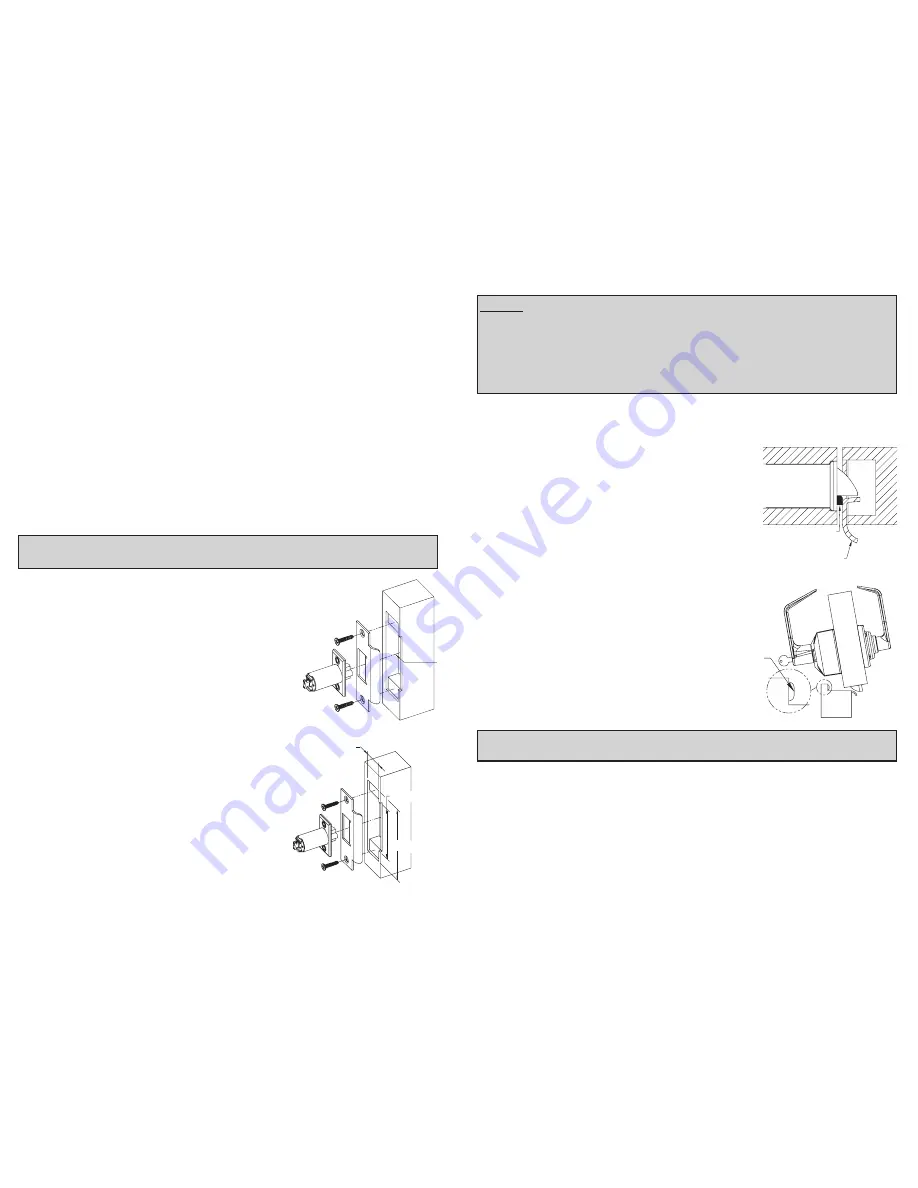
M-1 Mark location of strike on the door frame,
making certain that the strike opening is
aligned with latch bolt.
M-2 Mortise doorframe for strike
3
⁄
32
" (3 mm) deep
minimum to dimensions shown. Secure strike
to the door frame using two 1" (25 mm)
combination screws.
1
1
/
4
" (31mm)
4
7/8
" (124mm)
3
3
/
8
" (84mm)
a
19
Caution: Check the operation of the latch by making sure that the deadlatch
stops against the strike as shown and does not slide into the strike opening
when the door is closed. If that situation occurs, then a total lockout may occur.
This will void our warranty of the complete lock mechanism. If necessary, correct
the door over-travel by using the rubber bumpers as described in Section L
(Installing Rubber Bumpers).
N. INSTALLING RUBBER BUMPERS
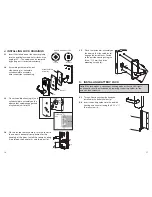
N-1 Close the door and apply pressure making sure
the deadlatch (a) rests on the strike plate (b) as
shown. Standing on the frame (door stop) side of
the door, check for gaps between the door and
the frame on the three sides of the frame (left,
right, and top).
N-2 Mark locations where the gaps are
approximately
3
⁄
16
" (5 mm). Make sure these
locations are free from grease and dust. Peel
the bumpers (c) from their protective backing
without touching the adhesive surface and
stick them on the marked locations.
Note: Allow 24 hours for adhesive to set before testing. The door may be
operated normally during this time.
c
a
Correct
b


