12
13
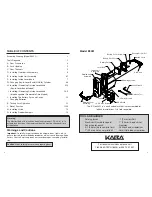
K. TESTING THE OPERATION OF THE LOCK
K-1
Rotate inside lever/knob and hold. Ensure that the latch is fully retracted
and flush with the latch faceplate. Release the inside lever/knob; the latch
should be fully extended.
K-2
Enter the factory-set combination: 1,2,3,4,5,6,7,8. You should see a
green light and hear a high pitched tone as you push each button. When
the lock opens, you will briefly hear the sound of an electronic motor. If
1-2-3-4-5-6-7-8 does not seem to work, please follow the steps to perform
a hard reset by following the procedure in section L.
K-3
Rotate outside lever/knob and hold. Ensure that the latch is fully retracted
and flush with the latch faceplate. Release the outside lever/knob; the
latch should be fully extended. When the lock re-locks, you will again hear
the motor.
K-4
Insert key into the outside lever/knob. Rotate key counterclockwise to stop
position and hold. Ensure that the latch is fully retracted and flush with
the latch faceplate. Rotate key clockwise to horizontal position and
remove key. The latch should be fully extended.
Note:
Refer to the Operating Manual to set up lock operation.
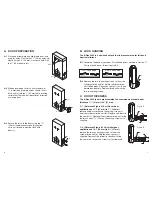
L. RESET FUNCTION
Warning:
When the lock is reset, all existing authorization and access
codes are deleted, and the lock is configured to the factory default lock
settings. The master code becomes 1,2,3,4,5,6,7,8.
If the Master Code is lost or forgotten and the number has not been
recorded, the lock can be reset to the factory defaults by following this
procedure:
1) Insert key and turn to “open” position and hold.
2) Within five seconds, push “#” button on lock and then release the key.
3) Red and green lights should begin flashing.
4) Input 1-2-3-4-5-6-7-8-# at lock within 10 seconds.
5) You should hear sound of lock resetting and a high pitch tone.
6) Green light flashes. Lock is reset to factory mode. (1,2,3,4,5,6,7,8)
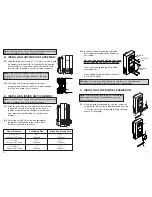
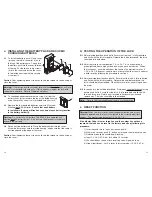
J. INSTALLING THE BATTERY PACK AND COVER /
CHANGING BATTERIES
J-1
To install the battery pack (f) and cover
(g), snap the cable connector (c) onto
the top of the battery pack. Then place
the battery pack into the cover, terminals
at the top. Put the two security screws
(h) into the cover and fasten the cover
to the inside housing with the security
screw tool (i).
Caution
: Over-tightening these screws could strip the threads in the housing or
crack the cover.
Warning:
If the lock goes without power for more than 2 minutes, you will lose
the lock’s current date and time only. If this happens, program the lock with
current date and time. Refer to Operations Manual.
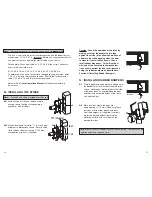
J-2
To change batteries remove the two screws (h) from the
battery cover (g) fastened to the top of the inside housing
using the security screw tool (i) provided with your lock.
J-3
Remove the four depleted batteries and install four new
Alkaline (only) AA batteries. Ensure that each battery
is installed in the proper direction as shown at each battery location
in the battery holder (f).
Warning:
Do not install a 9V battery. This EPLEX lock operates on 4
alkaline only AA batteries (6V). A 9V will ruin the electronics in the lock
and void the warranty.
J-4
Reconnect the battery cable. Place the battery holder into the cover.
Screw the back cover onto the inside housing, and ensure that the cable is
not trapped under the edge of the cover.
Caution
: Over-tightening these screws could strip the threads in the housing or
crack the cover.
f
g
h
i
c
f


