background image

4

k2evo708xy-2012-01  

Kaba S-module für c-lever

DE

Kurzanleitung

Installation

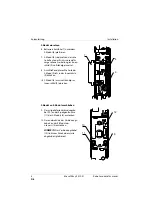
S-Modul einsetzen

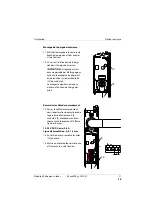
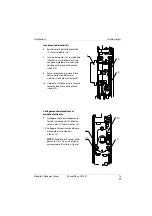
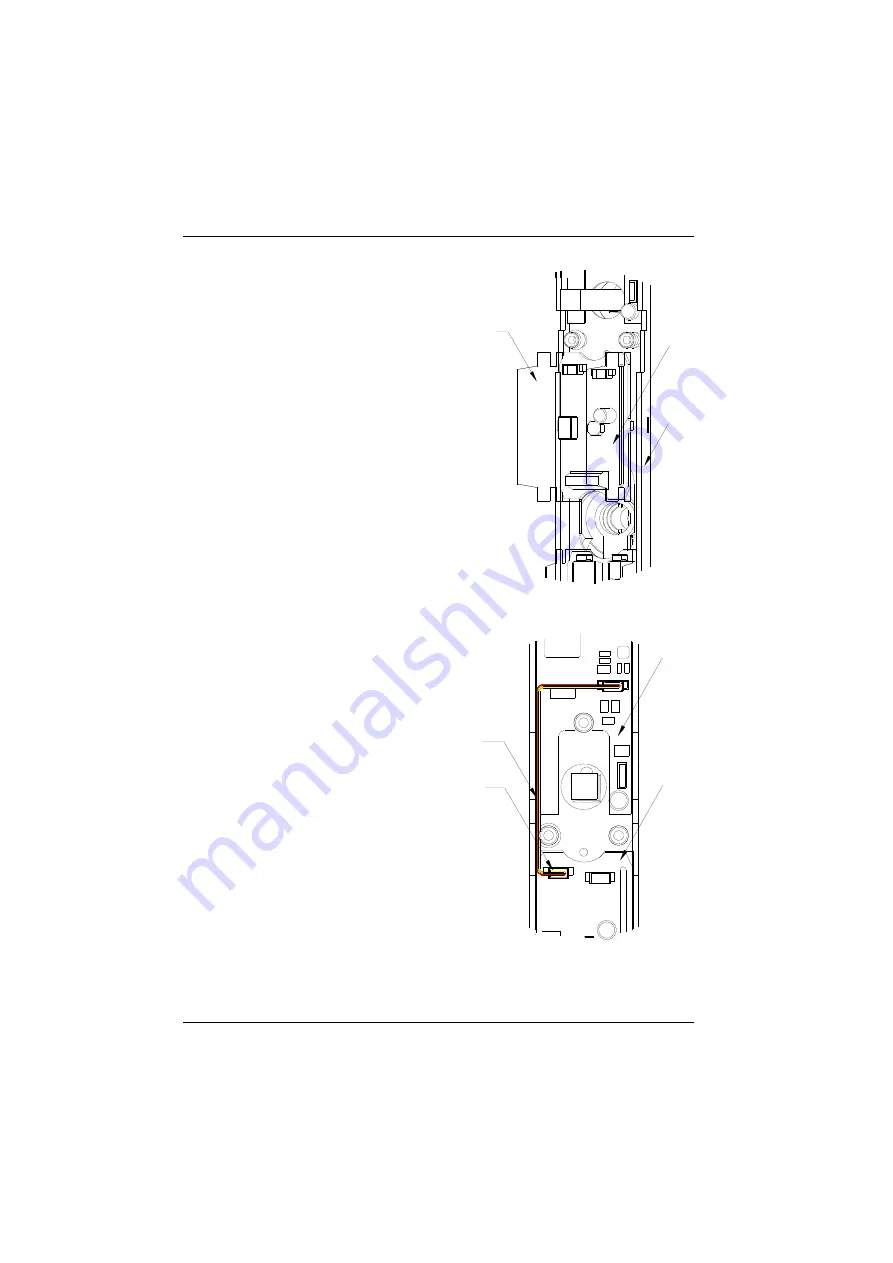
6. Batterieschutzfolie (7) unter dem 

S-Modul (8) platzieren.

7. S-Modul (8) so einsetzen, dass die 

linke Kante des Prints in die dafür 
vorgesehene Freistellung im Innen-
schild (9) vollständig einrastet.  

8. Anschließend die rechte Seite des 

S-Modul Prints in das Innenschild 
(9) drücken

S-Modul (8) muss vollständig im 
Innenschild (9) einrasten.

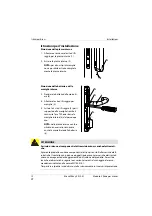
S-Modul an E-Modul anschließen

9. Das mitgelieferte Verbindungska-

bel (10) an der 4-poligen Buchse 
(11) des S-Moduls (8) anstecken. 

10. Das andere Ende des Verbindungs-

kabels an das E-Modul des 
c-levers (12) anstecken

HINWEIS: 

Das Verbindungskabel 

(10) links vom Drückerdorn (wie 
abgebildet) platzieren!

7

8

9

10

8

11

12

Summary of Contents for S-module

Page 1: ...DE EN FR IT Kaba S module for c lever Kurzanleitung Quick Guide Notice succincte Istruzioni brevi Dok Nr k2evo708xy 2012 01 SAP Nr 11685878...

Page 2: ...nburg DE 63303 Dreieich CH 8620 Wetzikon Tel 43 0 2782 808 0 Tel 49 0 6103 99 070 Tel 41 0 848 85 86 87 Fax 43 0 2782 808 5505 Fax 49 0 6103 99 07 133 Fax 41 0 44 931 63 85 www kaba at www kaba de www...

Page 3: ...auben und Innendr cker 5 vom Dr ckerdorn abziehen HINWEIS Beim Innenschild mit Zylinderlochung muss auch der Batterieprint 6 entfernt werden 1 2 3 4 5 6 ACHTUNG Gefahr f r elektronische Komponenten du...

Page 4: ...9 vollst ndig einrastet 8 Anschlie end die rechte Seite des S Modul Prints in das Innenschild 9 dr cken S Modul 8 muss vollst ndig im Innenschild 9 einrasten S Modul an E Modul anschlie en 9 Das mitge...

Page 5: ...child keine Zylinderlochung aufweist muss der Batterieprint an der rech ten Buchse 13 des S Moduls an gesteckt werden Der Batterieprint verf gt ber keine Ladefunktion Anschlusskabel anklemmen 13 Ansch...

Page 6: ...he lever handle bearing using a T20 star screwdriver and lift the inside lever handle 5 off the spindle NOTE The battery circuit board 6 must also be removed in the case of the internal shield with cy...

Page 7: ...it in the internal shield 9 8 Then push the right side of the s module circuit board into the inter nal shield 9 S module 8 must latch completely into the internal shield 9 Connecting the s module to...

Page 8: ...er holes the battery circuit board must be plugged into the outlet on the right 13 of the s module The battery circuit board does not have a loading function Attaching the connecting cable 13 Route th...

Page 9: ...et retirer la poign e int rieure 5 de la broche de poig n e INDICATION Sur les plaques int ri eures avec al sage pour cylindre la plaquette pour piles 6 doit gale ment tre retir e 1 2 3 4 5 6 ATTENTIO...

Page 10: ...rieure 9 8 Enfoncer ensuite le c t droit du circuit imprim du module S dans la plaque int rieure 9 Le module S 8 doit s enclencher enti rement dans la plaque int ri eure 9 Connecter le module S au mod...

Page 11: ...a plaquette de piles doit tre branch e sur la douille droite 13 du module S La plaquette de piles ne dispose d aucune fonction de charge des piles Raccorder le c ble de raccordement 13 Passer le c ble...

Page 12: ...niglia tramite il cacciavite Torx T20 ed estrarre la maniglia interna 5 dal perno qua dro NOTA nella placca interna con foro cilindro necessario rimuovere anche la morsettiera della batteria 6 1 2 3 4...

Page 13: ...9 8 Successivamente premere il lato destro della morsettiera del modulo s nella placca interna 9 Il modulo s 8 deve essere comple tamente incastrato nella placca interna 9 Collegamento del modulo s al...

Page 14: ...cilindro la morsettiera per batteria deve essere collegata alla boccola destra 13 del modulo s La morsettiera per batteria non dis pone di una funzione di carica Uso del cavo di collegamento 13 Condur...

Page 15: ...Installation Notice Kaba s module for c lever k2evo708xy 2012 01 15...

Page 16: ...16 k2evo708xy 2012 01 Kaba s module for c lever Notice Installation...

Reviews: