24
L-3 Resetting and Recovery of Current Combination
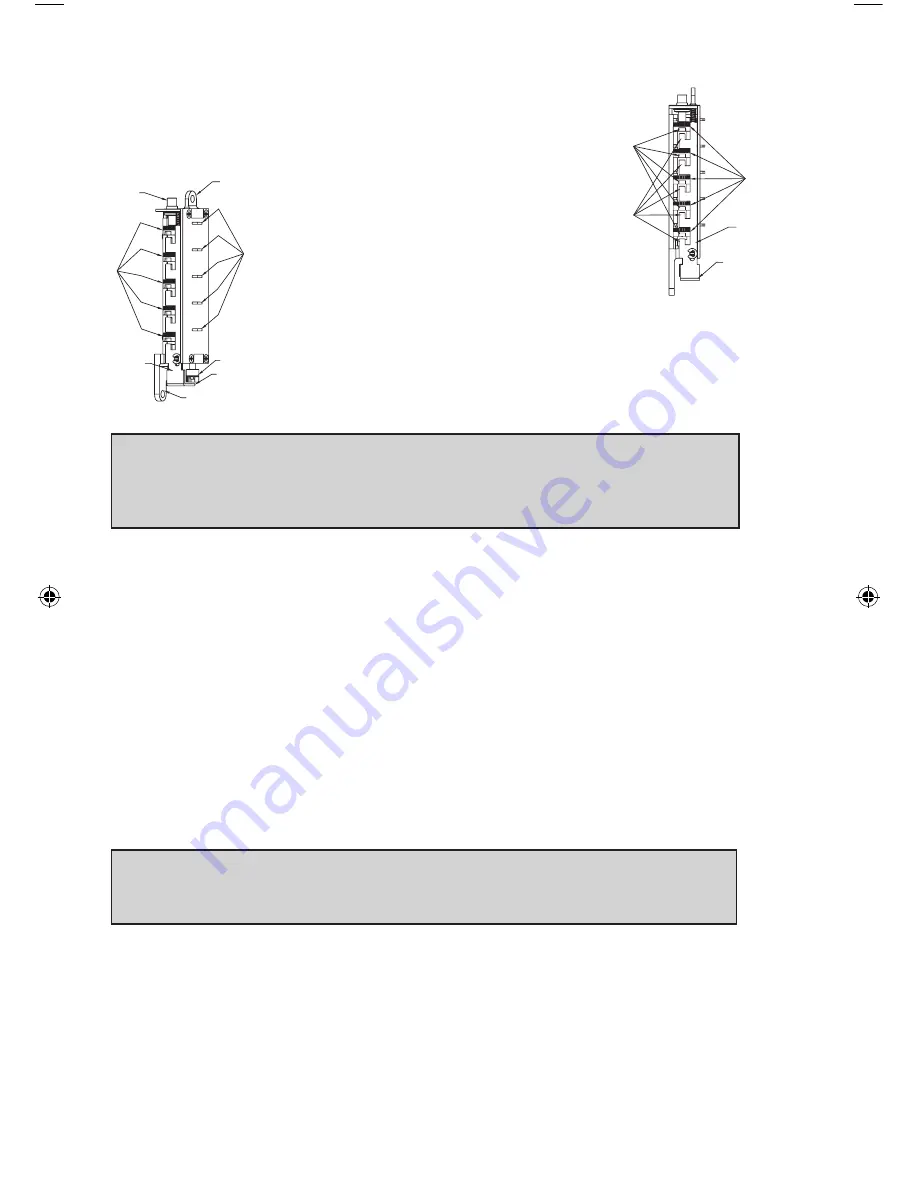
To reset the code gears (a), each one of the 5 “L” shaped
legs (b) of the unlocking slide (c) must engage snugly
with the corresponding code gear pocket (d) next to it.
Position the chamber in one hand, as
shown. Hold chamber by the top screw tab
(e) and bottom screw tab (f).
Rotate the reset cam (g) back toward you
with your finger, towards the key stems (h)
as far as it will go and then release. Now
look at the code gears (a) and the unlocking slide (c). Note
that some or all 5 of the code gear pockets (d) are rotated
away from the “L” shaped legs (b) as if out of alignment.
Typically each code gear pocket will be at a slightly differ-
ent distance compared to the other.
Note: Sometimes two different gear pockets are away from alignment by
exactly the same distance – this indicates that the current combination uses
two different number buttons (example, 2 and 4) depressed at the same
time as part of the combination.
Using a small flat blade screw driver or your thumbnail, depress the
key stem which corresponds to the gear pocket which has been rotated
the
farthest away
(out of alignment) from the “L” shaped leg. When
depressed, the key stem(s) should stay down and the corresponding gear
pocket(s) should move closer to its corresponding “L” leg, closer to align-
ment. Record the key stem number. This is the
first
number of your com-
bination.
Continue by pressing the key stem that corresponds to the gear pocket
that was the
next furthest away
(do not include gear pockets that have
already been rotated). Record each key stem number that is depressed.
Continue this procedure until all five gear pockets are aligned with their
corresponding “L” shaped legs on the unlocking slide. The combination is
the recorded numbers, in the order recorded.
Note: If you depress the wrong key stem by mistake, rotate the reset cam
back toward you, (toward the key stems and release). This resets the code
gears and you must repeat the above procedure, L-3.
h
a
c
j
b
d
i
a
c
f
j
g
h
e
LIT1051_Simplex_506x _Mortise_1012.indd 24
1/7/13 3:13 PM
Summary of Contents for Simplex 506 Series
Page 1: ...Simplex 506x Mortise Installation Instructions ...
Page 15: ...15 Notes ...


