Maintenance
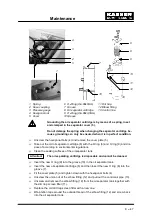
9 --- 40
8
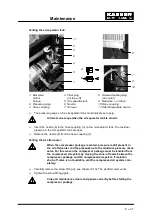
B
A
11
2
7
9
10
3
6
4
5
1
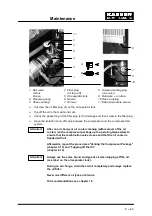
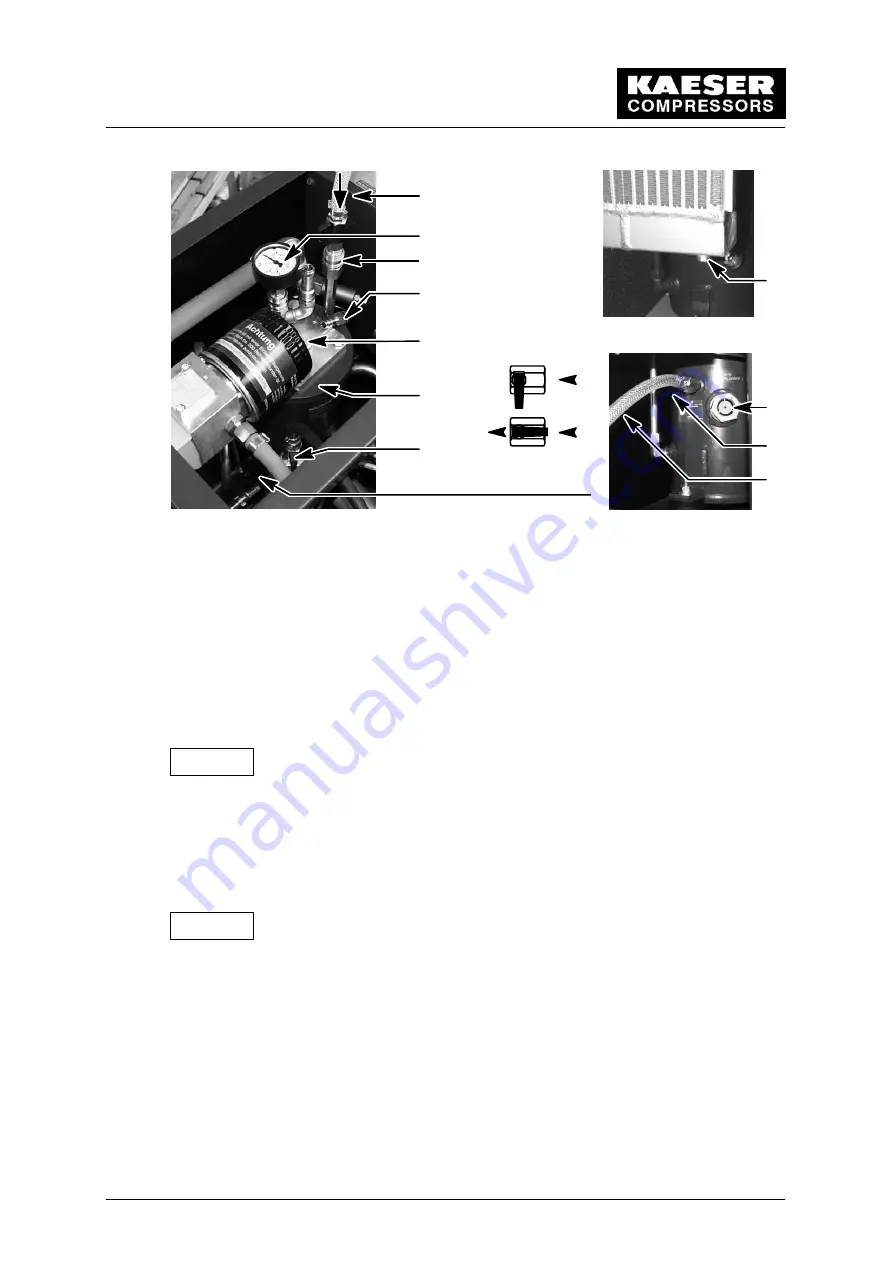
1 Ball valve
4 Filler plug
8 Screwed sealing plug
A shut
(oil top ---off)
(oil cooler)
B open
5 Oil separator tank
9 Ball valve --- oil drain
2 Pressure gauge
6 Nozzle
10 Hose coupling
3 Hose coupling
7 Oil level
11 External pressure source
Unscrew the oil filler plug (4) on the oil separator tank.
Top off the oil to the maximum mark.
Check the gasket ring of the filler plug (4) for damage and then screw in the filler plug.
Open the isolation shut ---off valve between the compressor and the compressed air
system.
After an oil change or oil cooler cleaning (with removal of the oil
cooler) run the compressor package up to operating temperature to
ensure that the combination valve closes and that the oil cooler is
flooded with oil.
Afterwards, repeat the procedures ‘‘Venting the Compressor Package’’
(chapter 9.10) and “Topping off the Oil”
(chapter 9.12).
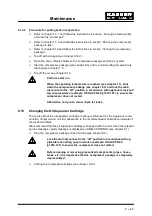
Always use the same brand and type of oil when topping off the oil.
(see label on the oil separator tank).
During an oil change, drain the old oil completely and always replace
the oil filter.
Never mix different oil types or brands.
Oil recommendations see chapter 1.8
Attention!
Attention!
Summary of Contents for SM 8
Page 9: ...Technical Specification 1 6...
Page 16: ...Construction and Operation 5 13...
Page 17: ...Construction and Operation 5 14...
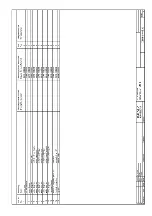
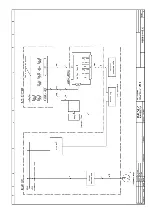
Page 54: ...Appendix 11 51 11 Appendix 11 1 Wiring Diagram...
Page 55: ......
Page 56: ......
Page 57: ......
Page 58: ......
Page 59: ......
Page 60: ......
Page 61: ......
Page 62: ......
Page 63: ......
Page 64: ......
Page 65: ......
Page 66: ......
Page 67: ......
Page 68: ......
Page 69: ......
Page 74: ...SM 8 SM 11 A 08 B 07 C 14 D 11...
Page 76: ......
Page 78: ......
Page 80: ......
Page 82: ......

